Burmese Chickpea Tofu – Two Ways

IMG_4069Wow!!  Just wow!!  This recipe will be changing so much in my kitchen!  I would never have imagined that I’d be making my own tofu, but chickpea tofu is incredibly easy to make, incredibly healthy, and truly and incredibly delicious!  My whole family loves tofu and while I do not give any validity to the rumor mill regarding the alleged health risks of soy (please click here for information about the soy myth), I do believe in everything in moderation.  So when I came across this recipe, I couldn’t wait to try it, and it exceeded all of my expectations!

The basic recipe is all over the internet so I can’t tell where it originated.  Therefore, sadly, I can’t give proper credit.  I will say, however, that I am very grateful to whomever created this dish!

Most recipes online say that chickpea tofu is not good stir-fried or sautéed like soy tofu, but I have not found this to be the case.  It does have a different texture than soy tofu, sort of like a cross between soy tofu and polenta, but so far, for me, it has worked well in every recipe I have used it in.  I have not tried grilling it yet, but don’t see why that wouldn’t be great as well.

So – here is the recipe, followed by my two favorite ways to prepare it.  I hope you enjoy it as much as I do!

  • 2 c chickpea flour
  • 2 t salt
  • 1/4 t turmeric
  • 5 3/4 c water, divided

Lightly grease a 9×13” pan.

Combine chickpea flour, 2 cups of water, salt and turmeric in a large bowl.  Whisk until smooth.

In a large pan, bring 3 3/4 c of water to a boil.  Once boiling, decrease heat to medium high.  Give the chickpea mix another stir in case it has separated a bit, and then, while stirring the water with a wooden spoon, slowly add it to the simmering water.  (The wooden spoon is important because it will start to splatter without it so be careful.)  Decrease heat again to medium low and cook about 5 minutes, stirring occasionally.

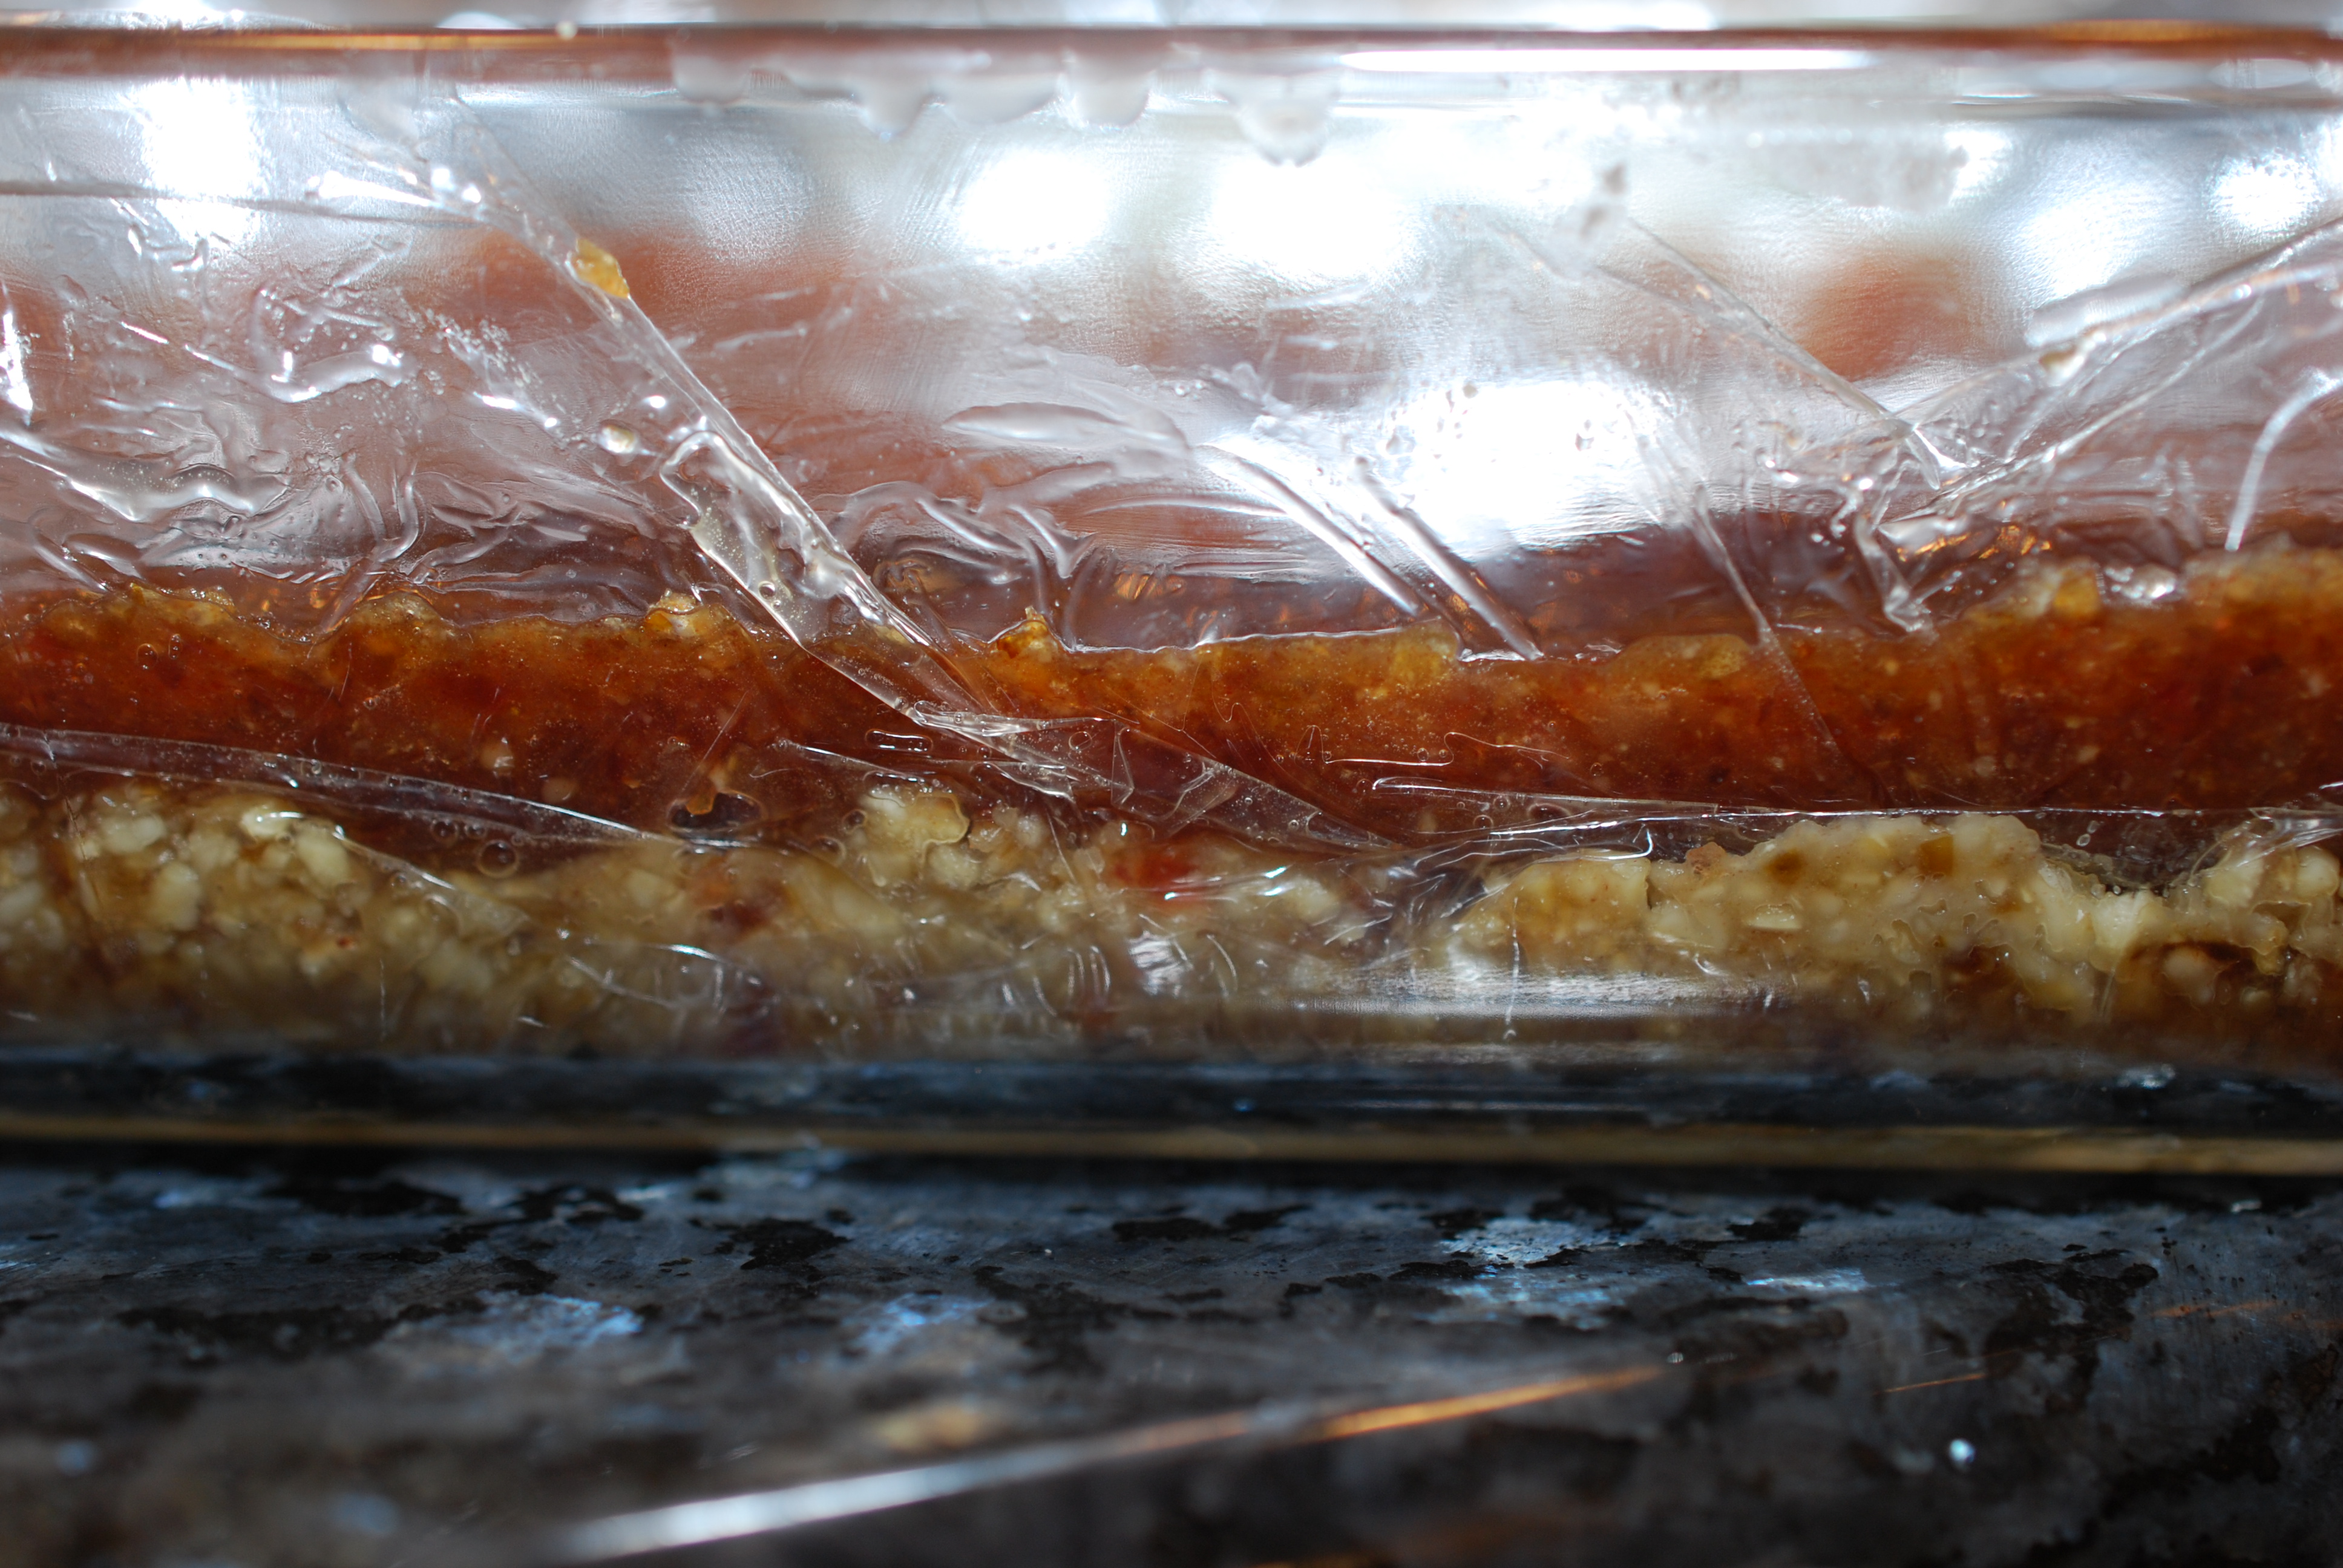
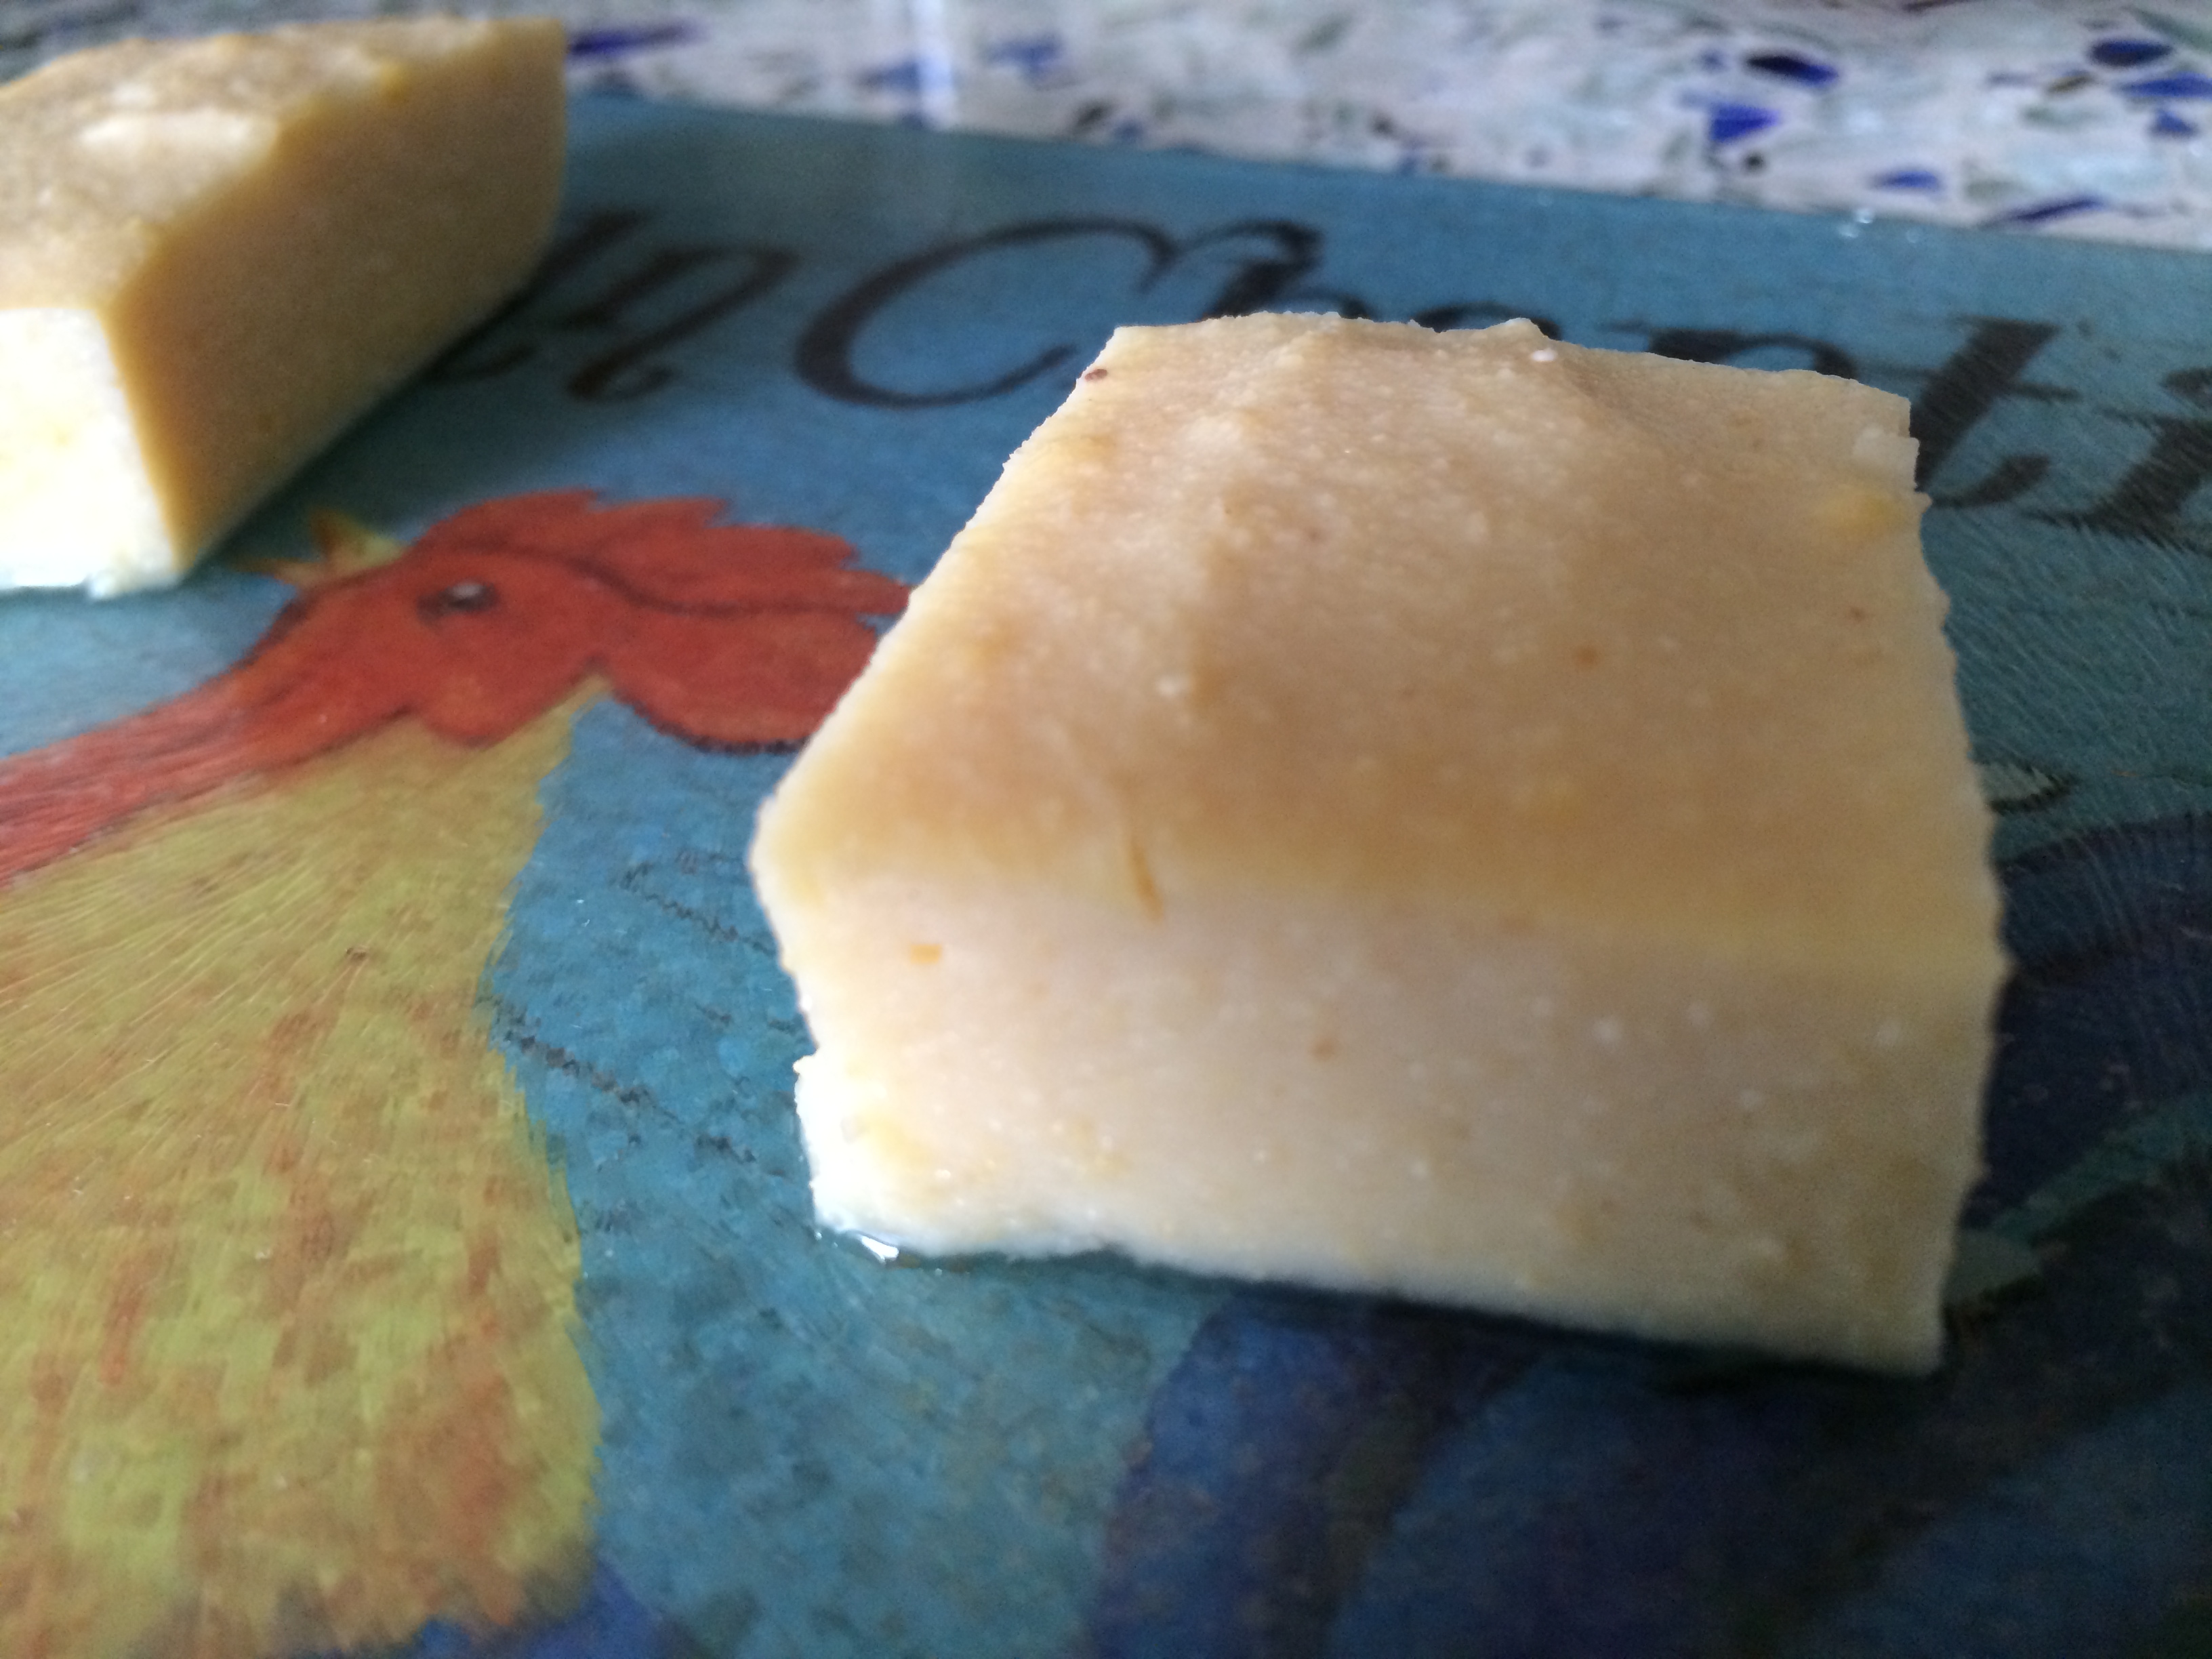
Pour into prepared pan.  Cool to room temperature (if you don’t cool it to room temp first, it won’t get very firm) and then place in fridge for at least one hour.  The longer it sits in the fridge, the more water will come out, making it firmer.

Will keep in fridge for 5-7 days.

IMG_4062

IMG_4066

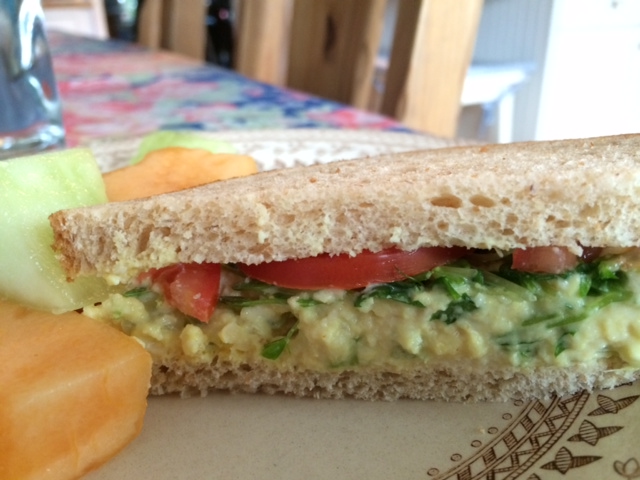
Chickpea tofu is perfect for mock egg salad.  The texture is so close to what I remember egg salad being and I actually prefer it to soy tofu in this dish.

Just cut pieces of the tofu from the dish – however much you would like to use, and mash with a fork until it’s the consistency of egg salad.  Don’t make it too smooth – there should be some larger pieces.  Next, add whatever ingredients you like.  You can’t go wrong.  I like to add a bit of vegannaise, chopped onion, chopped celery, 1/8 t turmeric, salt and pepper for the basic dish.  But you can get creative and add capers, pickles, olives, baco bits, sun dried tomatoes (maybe not all together)…  You will be astounded how much like egg salad it is!

photo

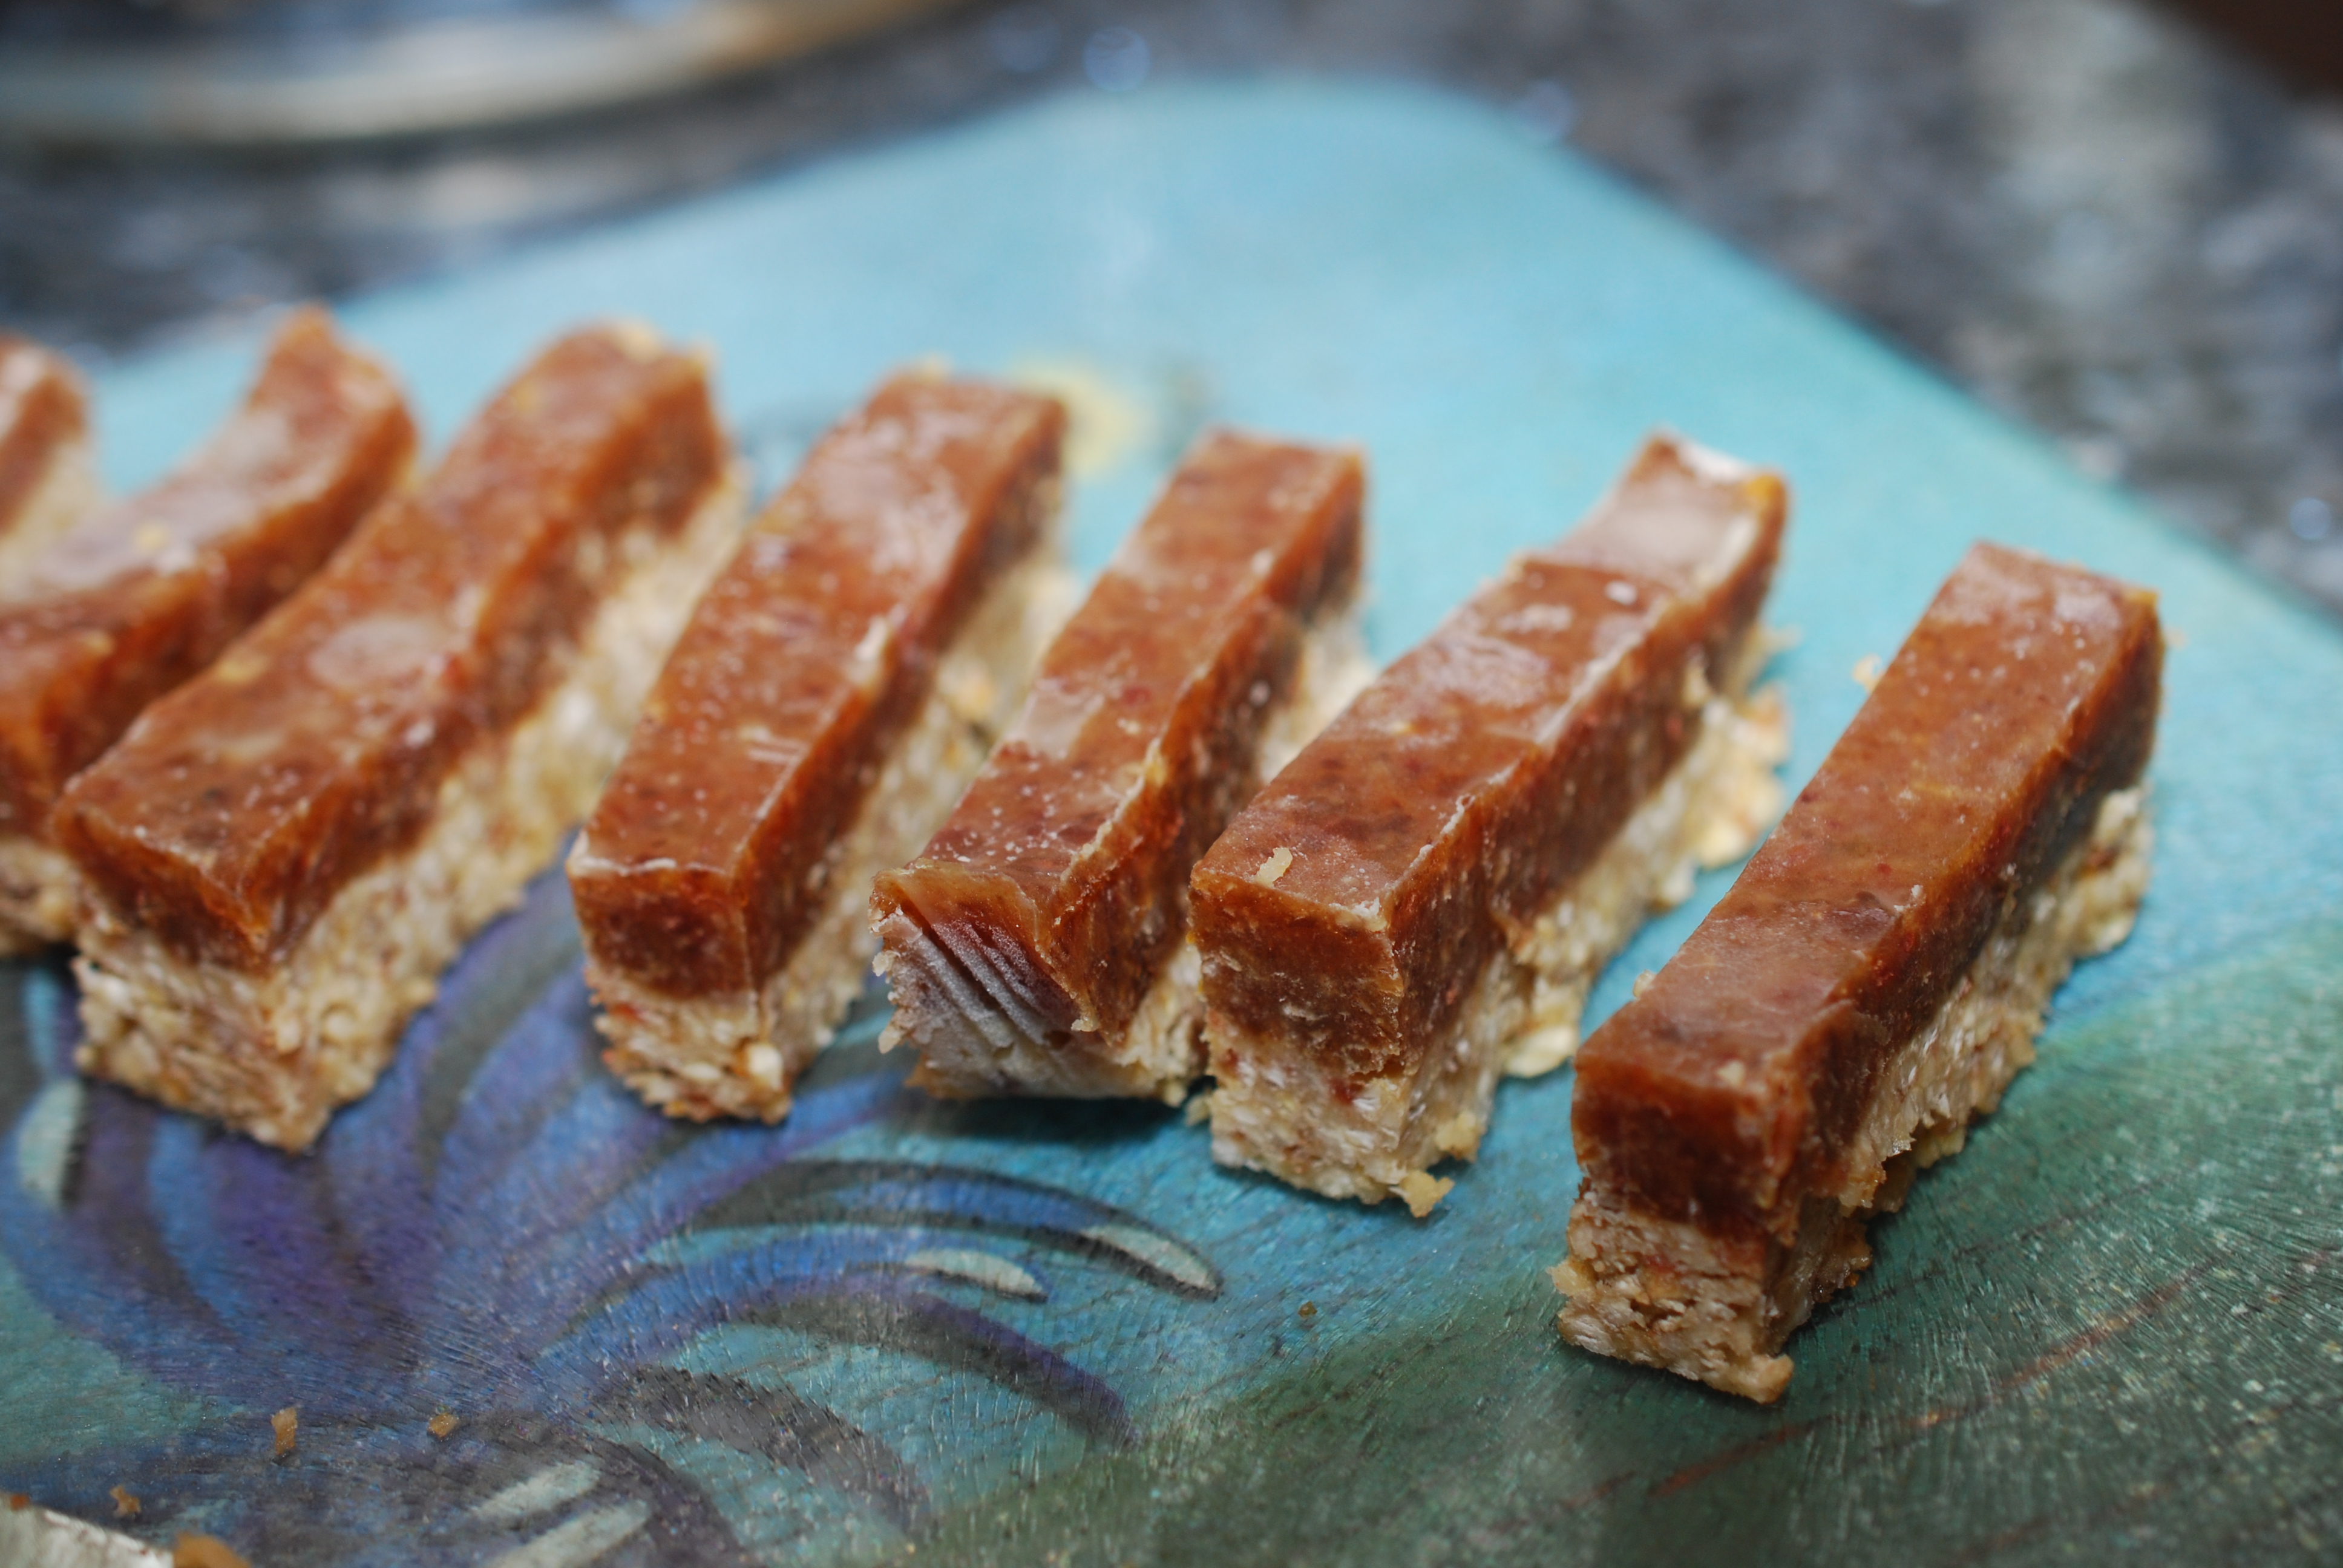
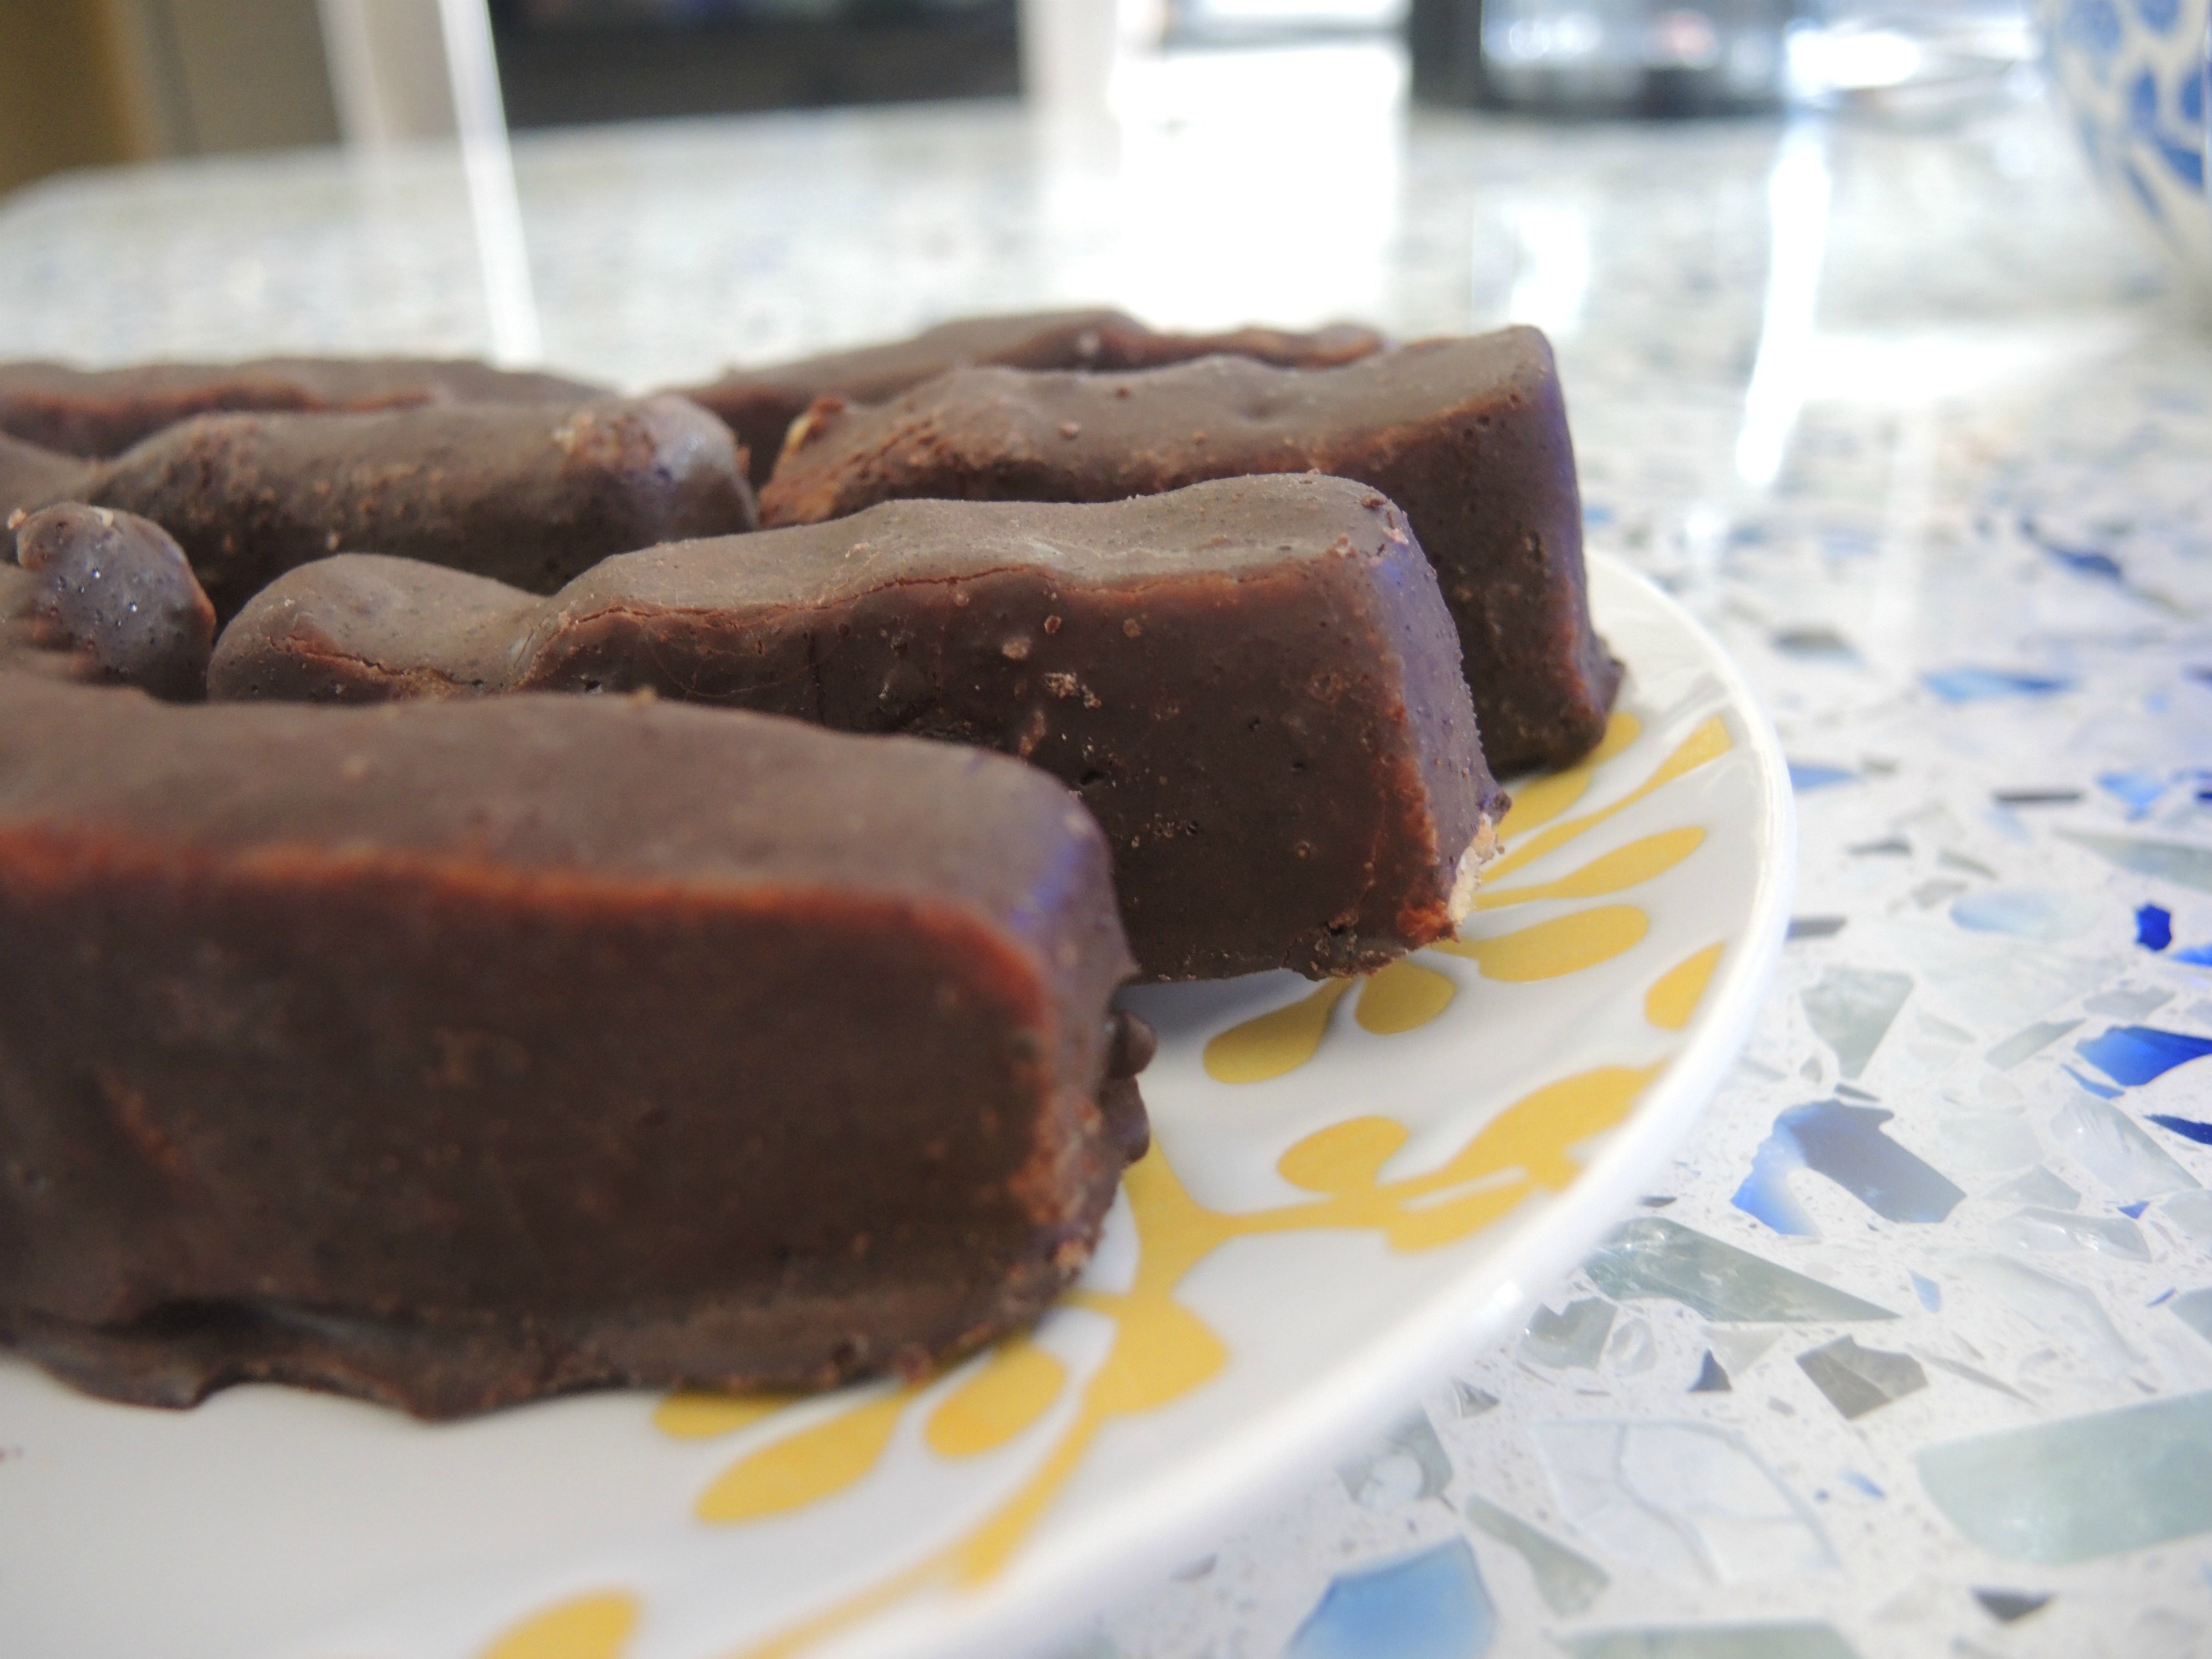
My second favorite way to enjoy chickpea tofu is sautéed in a 3 ingredient sauce.  How easy is that?  And there is no oil in this recipe at all!

The recipe is for one serving – so make sure to adjust it depending on how many people you would like to serve.

Cut a piece of tofu from the pan that measures approximately 1.5″ x 3″.

In a small bowl, combine 1 T soy sauce, 1 T maple syrup and 1/8 t garlic powder.

Heat a pan over medium high heat.  Add the tofu and you should hear it sizzle.  After 1 minute, pour the sauce in the pan with the tofu.  Let cook for 1 minute, then flip the tofu over and cook for 2-3 minutes on the other side, just to heat through.  The sauce will be very bubbly and will begin to evaporate.  Make sure that it doesn’t burn.  If it starts to burn, or evaporates to almost nothing, just lower the heat.

IMG_4067

IMG_4068

IMG_4069


Best Ever 10 minute Fudgy Brownies

browniesThese brownies are AMAZING!!  Not only do they taste incredibly fudgy and delicious, but they take less than ten minutes to make, and are much, much healthier than typical brownies.  There is no butter, no dairy, no eggs, and no processed sugars.  Would you believe that in 1900, the average person consumed about 90 pounds of sugar per year, while  today, that number has increased to 150 pounds (a whopping 66% increase).   Raw desserts are made from whole, unprocessed foods so they can be digested fully and their nutrients absorbed completely.  Once you try these, you won’t want that other processed stuff, loaded with saturated fat, eggs, white sugar and who knows what else.  When you eat these, you will experience how fantastic whole-food plant-based eating is!  Enjoy!!

  • 1 c walnuts
  • 1 c + 3 extra medjool dates
  • 5 T cocoa powder
  • 4 T shredded, unsweetened coconut
  • 2 T maple syrup
  • 1/4 t salt
  • 1/2 t vanilla

icing:

  • 3 T coconut oil
  • 2 T maply syrup
  • 2 T cocoa powder
  • pinch salt
  • 1/2 t vanilla

In a food processor, process walnuts until it is small crumbs.  Add remaining ingredients and process until it mostly comes together into a ball.  Press into a 6×8 or 7×7″pan and place in fridge.

Mix icing ingredients in a small bowl and spread over brownies.  Slice into squares.  Keep in fridge for up to 5 – 7 days.

Get creative and add peanut butter, cinnamon, orange zest, or anything else that you want!

IMG_3896

IMG_3890

Vegan Magic Shell

DSCN0695Yup – this settles it!  Anything can be made vegan!  I was making this coating for my raw candy bars and realized that since it was solidifying on contact to the frozen candy that it would do the same on ice cream and lo and behold – magic shell!  And it is so easy to make.  Here I put it on non-dairy ice cream but it is just as great on vegan soft serve.  Wondering how to make vegan soft serve at home?  Just throw 3 sliced frozen bananas and 3/4 cup non-dairy milk in a high speed blender and voila.  Get creative too – add peanut butter, vegan chocolate chips, frozen cherries – the possibilities are endless.

IMG_3353

Just mix the following ingredients in a small bowl.   Store in fridge for a week or so.

  • 1/2 c melted coconut oil
  • 3/4 c minus 2 T cocoa powder
  • 1/8 t salt
  • 1/4 t vanilla
  • 1/2 c agave nectarIMG_3367

Best Ever Vegan Hollandaise Sauce

DSC_0011I think hollandaise sauce is my absolute favorite sauce.  It is so creamy and delicious and I used to have it all the time!  I’ve been happy to avoid it lately because aside from containing tremendous cruelty, it also contains an unbelievable amount of fat and cholesterol.  Not anymore!!  This vegan version has none of that awful animal fat and still has all of the rich goodness.  And – it is even simpler to make!  Really!  I’ve been playing around with this recipe for a while and I think it is finally perfect.  There is no reason not to smother your veggies with it, especially if you are feeding picky kids for example, because it is made from all wonderful ingredients.  I hope you enjoy it as much as I do.

  • 1 12 oz box firm silken tofu
  • 1 T lemon juice
  • 1 T nutritional yeast
  • 1/2 t dried tarragon
  • 1 T tahini
  • 1/4 c olive oil
  • 1/2 c soy milk, unsweetened
  • 1 t turmeric
  • 1 1/2 t salt
  • 1/2 t dijon mustard
  • 1/2 t miso paste

Place all ingredients in blender and blend until smooth.

Pour into a small pan over medium heat until heated through.

Makes about 2 cups.

Caramel Nougat Candy Bars (raw)

DSC_0549.2Okay – I confess – I was a snickers, twix and milky way fanatic for lots of years, and at first, I was bummed to learn that very few of these types of candy bars are vegan.  That was a few years ago.  Since then I have long since stopped missing them and have even given up white sugar which was very easy to do thanks mostly to raw desserts.  I never realized how delicious raw desserts could be.  They are so incredible and easy to make and I feel like I am giving myself a healthy treat as opposed to processed garbage that doesn’t even taste good but my brain had been tricked into thinking it tasted good over years and years of conditioning.  Now, I wouldn’t go near a snickers bar even if they made it vegan.  No way.  They can’t even hold a candle to these bars.  Especially when I put some chopped peanuts on top before the chocolate coating!  That is what I usually do, but this batch I made for someone with a peanut allergy so I left the peanuts out.  Just a matter of preference – but if snickers was your thing, definitely throw on some peanuts!  And enjoy – a candy bar you can be proud to give to your loved ones.  I smile inside whenever my kids reach for one of these for a sweet treat!

Line an 8×6” pan with plastic wrap, hanging over the edges.

nougat

  • 1/2 c soft, medjool dates (if not soft, soak in warm water at least 20 minutes to soften)
  • 1 1/2 c  raw cashews
  • 1 t vanilla
  • 1 – 2 T water

caramel

DSC_0526

  • 2 c soft, medjool dates (if not soft, soak in warm water at least 20 minutes to soften)
  • 1 1/4 t vanilla
  • 1/4 t salt
  • 1/2 c walnuts + 1 T water
  • 1/4 c coconut oil

chocolate

  • 1/2 c coconut oil, melted
  • 3/4 c cacao powder
  • 1/8 t salt
  • 1/4 t vanilla
  • 1/2 c agave nectar

Process nougat ingredients in a food processor until crumbly.

DSC_0520

Press into prepared pan.

DSC_0518

Process walnuts and 1 T water until buttery.  Add remaining caramel ingredients and process until creamy.  Spread over nougat layer.  Freeze at least 2 hours.

DSC_0522

After at least 2 hours, remove from freezer and slice into bars, whatever size you like.

DSC_0523
DSC_0525

Place back into freezer while you make the chocolate.

In a medium sized bowl, combine the chocolate ingredients.

Use a knife or your hands (I prefer to use my hands) to spread the chocolate all over the bars.  The chocolate will harden almost on contact so you will be able to do all 4 sides.

DSC_0527.1

Store in freezer (they stay the perfect consistency and can be eaten right from the freezer).

DSCN0617.1

DSCN0632.1DSC_0532.1