I really love SEITAN!! For those of you who are not familiar with it, let me get you up to speed. Seitan is a plant-based meat alternative made from wheat gluten. The beauty of seitan is that it is really easy to make at home and freezes well too! And who wouldn’t love a protein source that offers 20 grams of protein for each 3 ounce serving and yet only 1.5 grams of heart-healthy monounsaturated fat? Seitan is also very versatile. It can be baked, grilled, sauteed, fried, or prepared just about any way that you would prepare meat. So who needs that nasty meat anyway? If you have not tried to make seitan yourself, please go for it. You will be glad you did. If you are not into cooking, you can purchase seitan at health food stores and specialty markets like Whole Foods. When I am in a rush, I will use the West Soy brand, but the pieces are small and imho are best suited for a quick stir fry. Not that there is anything at all wrong with that! That is delicious! However, in many of my recipes, the seitan is much better when it is the size of what a cutlet of meat would be. By making my own seitan, I can make it any size I want.
Making seitan makes me happy! There is no fat to trim or blood to rinse off or e coli or salmonella to wipe off from my countertop! No hormones or antibiotics in it at all. And when I have the finished seitan cutlets on a plate I think about how easy it was to make a cruelty-free protein source that is so much healthier than meat and then I compare that to the entire wretched process of how a piece of steak or breast of chicken gets on a styrofoam tray at a supermarket chain and what that entails. The difference is astonishing. One is so good, healthy, compassionate and the other just so horribly bad – bad for your health, bad for the environment, bad for the animals.
This recipe is adapted from Isa Chandra Moskowitz’s Vegan with a Vengeance. All Isa’s cookbooks are incredible!! The actual work time is minimal, maybe 20 minutes tops, but it does take a lot of time on the stove, so plan accordingly. That is why I usually make my seitan over the weekend. The recipe will yield enough seitan for 2 family meals or 4 meals for one or two people. I actually double the recipe and thereby get enough seitan to make 4 meals for my family, and I freeze at least half of it which is great! Then, I just defrost it in the fridge the night before I want to use it and it is ready to go!
BASIC SEITAN RECIPE

Ingredients for Seitan
- 2 c vital wheat gluten – you can get this pre-packaged from Arrowhead Mills for example (they carry this at my local Shoprite) or you can get it in bulk from health food stores and specialty markets like Whole Foods.
- 2 T flour
- 1/4 c nutritional yeast
- 1 c vegetable broth
- 1/2 c soy sauce
- 1 t ketchup
- 1 T olive oil
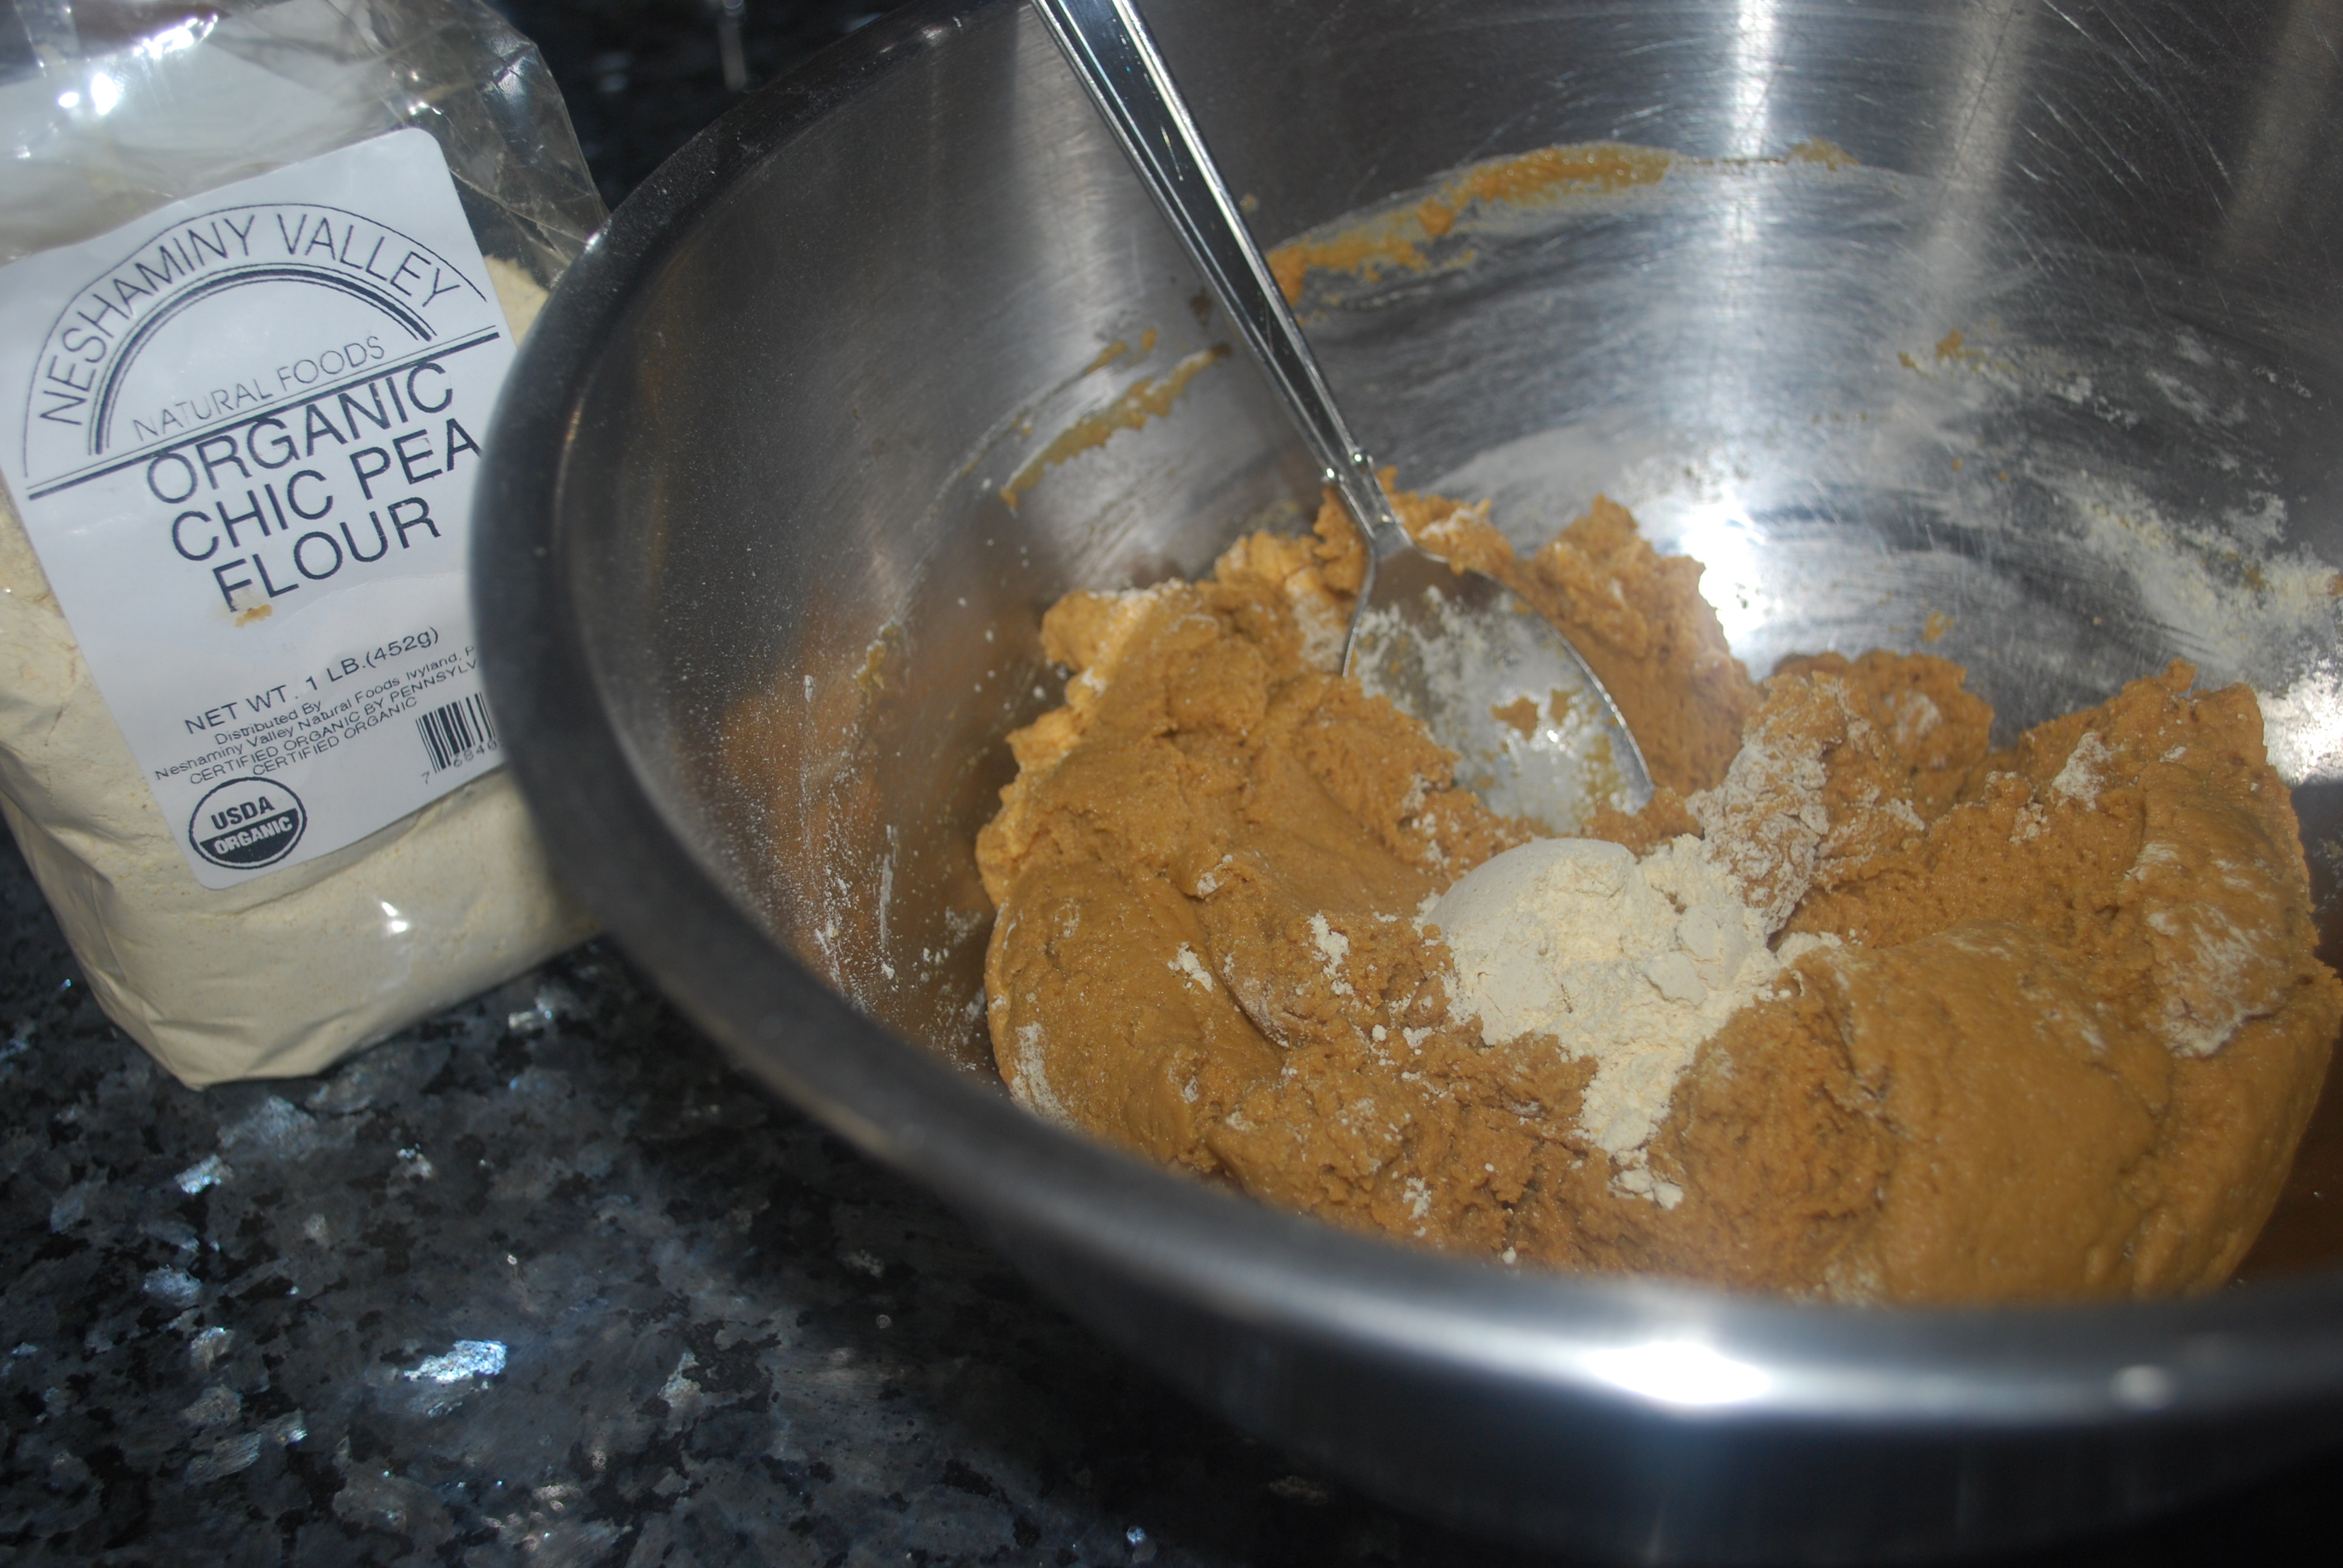
- 2 T chickpea flour
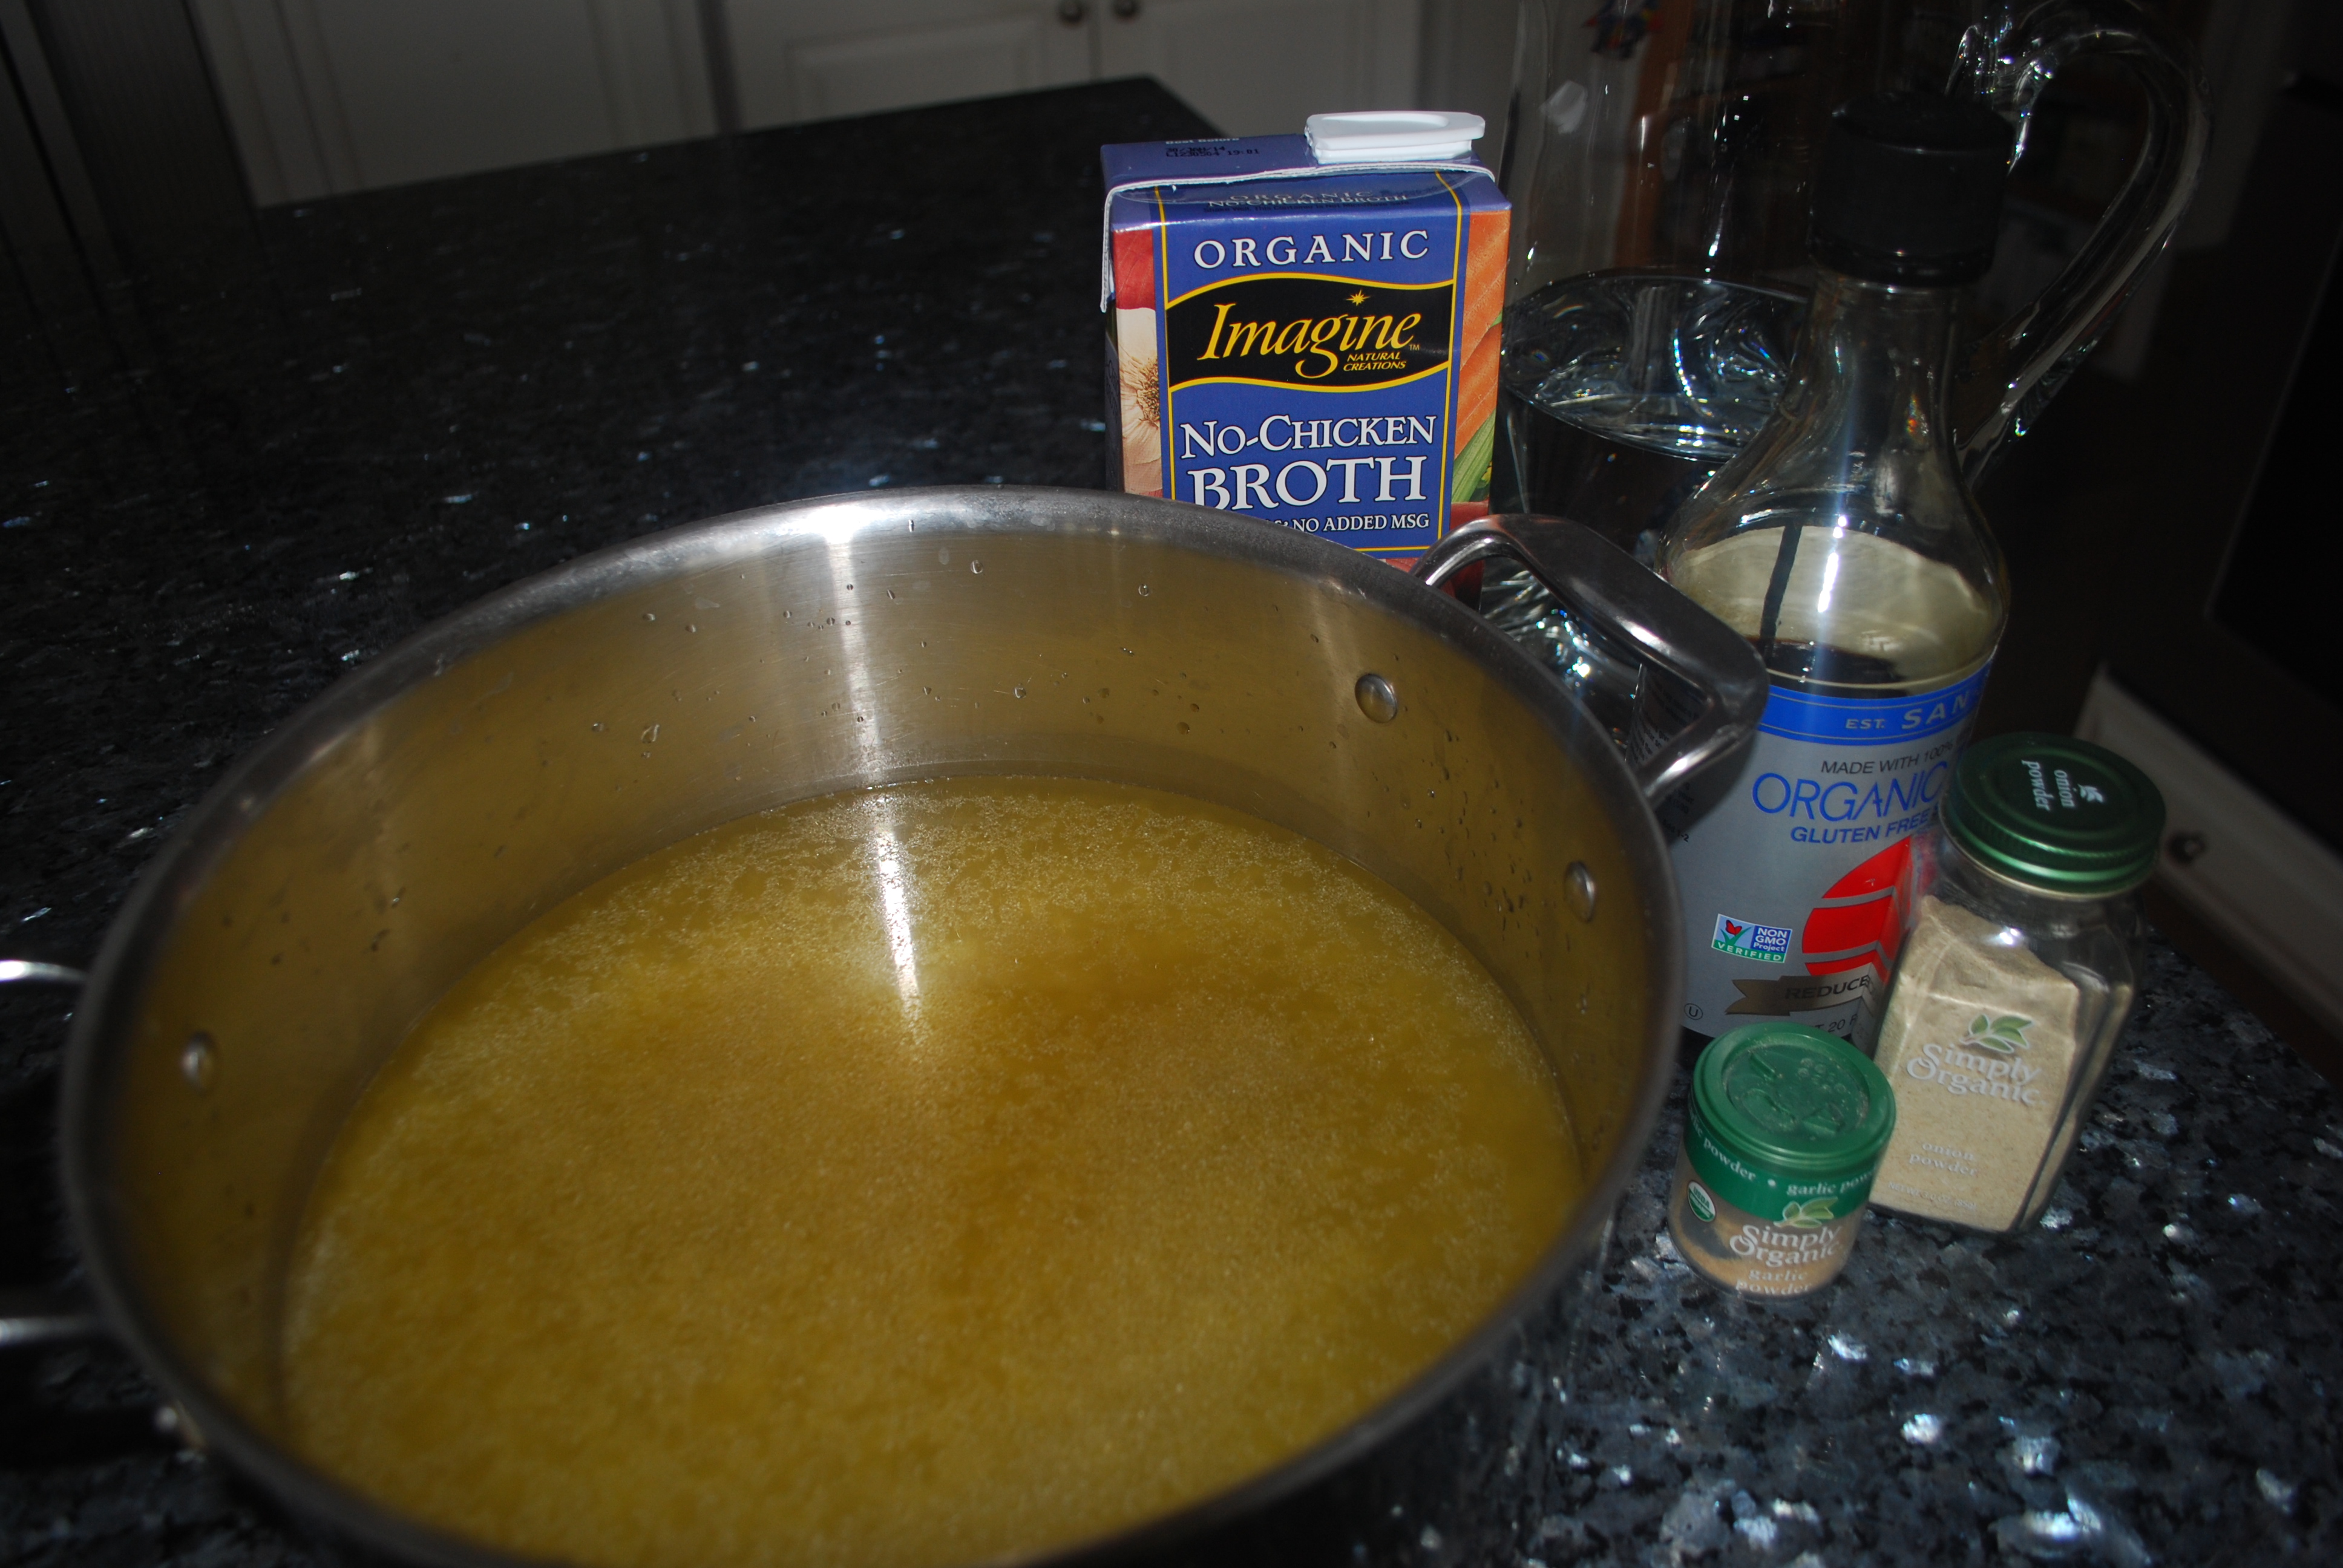
for the broth –
- 9 c water
- 3 c vegetable broth
- 1/2 c soy sauce
- 1/2 t garlic powder
- 1/2 t onion powder
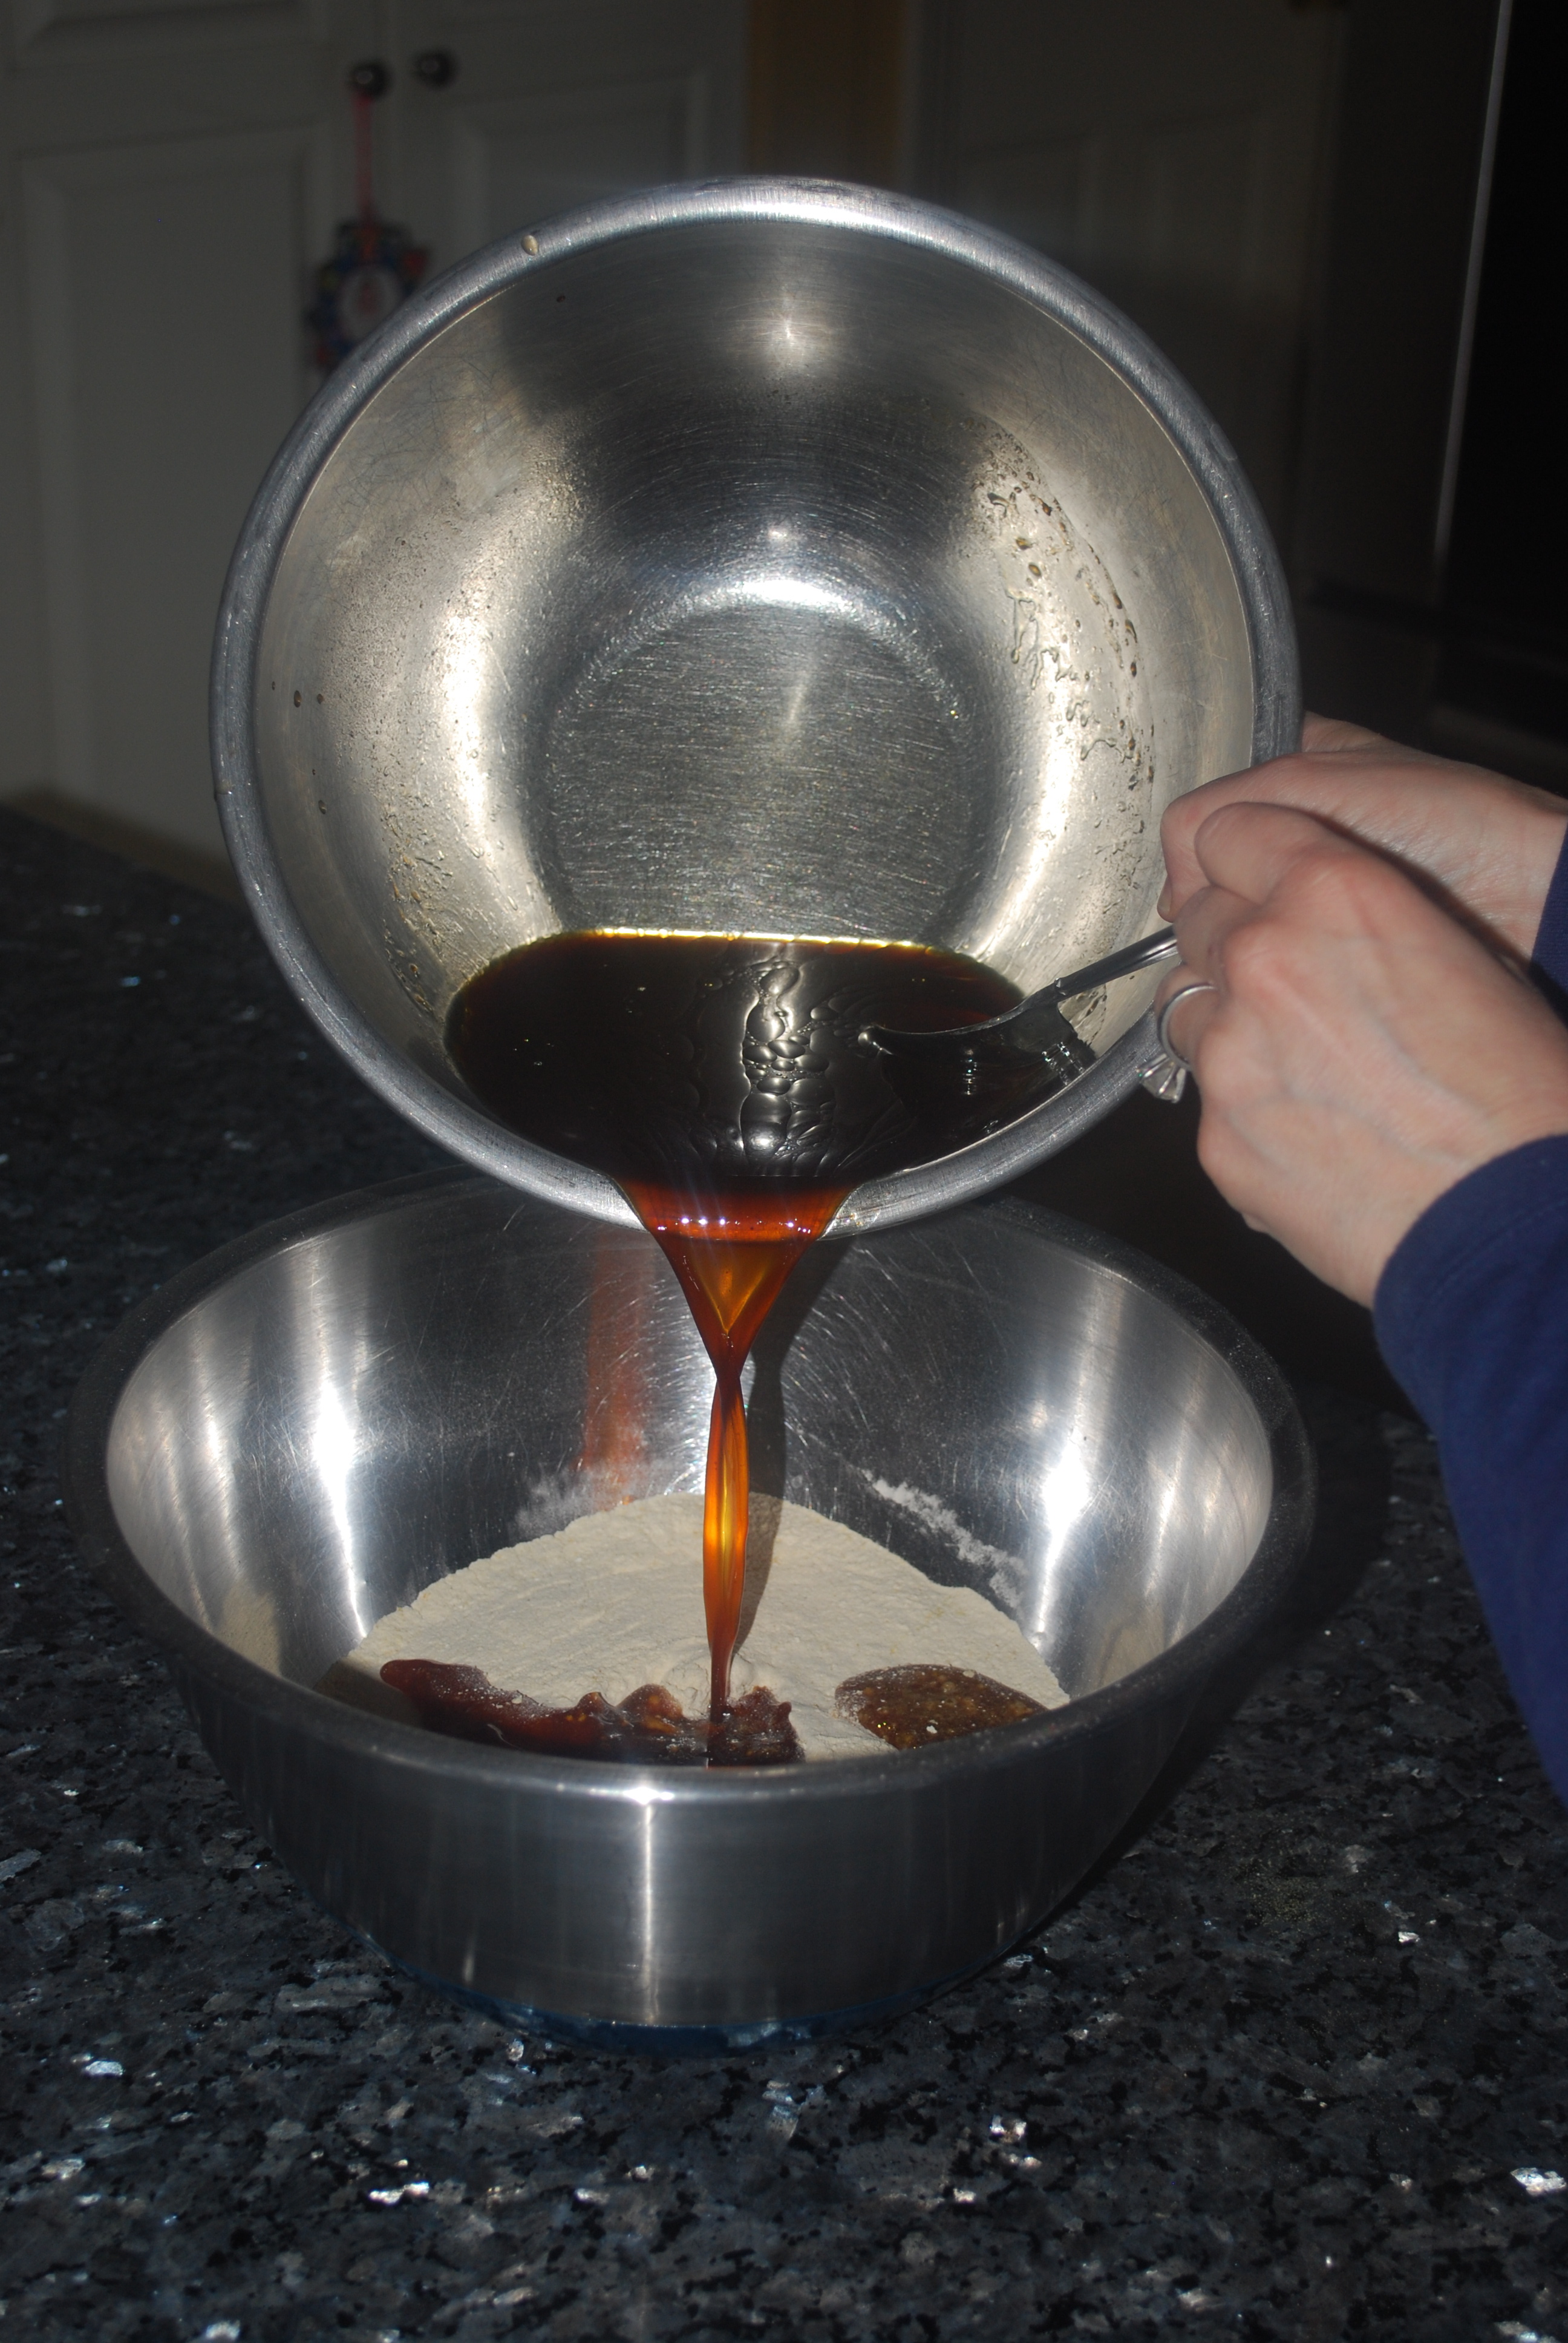
In a large bowl, combine the 3 first ingredients.

In another bowl, combine the next 4 ingredients.

Pour the wet into the dry and mix with your hands and knead until it is all incorporated.

Knead in the chickpea flour.

Let dough rest for 5 minutes.

Meanwhile, mix the broth ingredients in a large pot, but do not heat yet.

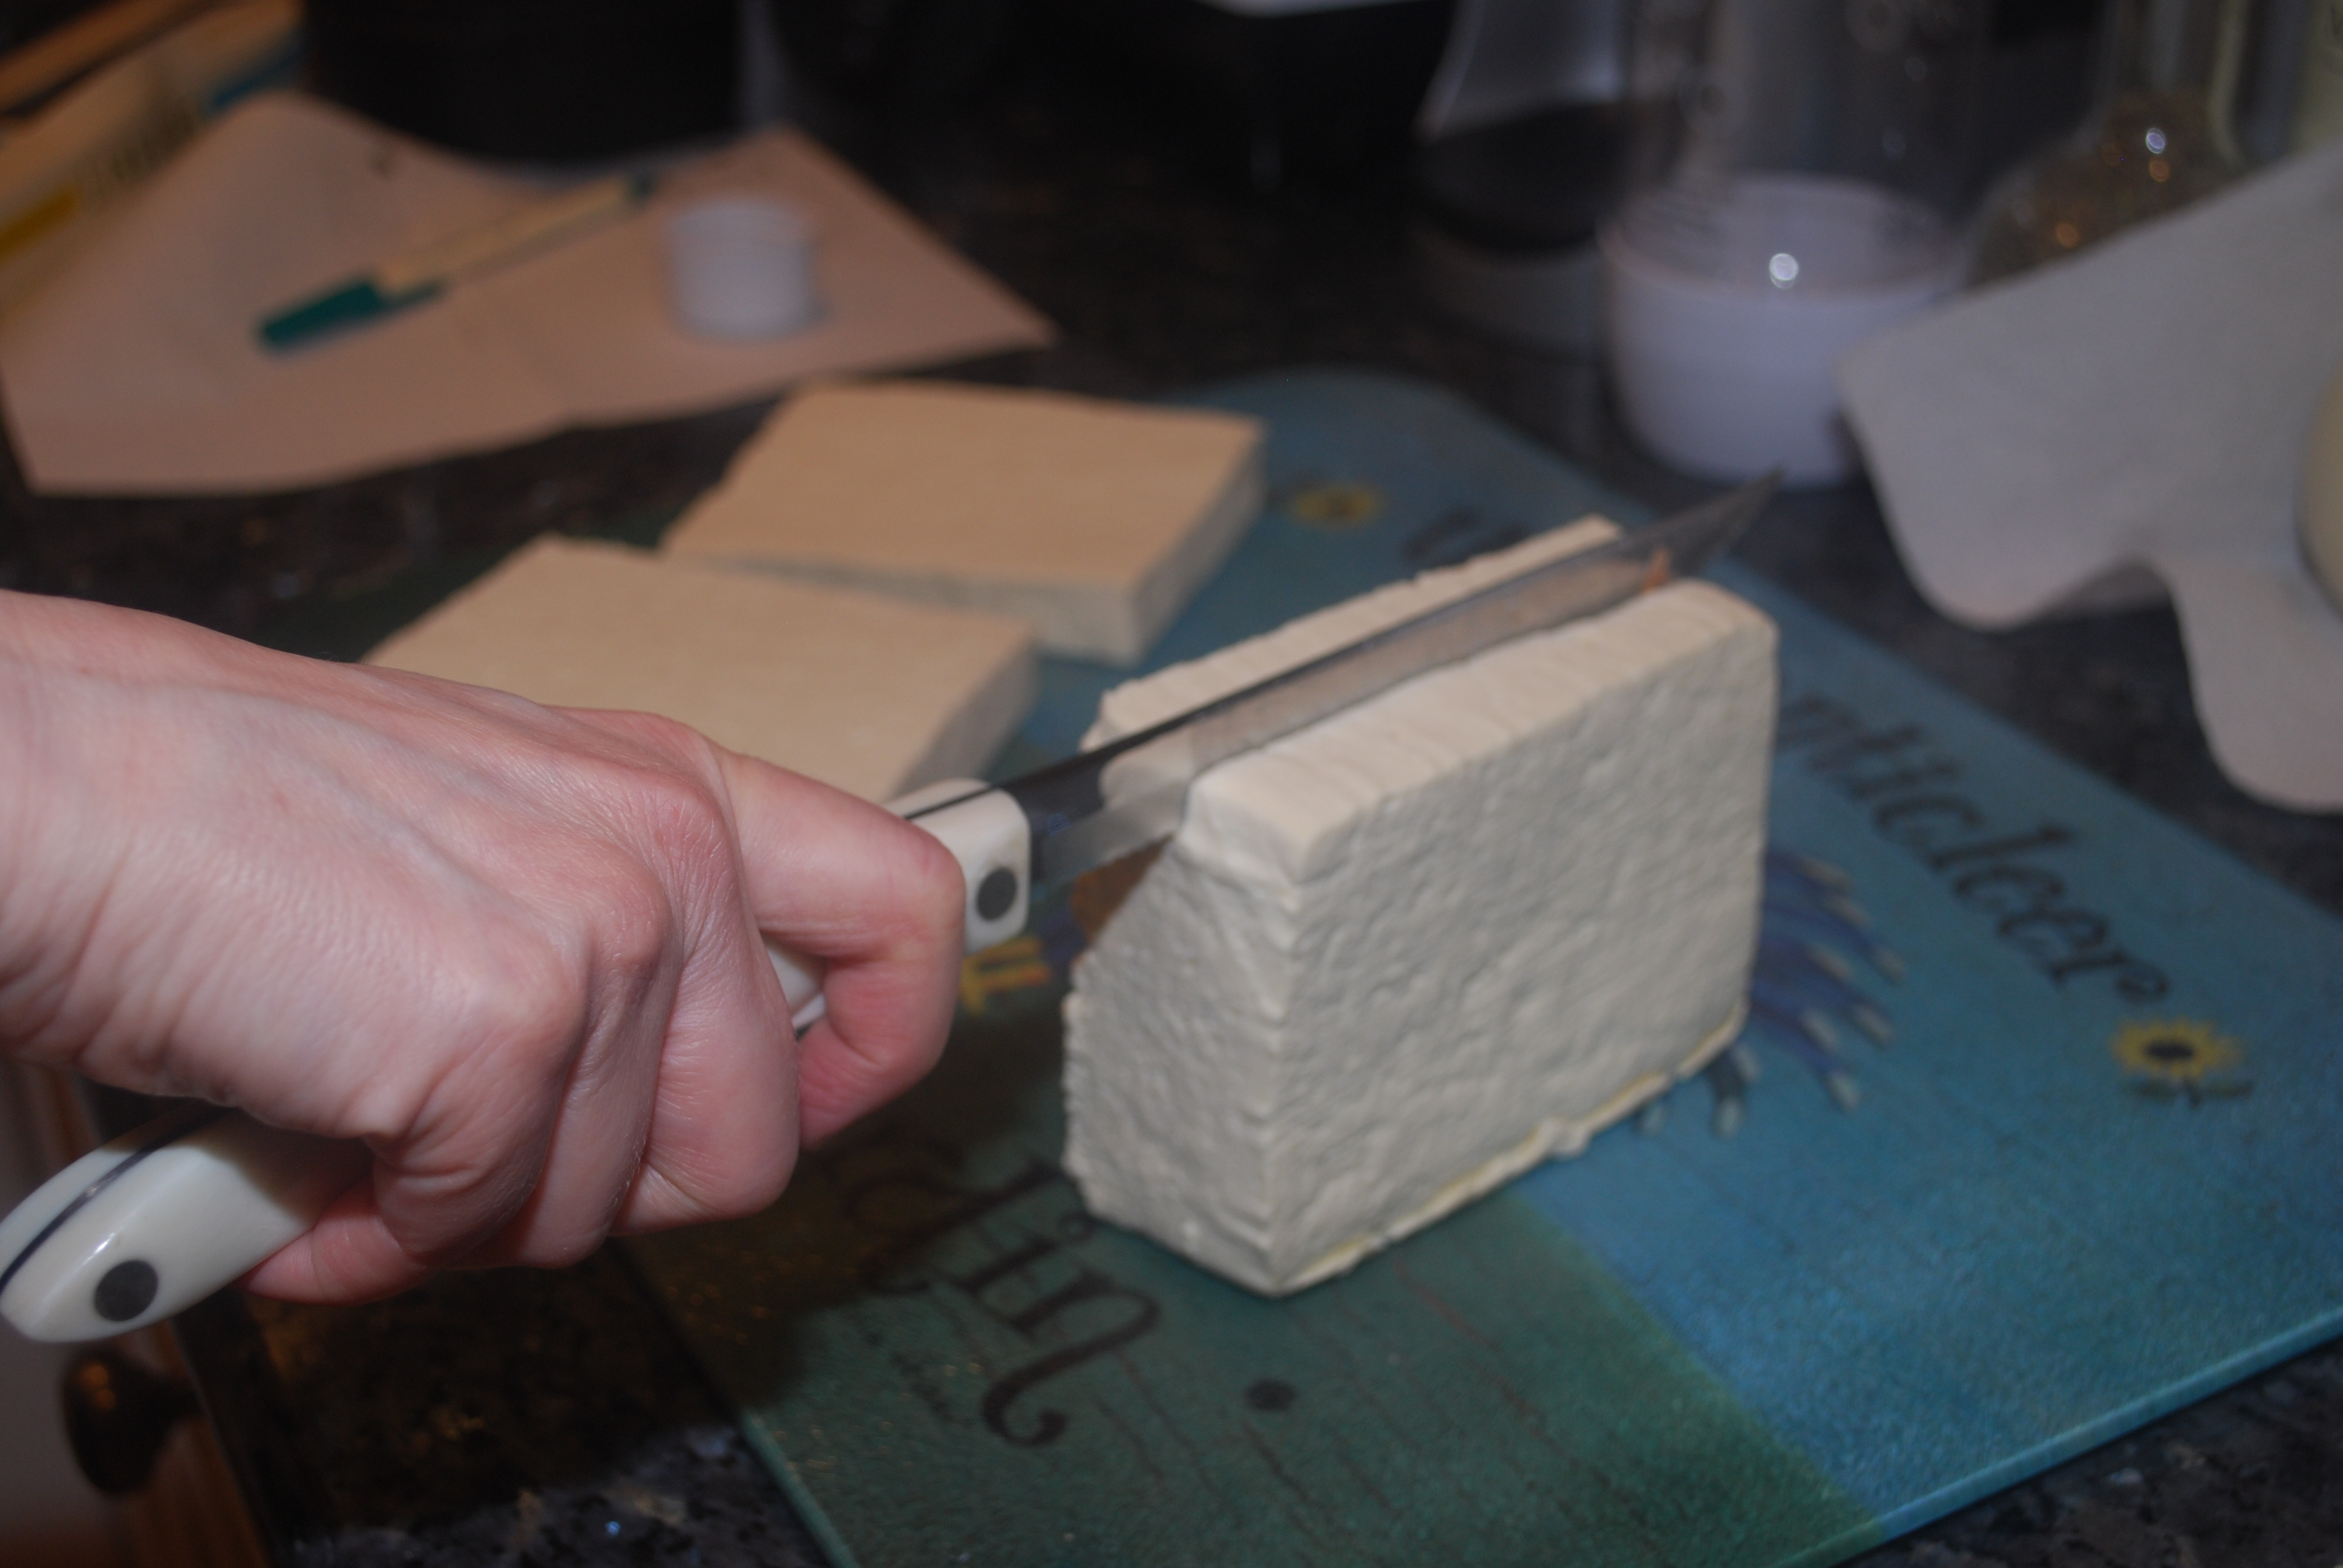
Roll the dough into a 10” log

Cut into 6 pieces.

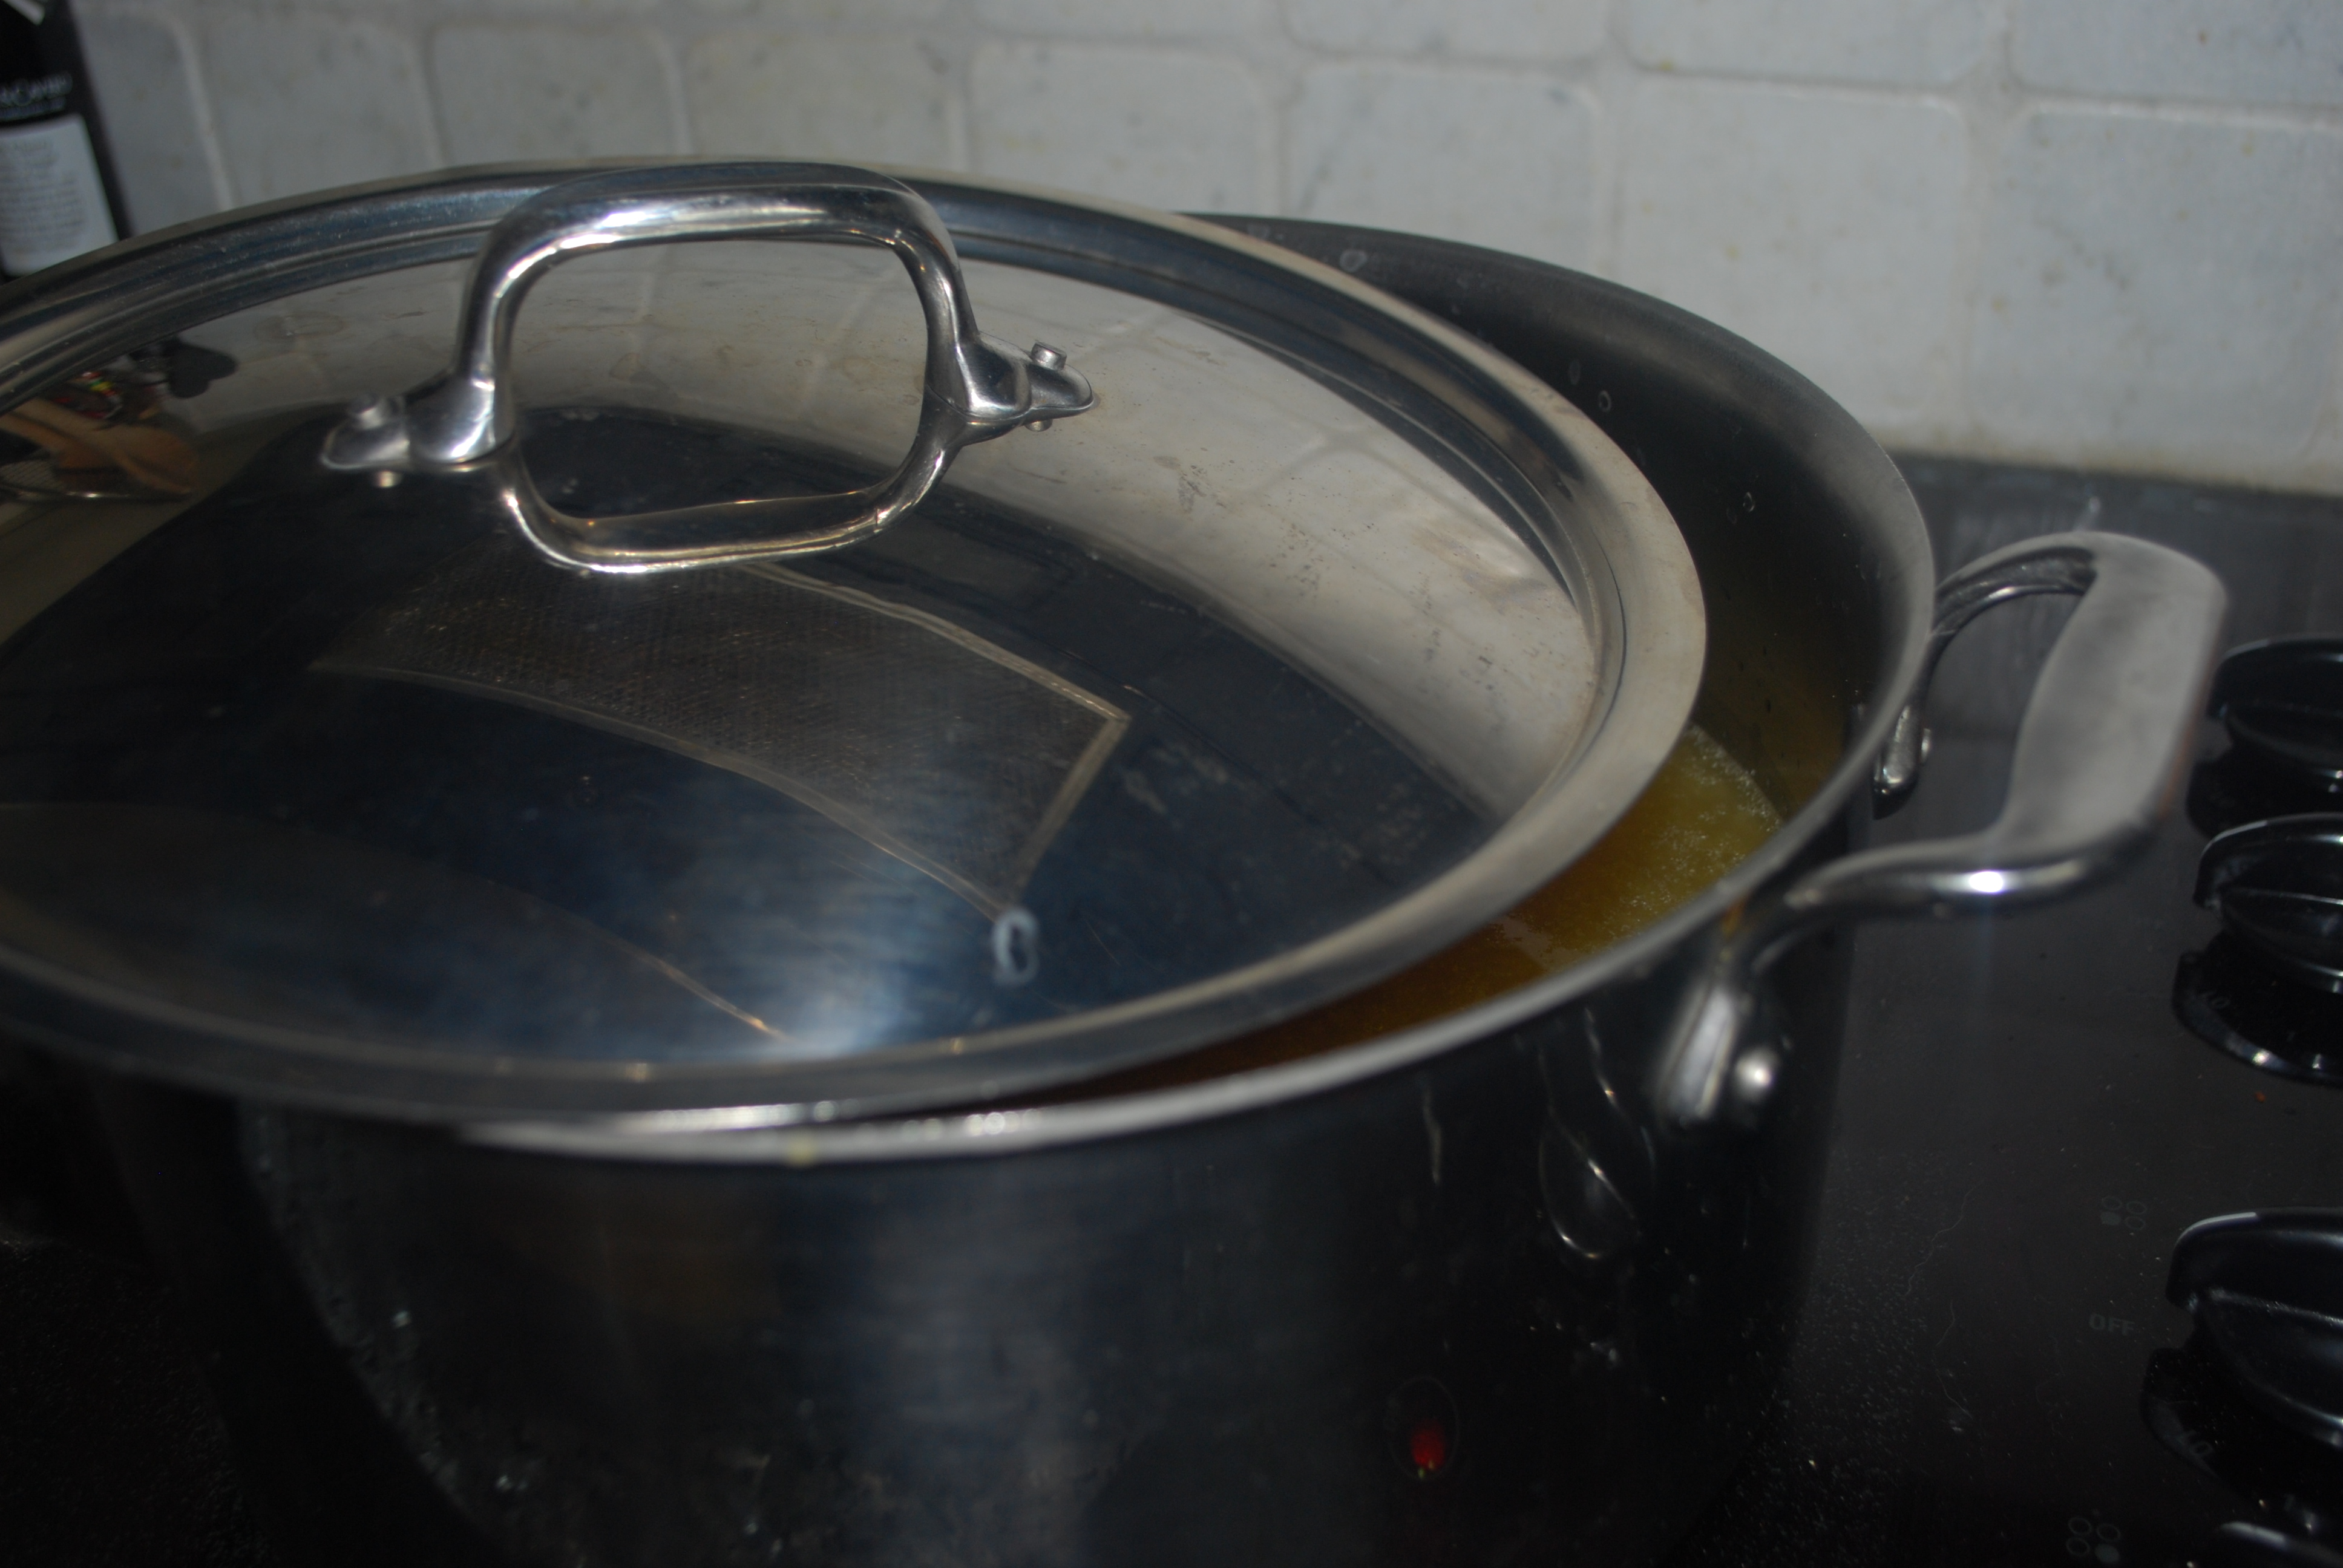
Place the pieces into the cold broth. Partially cover and turn the heat to high. Bring to boil, then reduce the heat to low and simmer, partially covered, for 90 minutes.

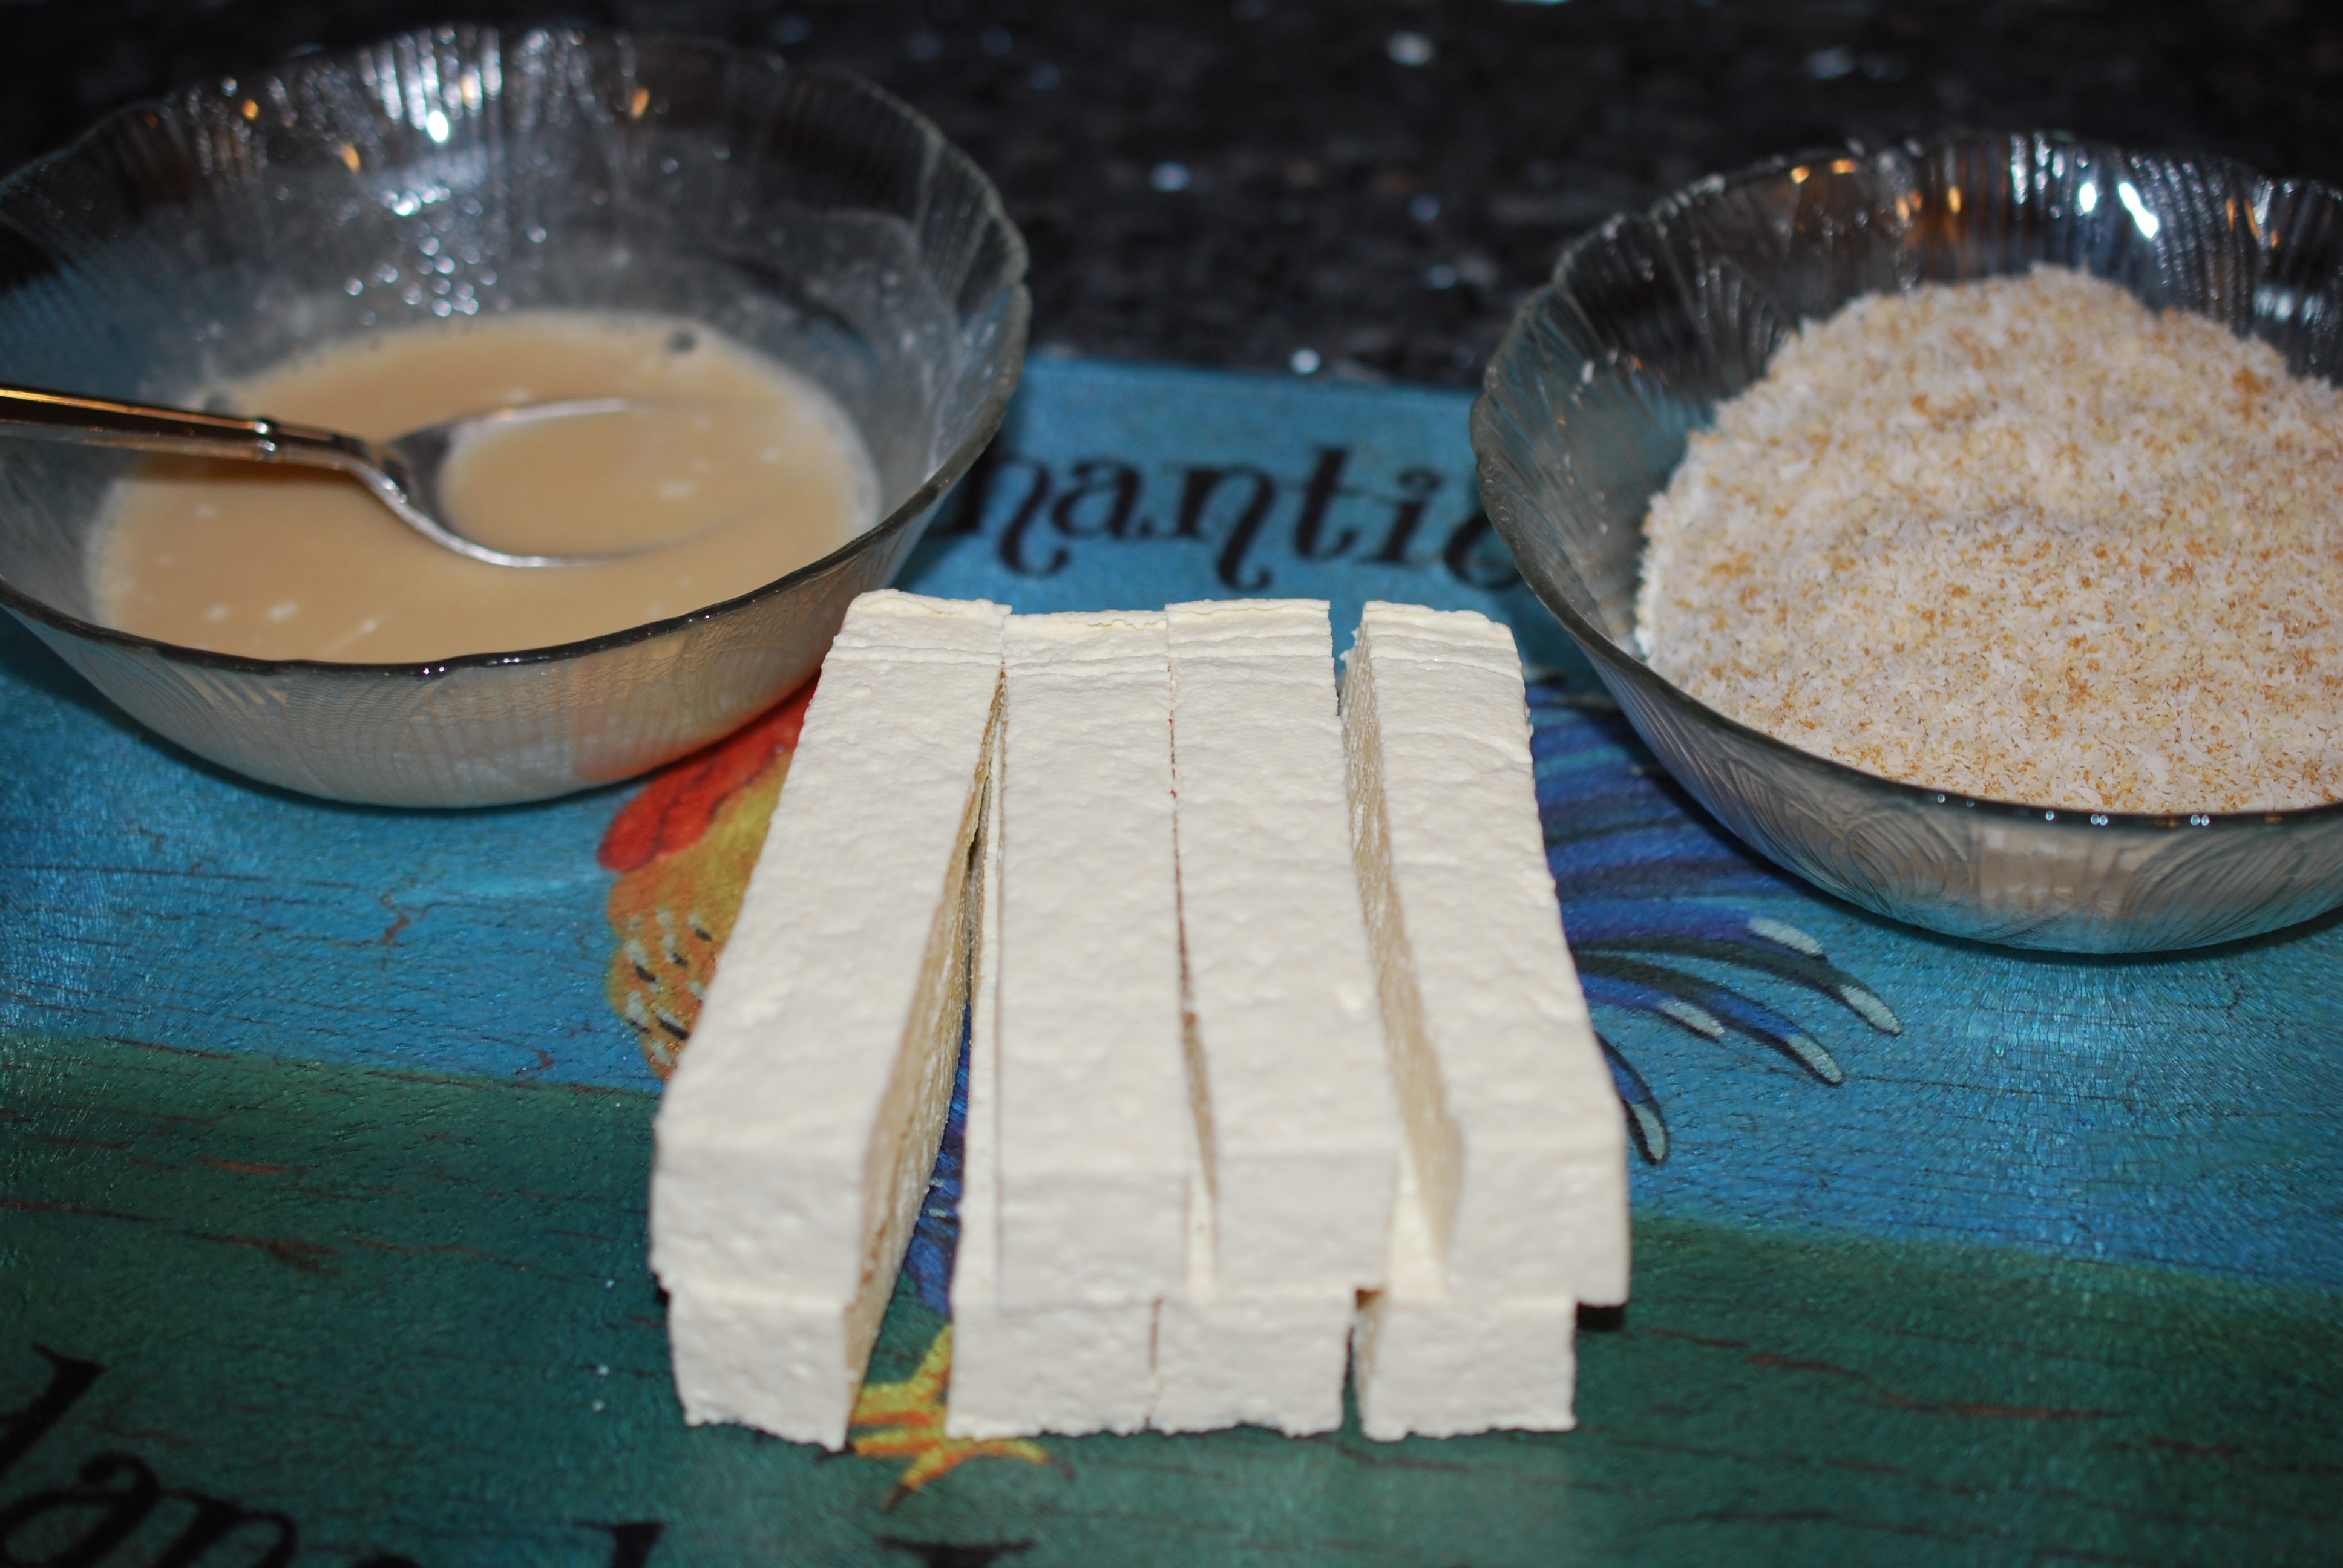
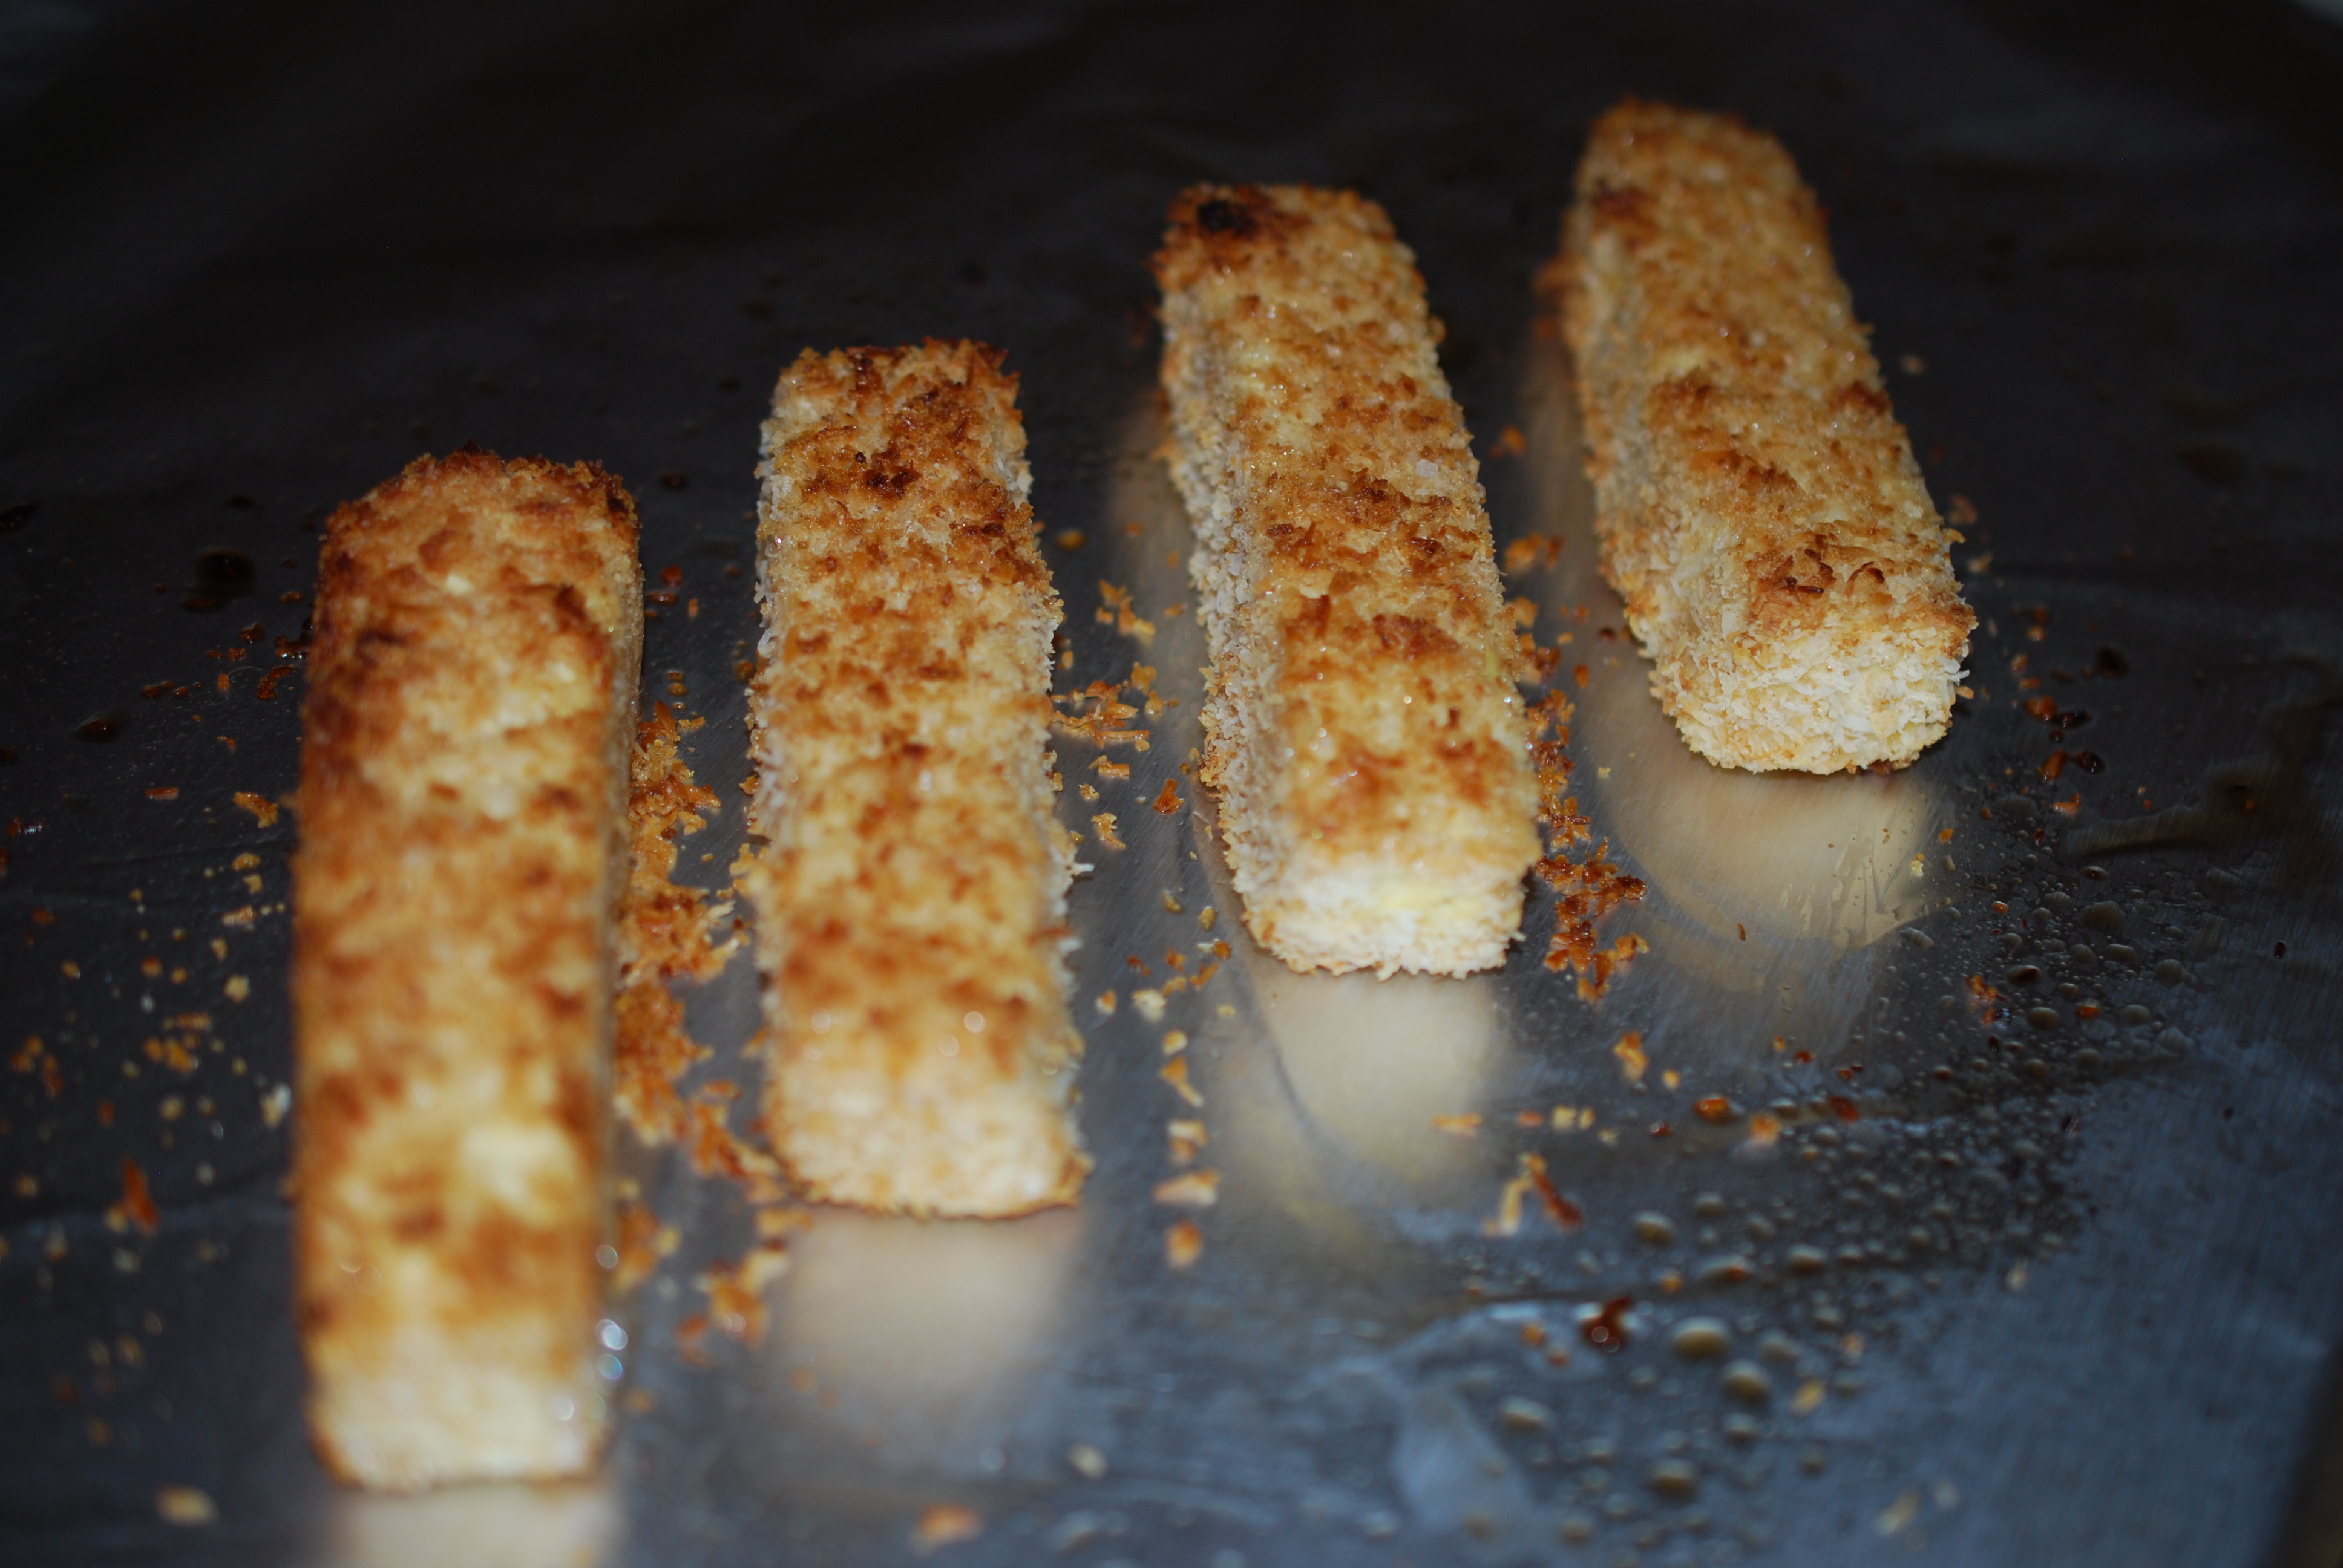
Remove from heat and let cool in pan for another hour if you have the time. At this point, you can use the seitan, store in the broth in the fridge for up to 5 days, or freeze for later. I usually cut each of the 6 pieces into 3 cutlet size pieces, so I wind up with 18 cutlets from this recipe. If you are using it later, don’t slice it into individual pieces until you are ready to use it.

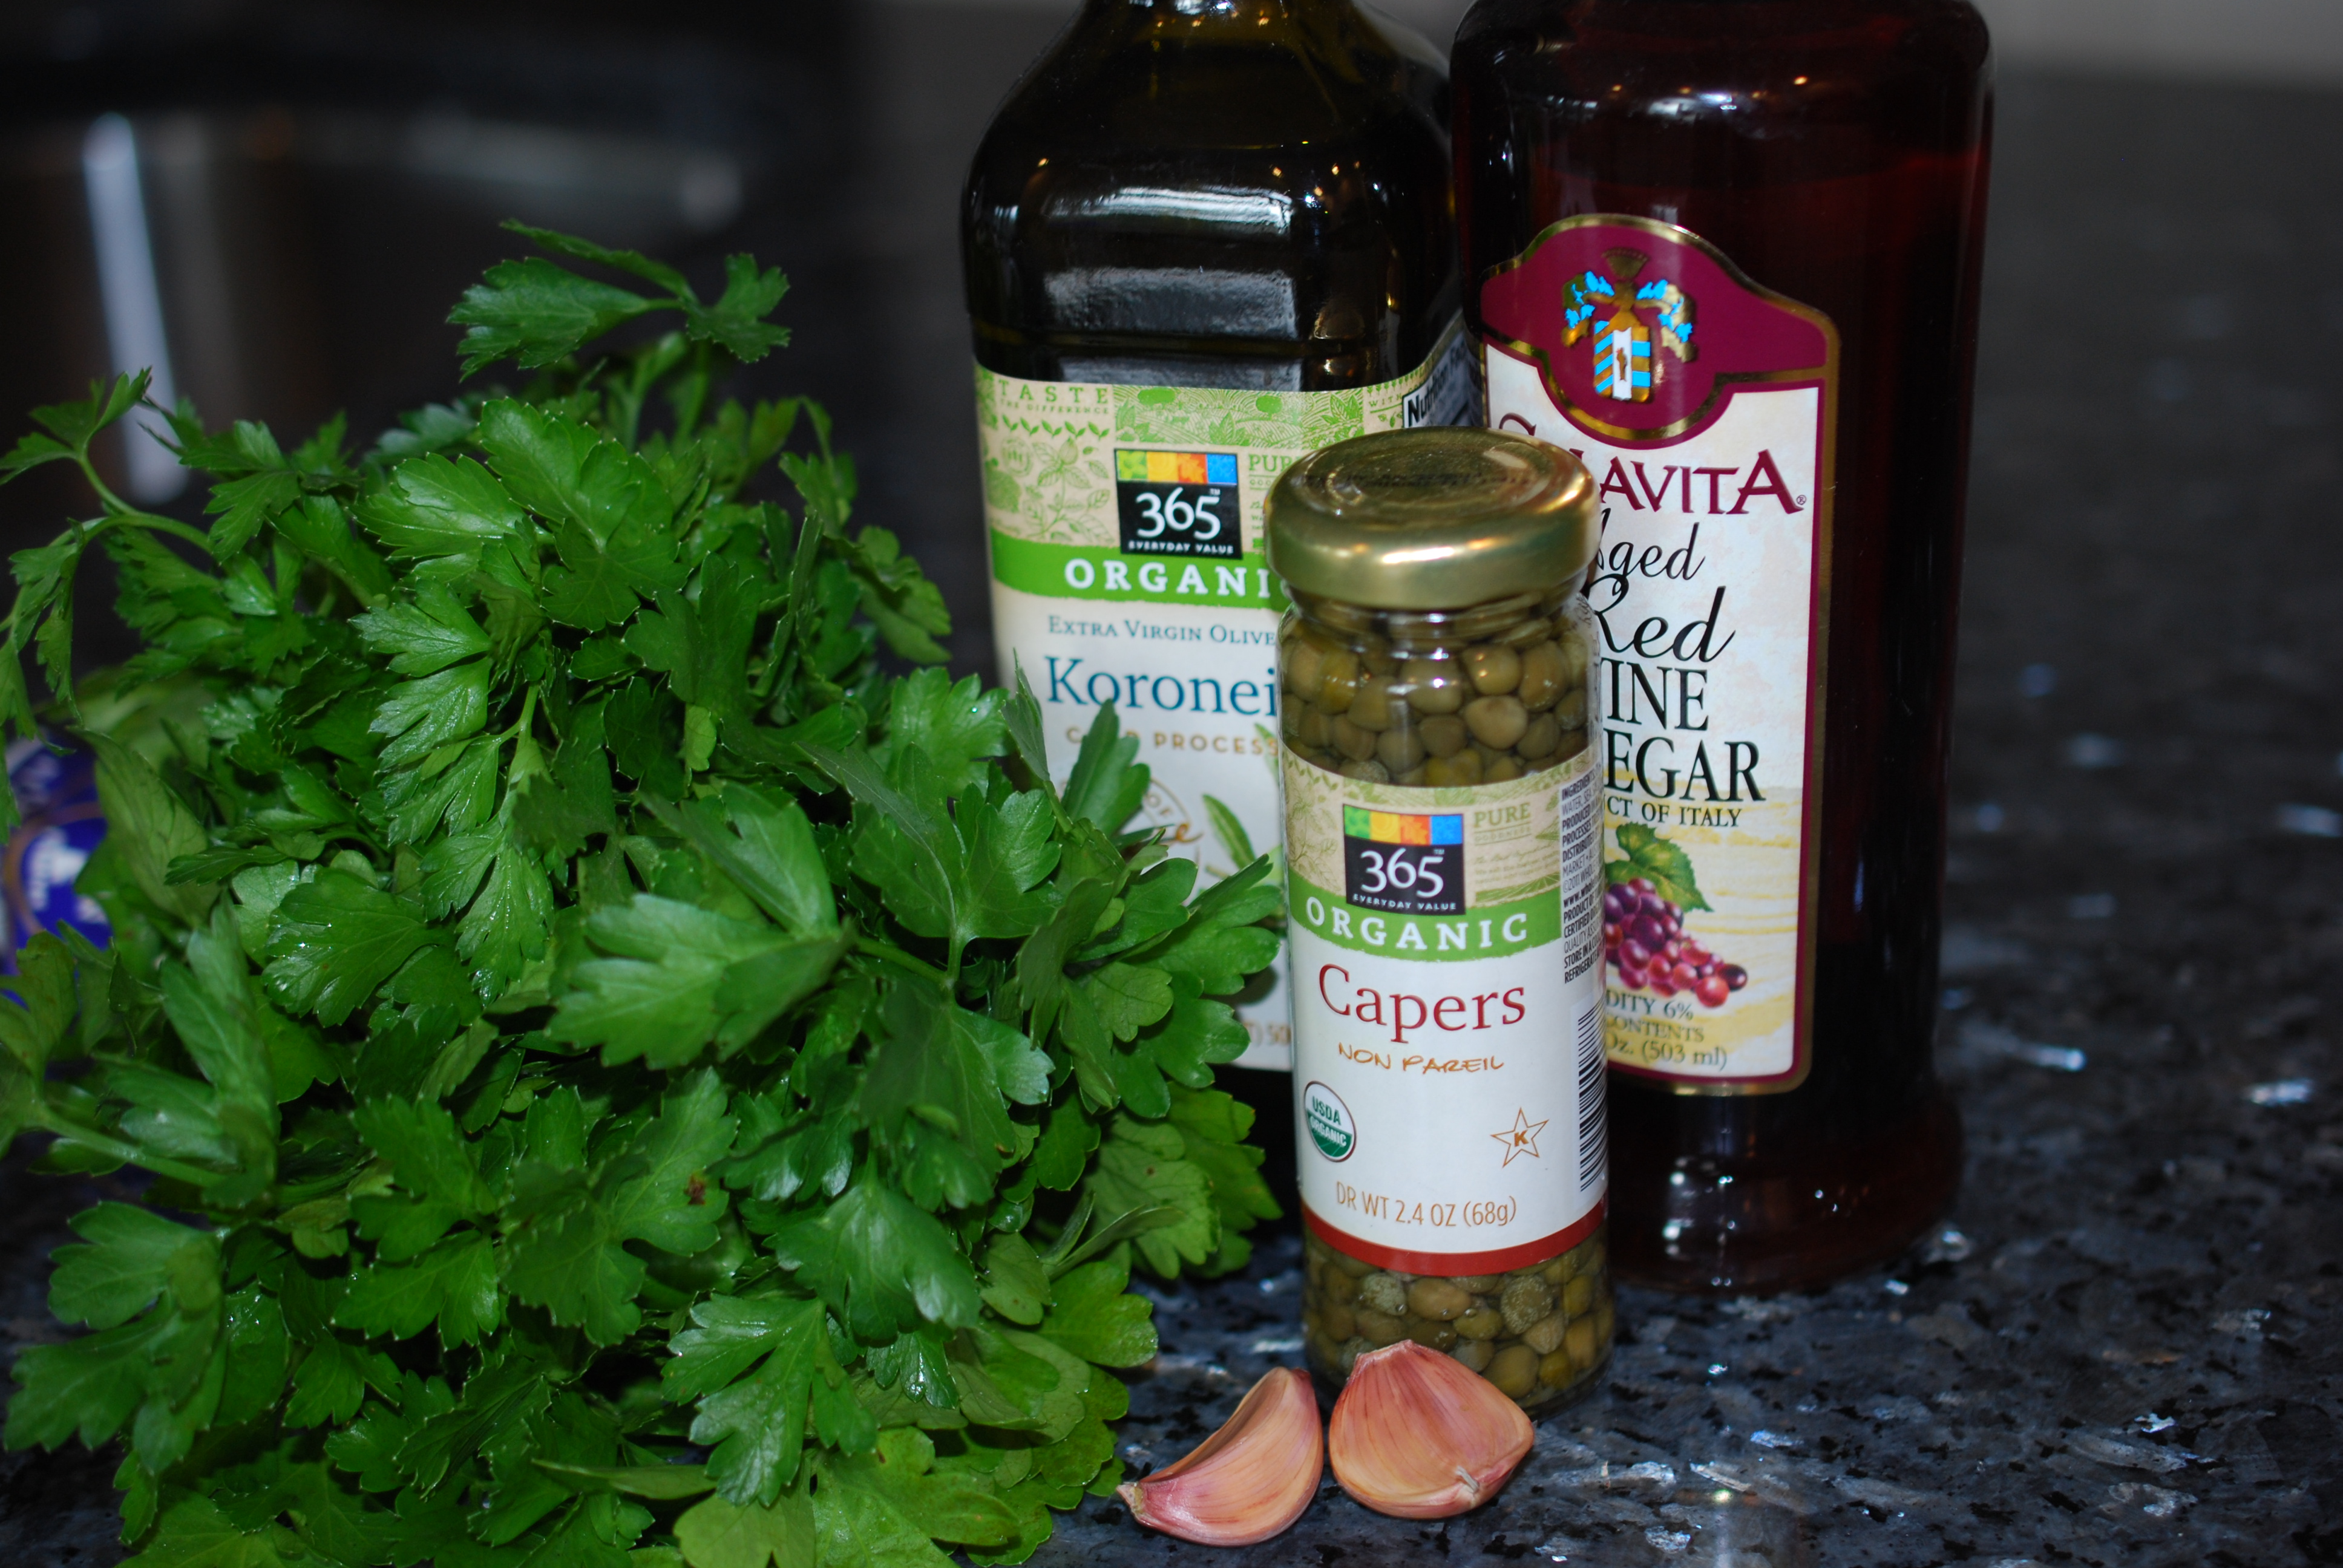
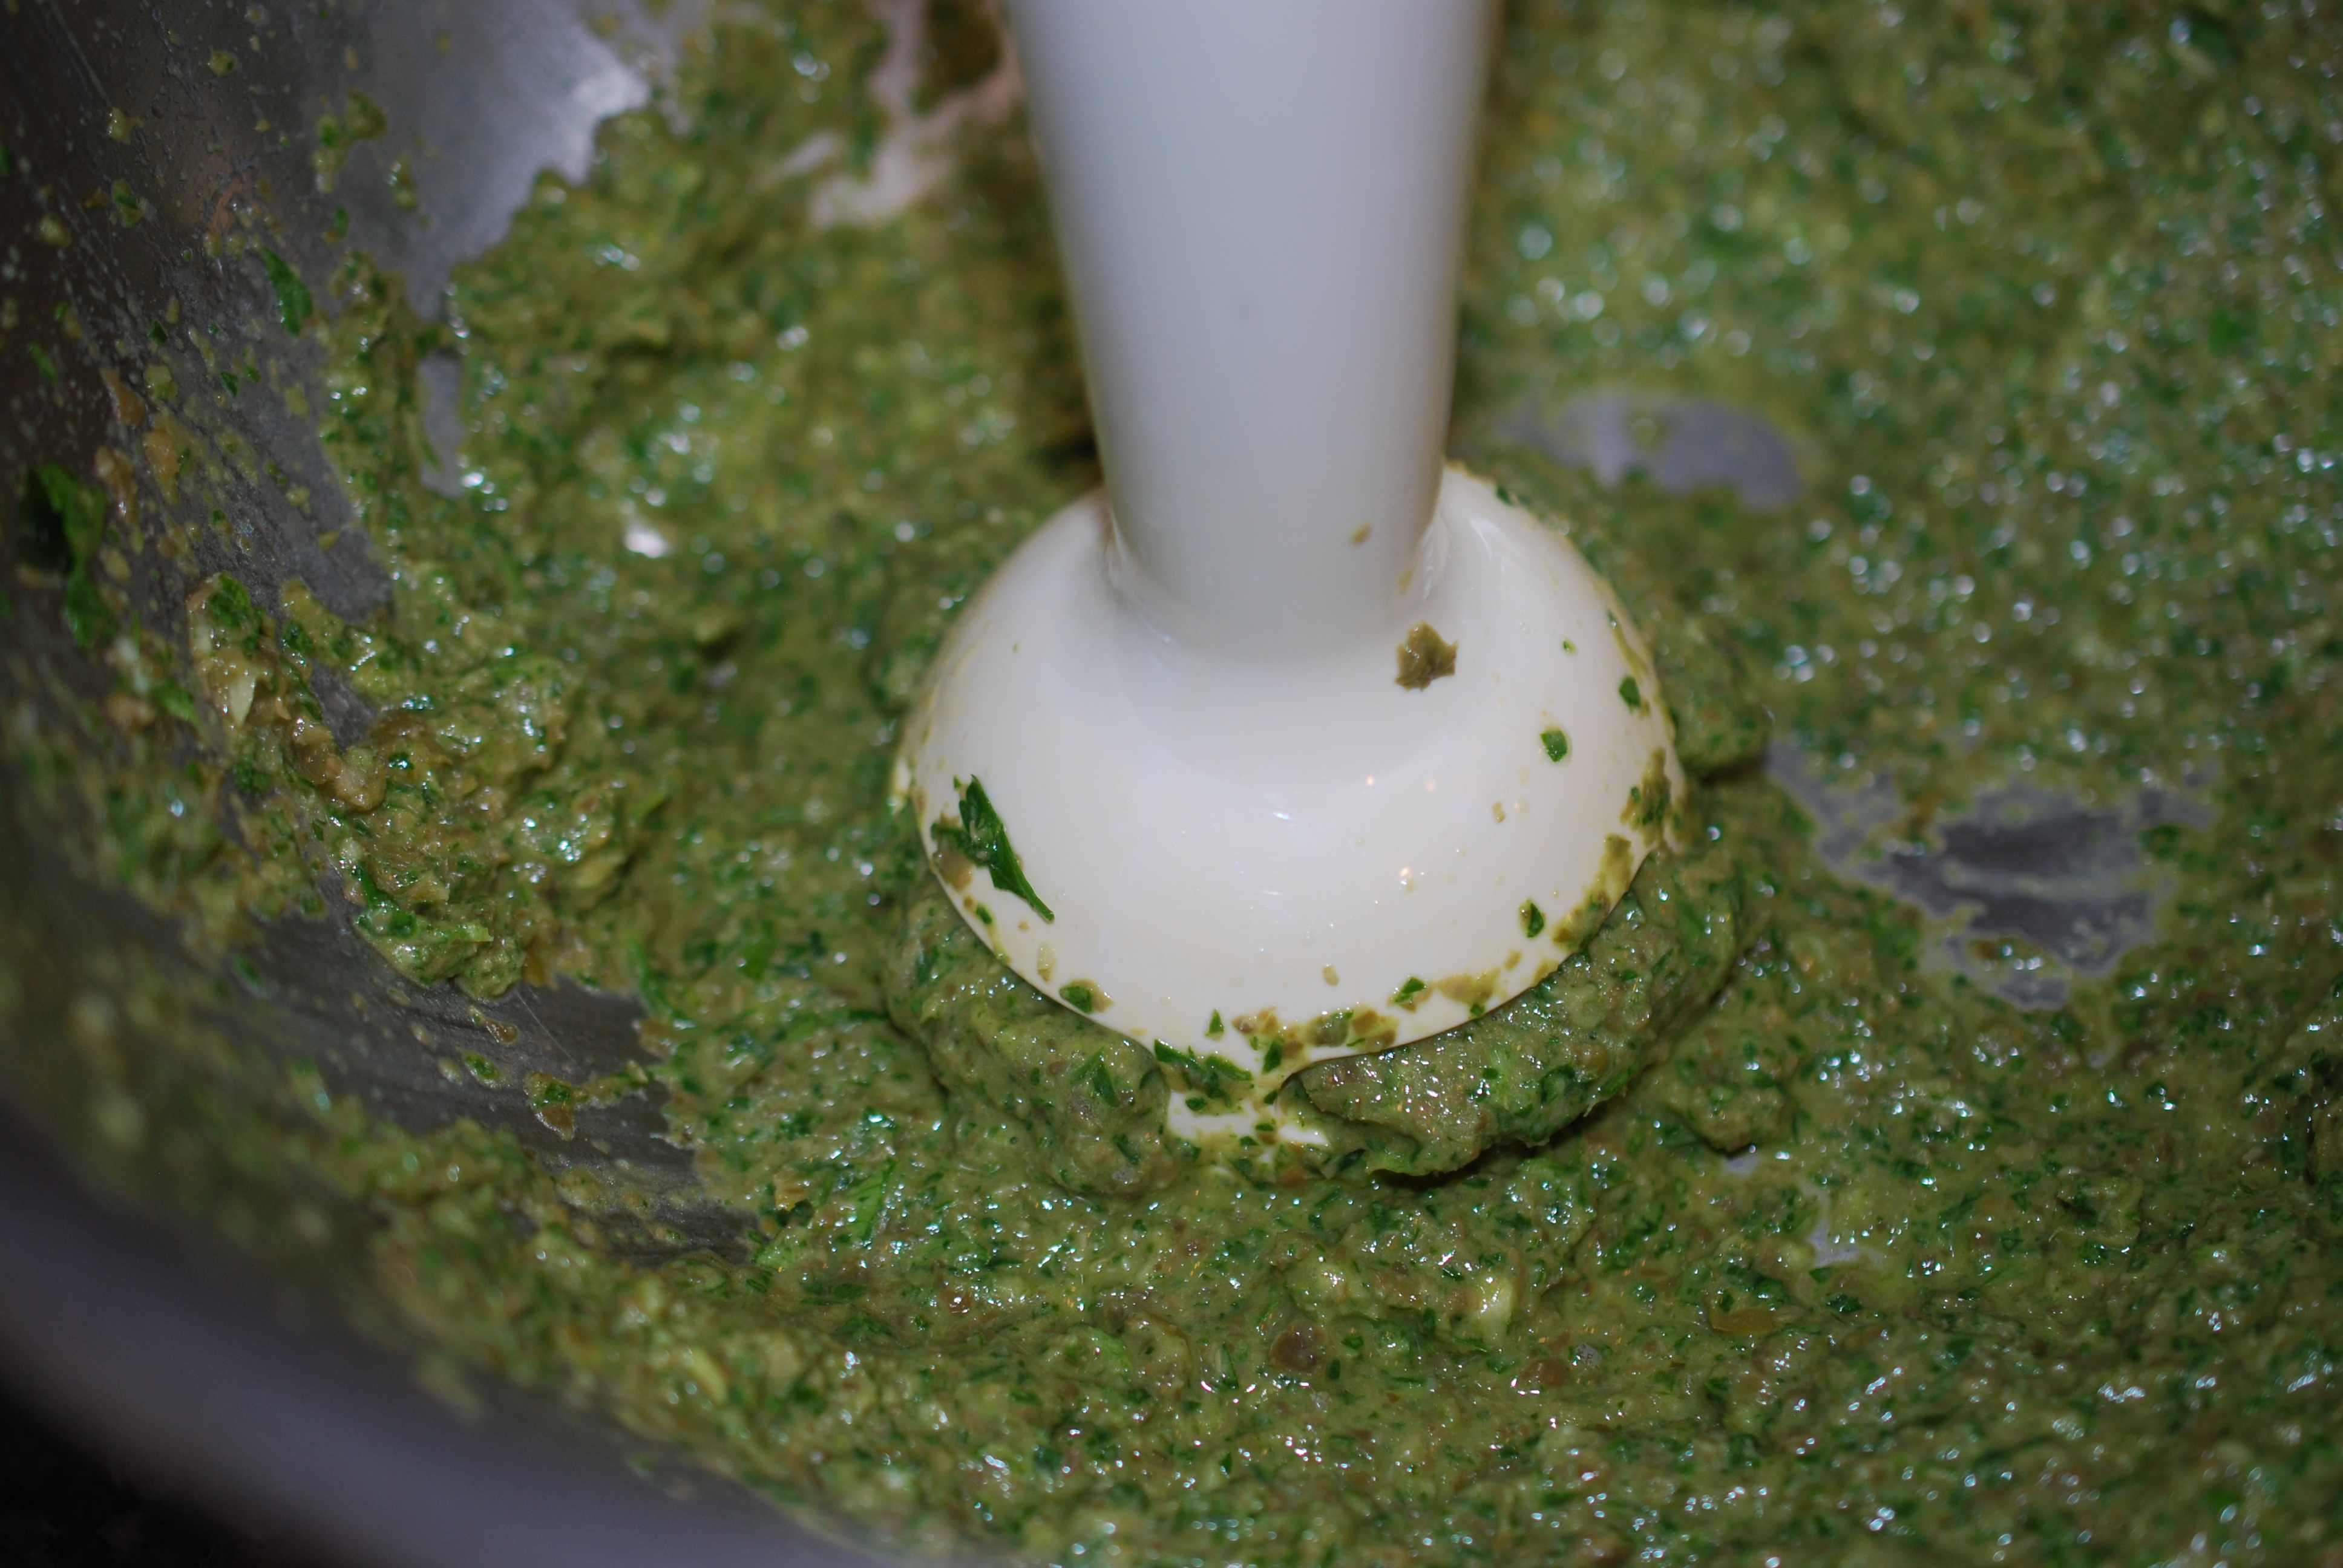
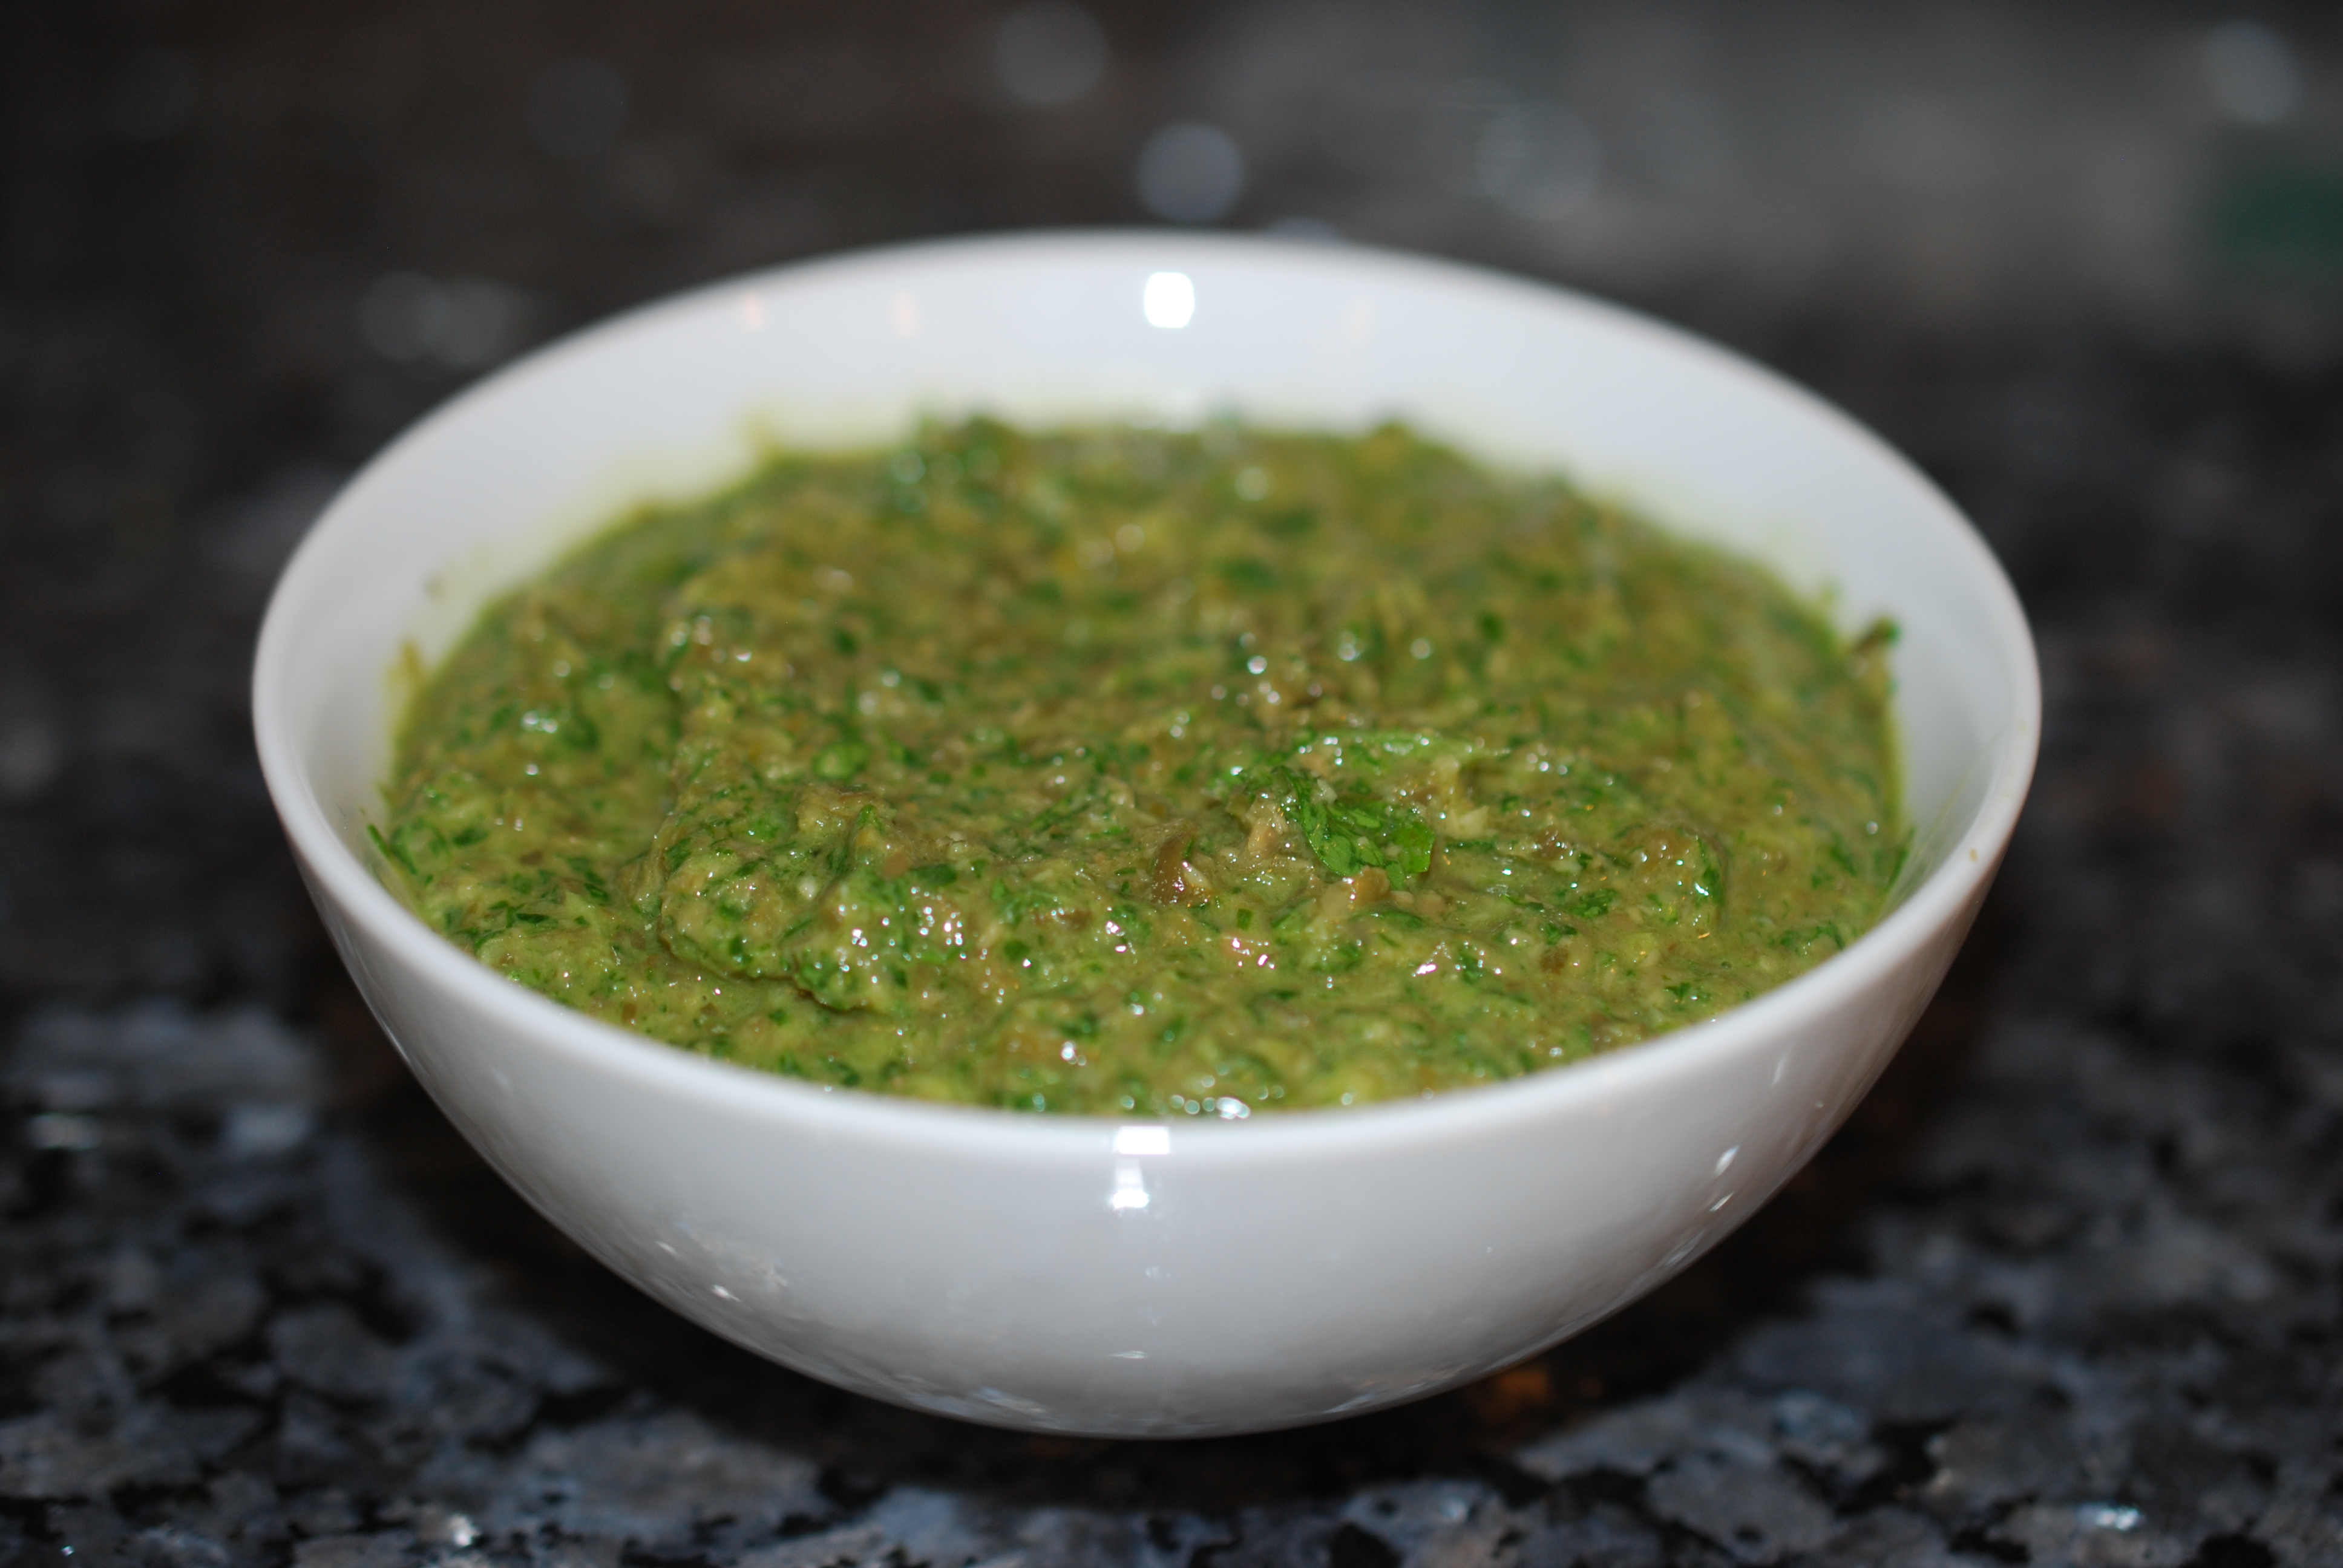
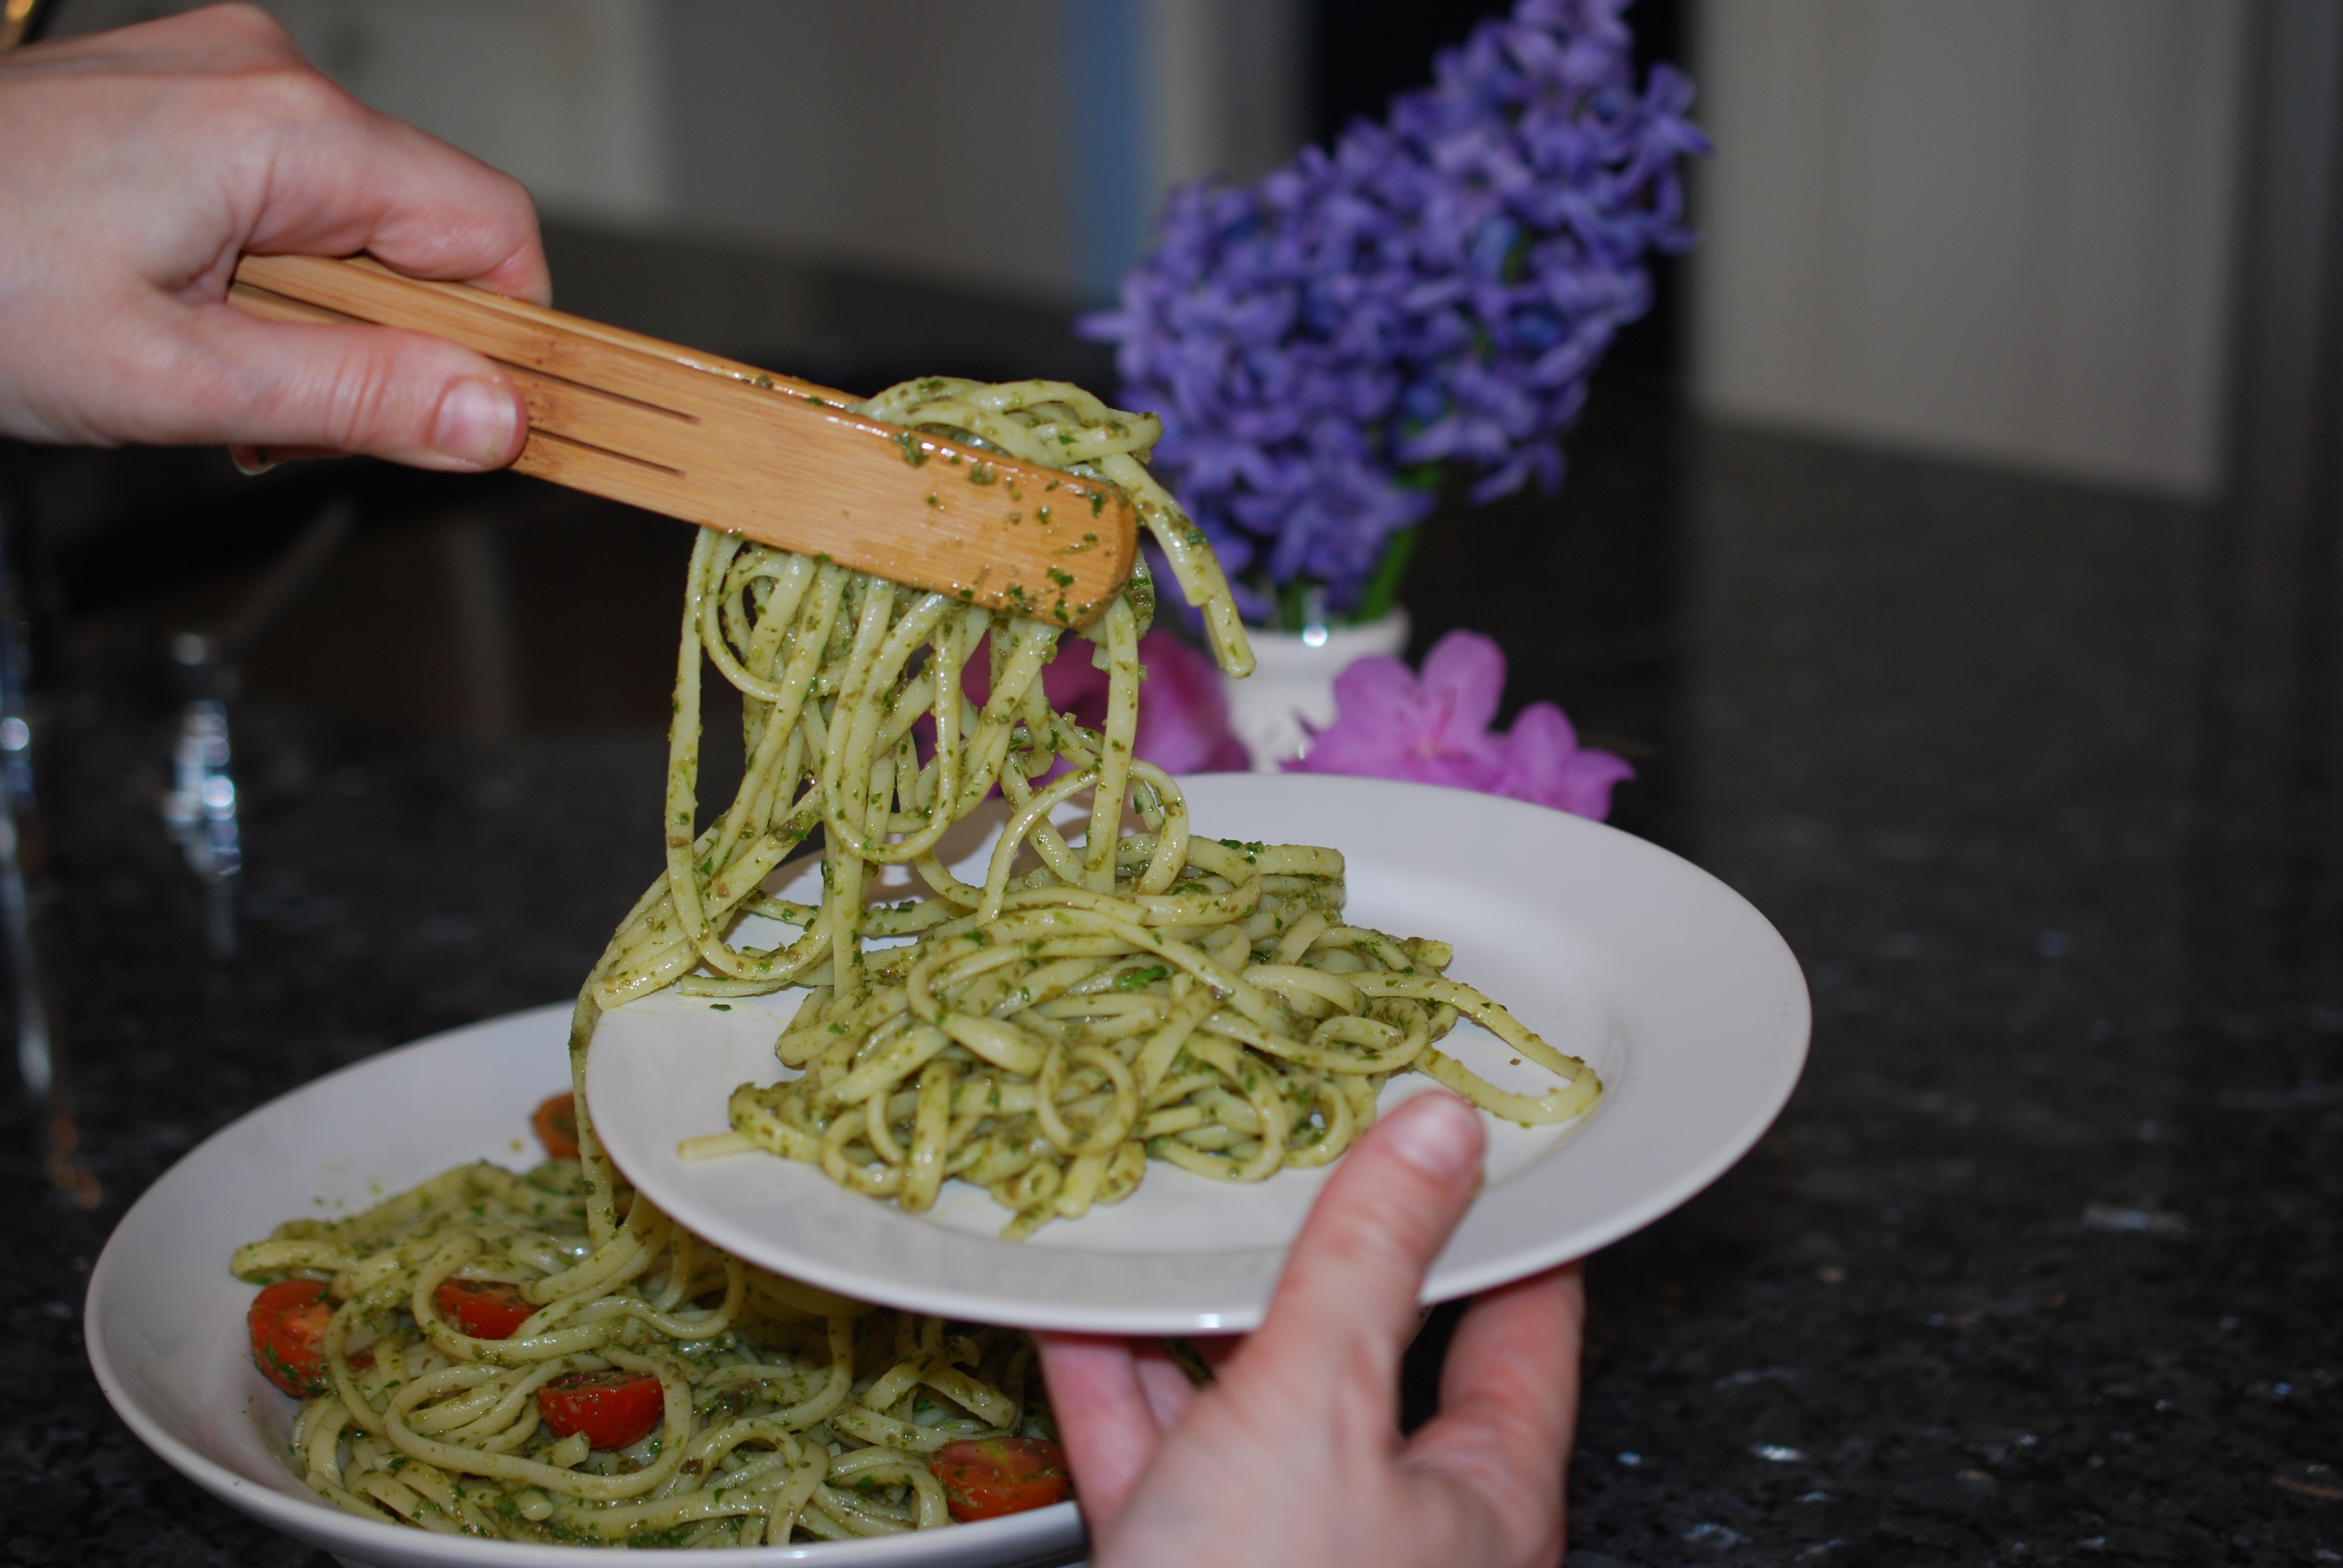
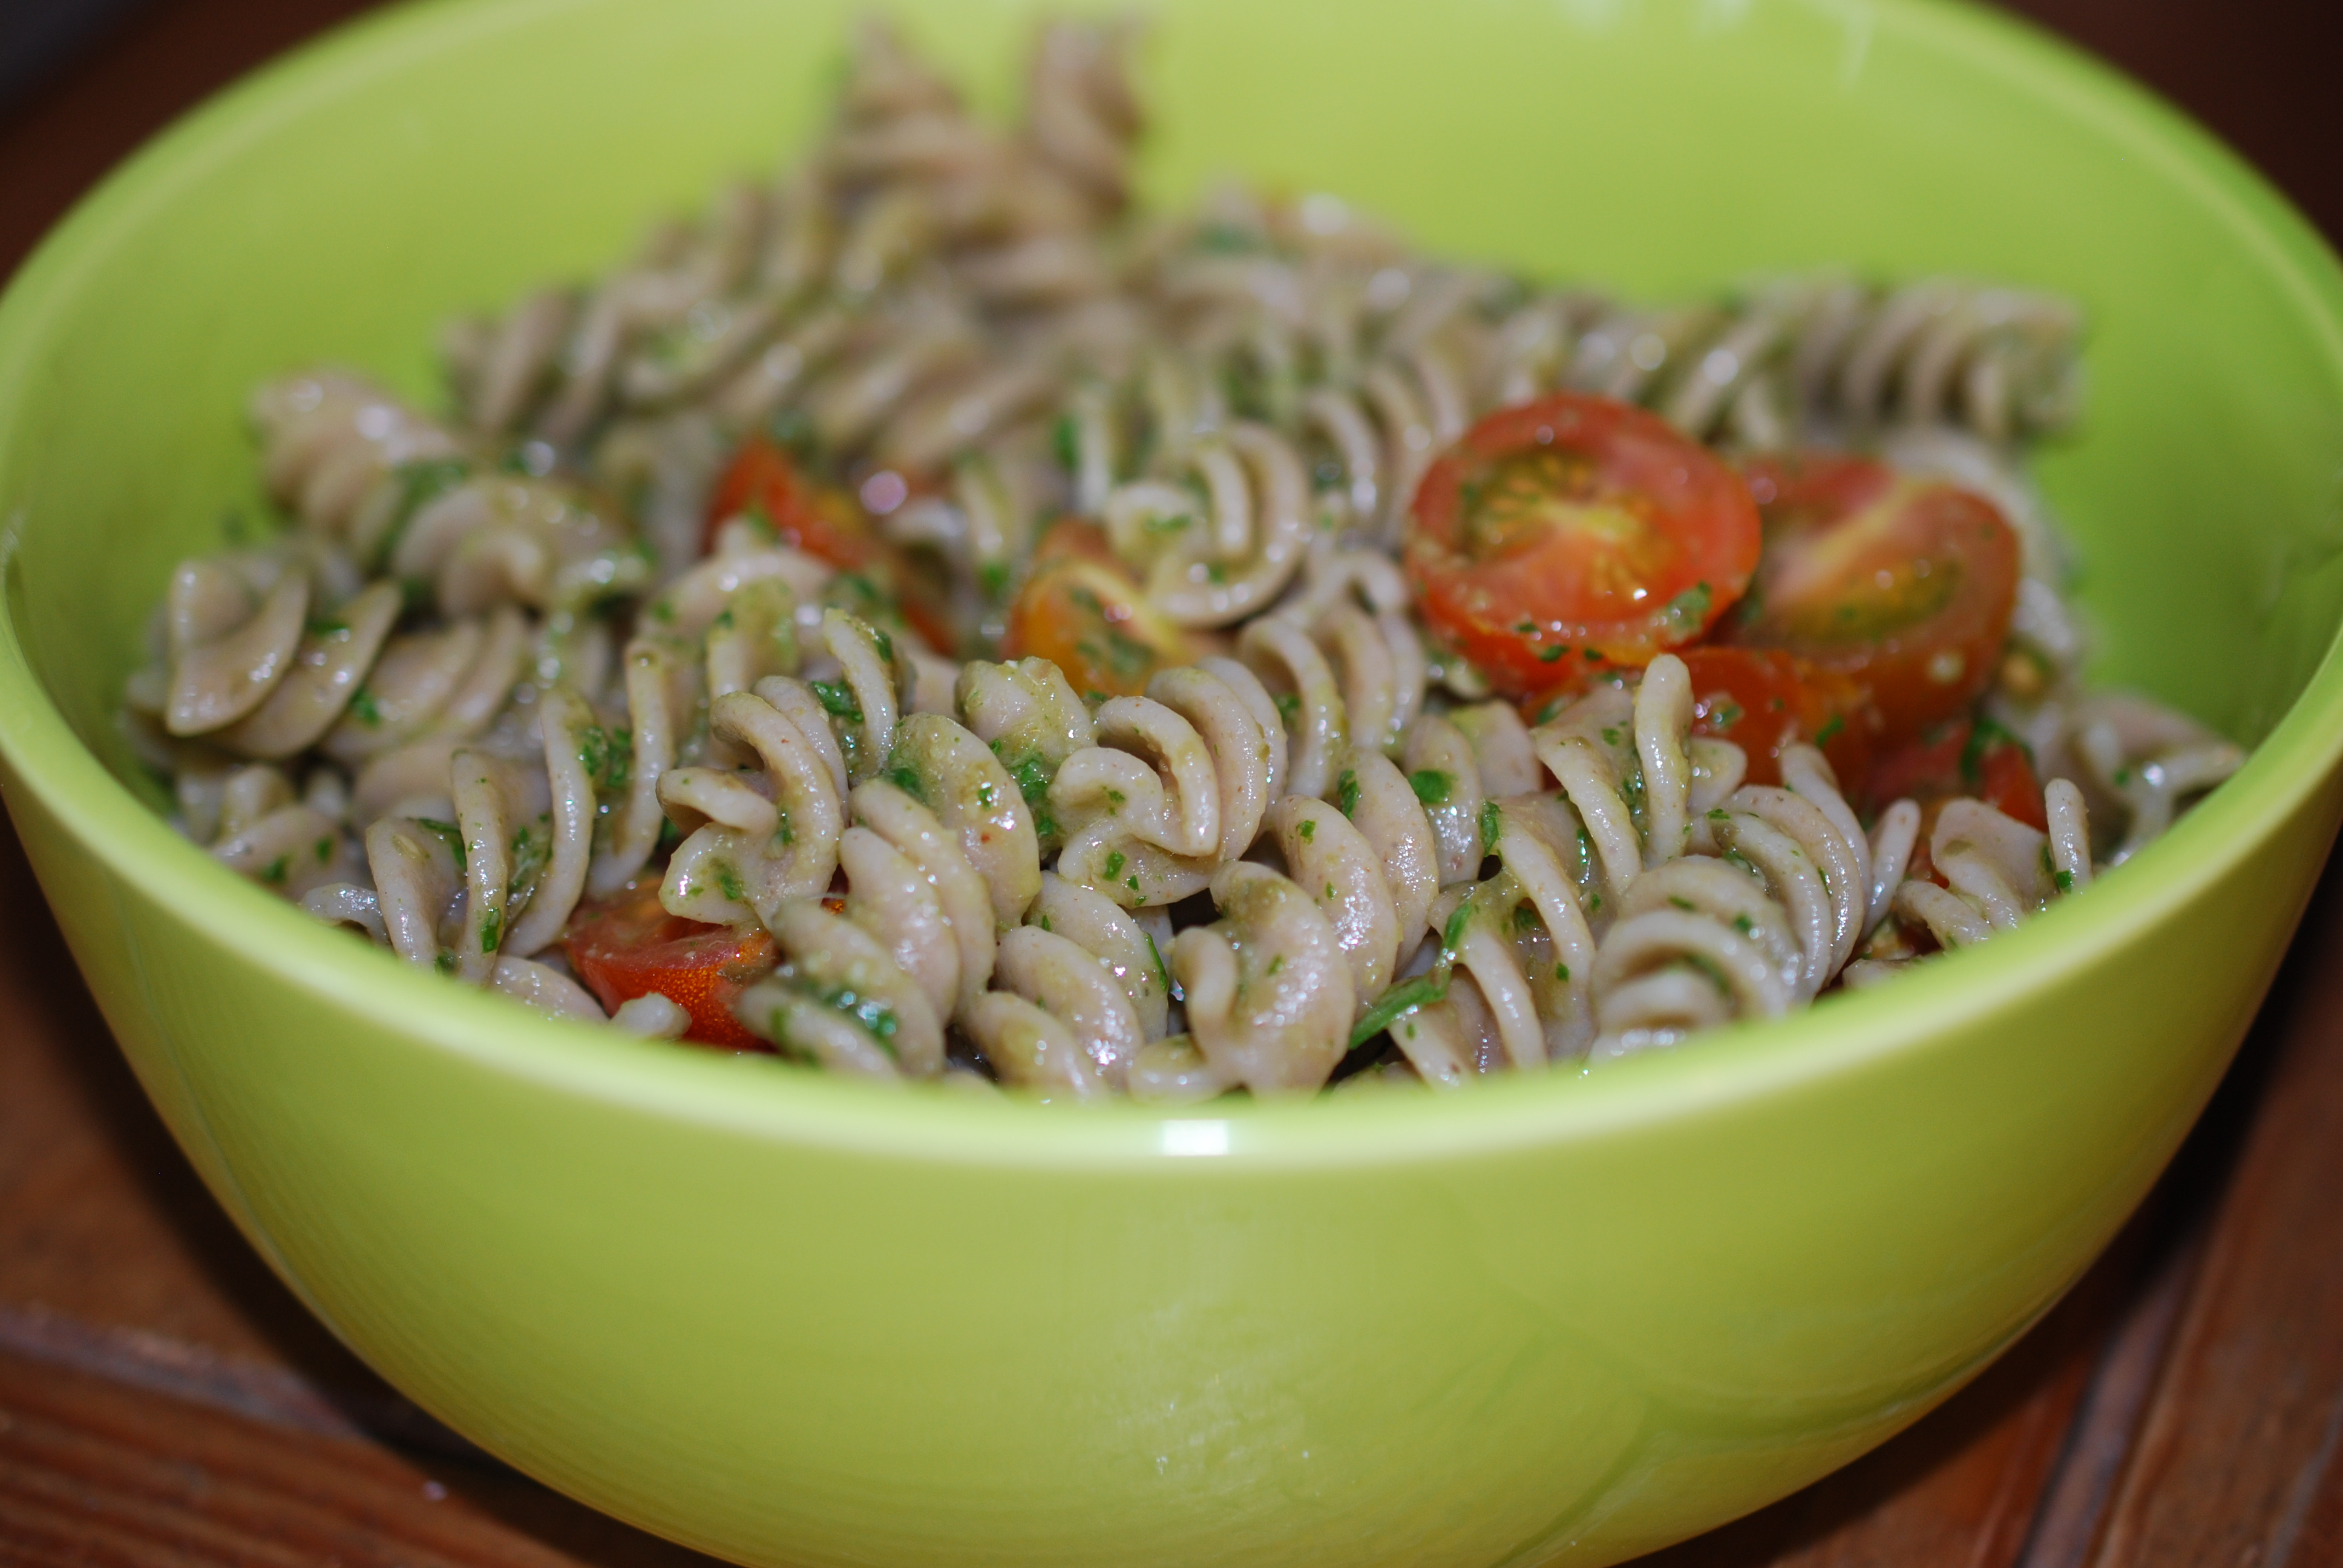
 One of the best vacations I have ever had was in Tuscany! I think if I were to move from the United States, that would be my destination of choice, although in all fairness I have not travelled to enough destinations to be fully equipped to make that decision. In any event, I just love Tuscany; I love everything about it. We stayed in the tiny village of Gaiole in the Chianti region, where the rolling hills are breathtaking and as we walked along exploring, the smell of fresh tomatoes, parsley, basil, and garlic was intoxicating. The food we ate there was among the best food I have ever had. That is why as soon as I returned home, despite jet lag and tons of laundry, I couldn’t wait to recreate this sauce, which we enjoyed on pasta, on pizza, and even drizzled over grilled veggies. I think I did a really good job of replicating the sauce, and it even makes me feel a little like I’m back in Tuscany, at an outdoor cafe, under the stars, sipping a nice glass of Brunello di Montalcino. Ahhhhhhhh Tuscany.