Cheesecake bars were a part of my childhood. My mother made them just about every time she had company over, probably because they were so good they were requested time and again. Obviously I had to veganize them. I am so thrilled with the end result! They are very easy to make and so scrumptious because the center is so perfectly sandwiched between two layers of delicious crust, just as I remember them! It is amazing how almost any recipe can be veganized – even cheesecakes that typically call for at least 3 eggs. Agar Agar is awesome! It is a tasteless, vegetable gelatin derived from sea vegetation. For those of you who are unaware – gelatin is absolutely horrid. It is made of animal bones (along with animal skin, hooves, tendons, ligaments, and cartilage) all boiled together into a goo that’s added to all kinds of candy and baked goods. Agar Agar has none of that nastiness! It works perfectly in this recipe to hold the cheezecake together. You can find it at health food stores or specialty markets like Whole Foods, as well as on online. While these bars may not be the healthiest recipe on my blog, they are so delicious and every once in a while I like to indulge. If you do too, then try these bars. You won’t be disappointed.
- 2/3 c brown sugar
- 8 T vegan butter
- 2 c flour
- 1/2 c finely chopped walnuts
- 2 8 oz tubs vegan cream cheese
- 1 12 oz package firm silken tofu, drained
- 3/4 c sugar
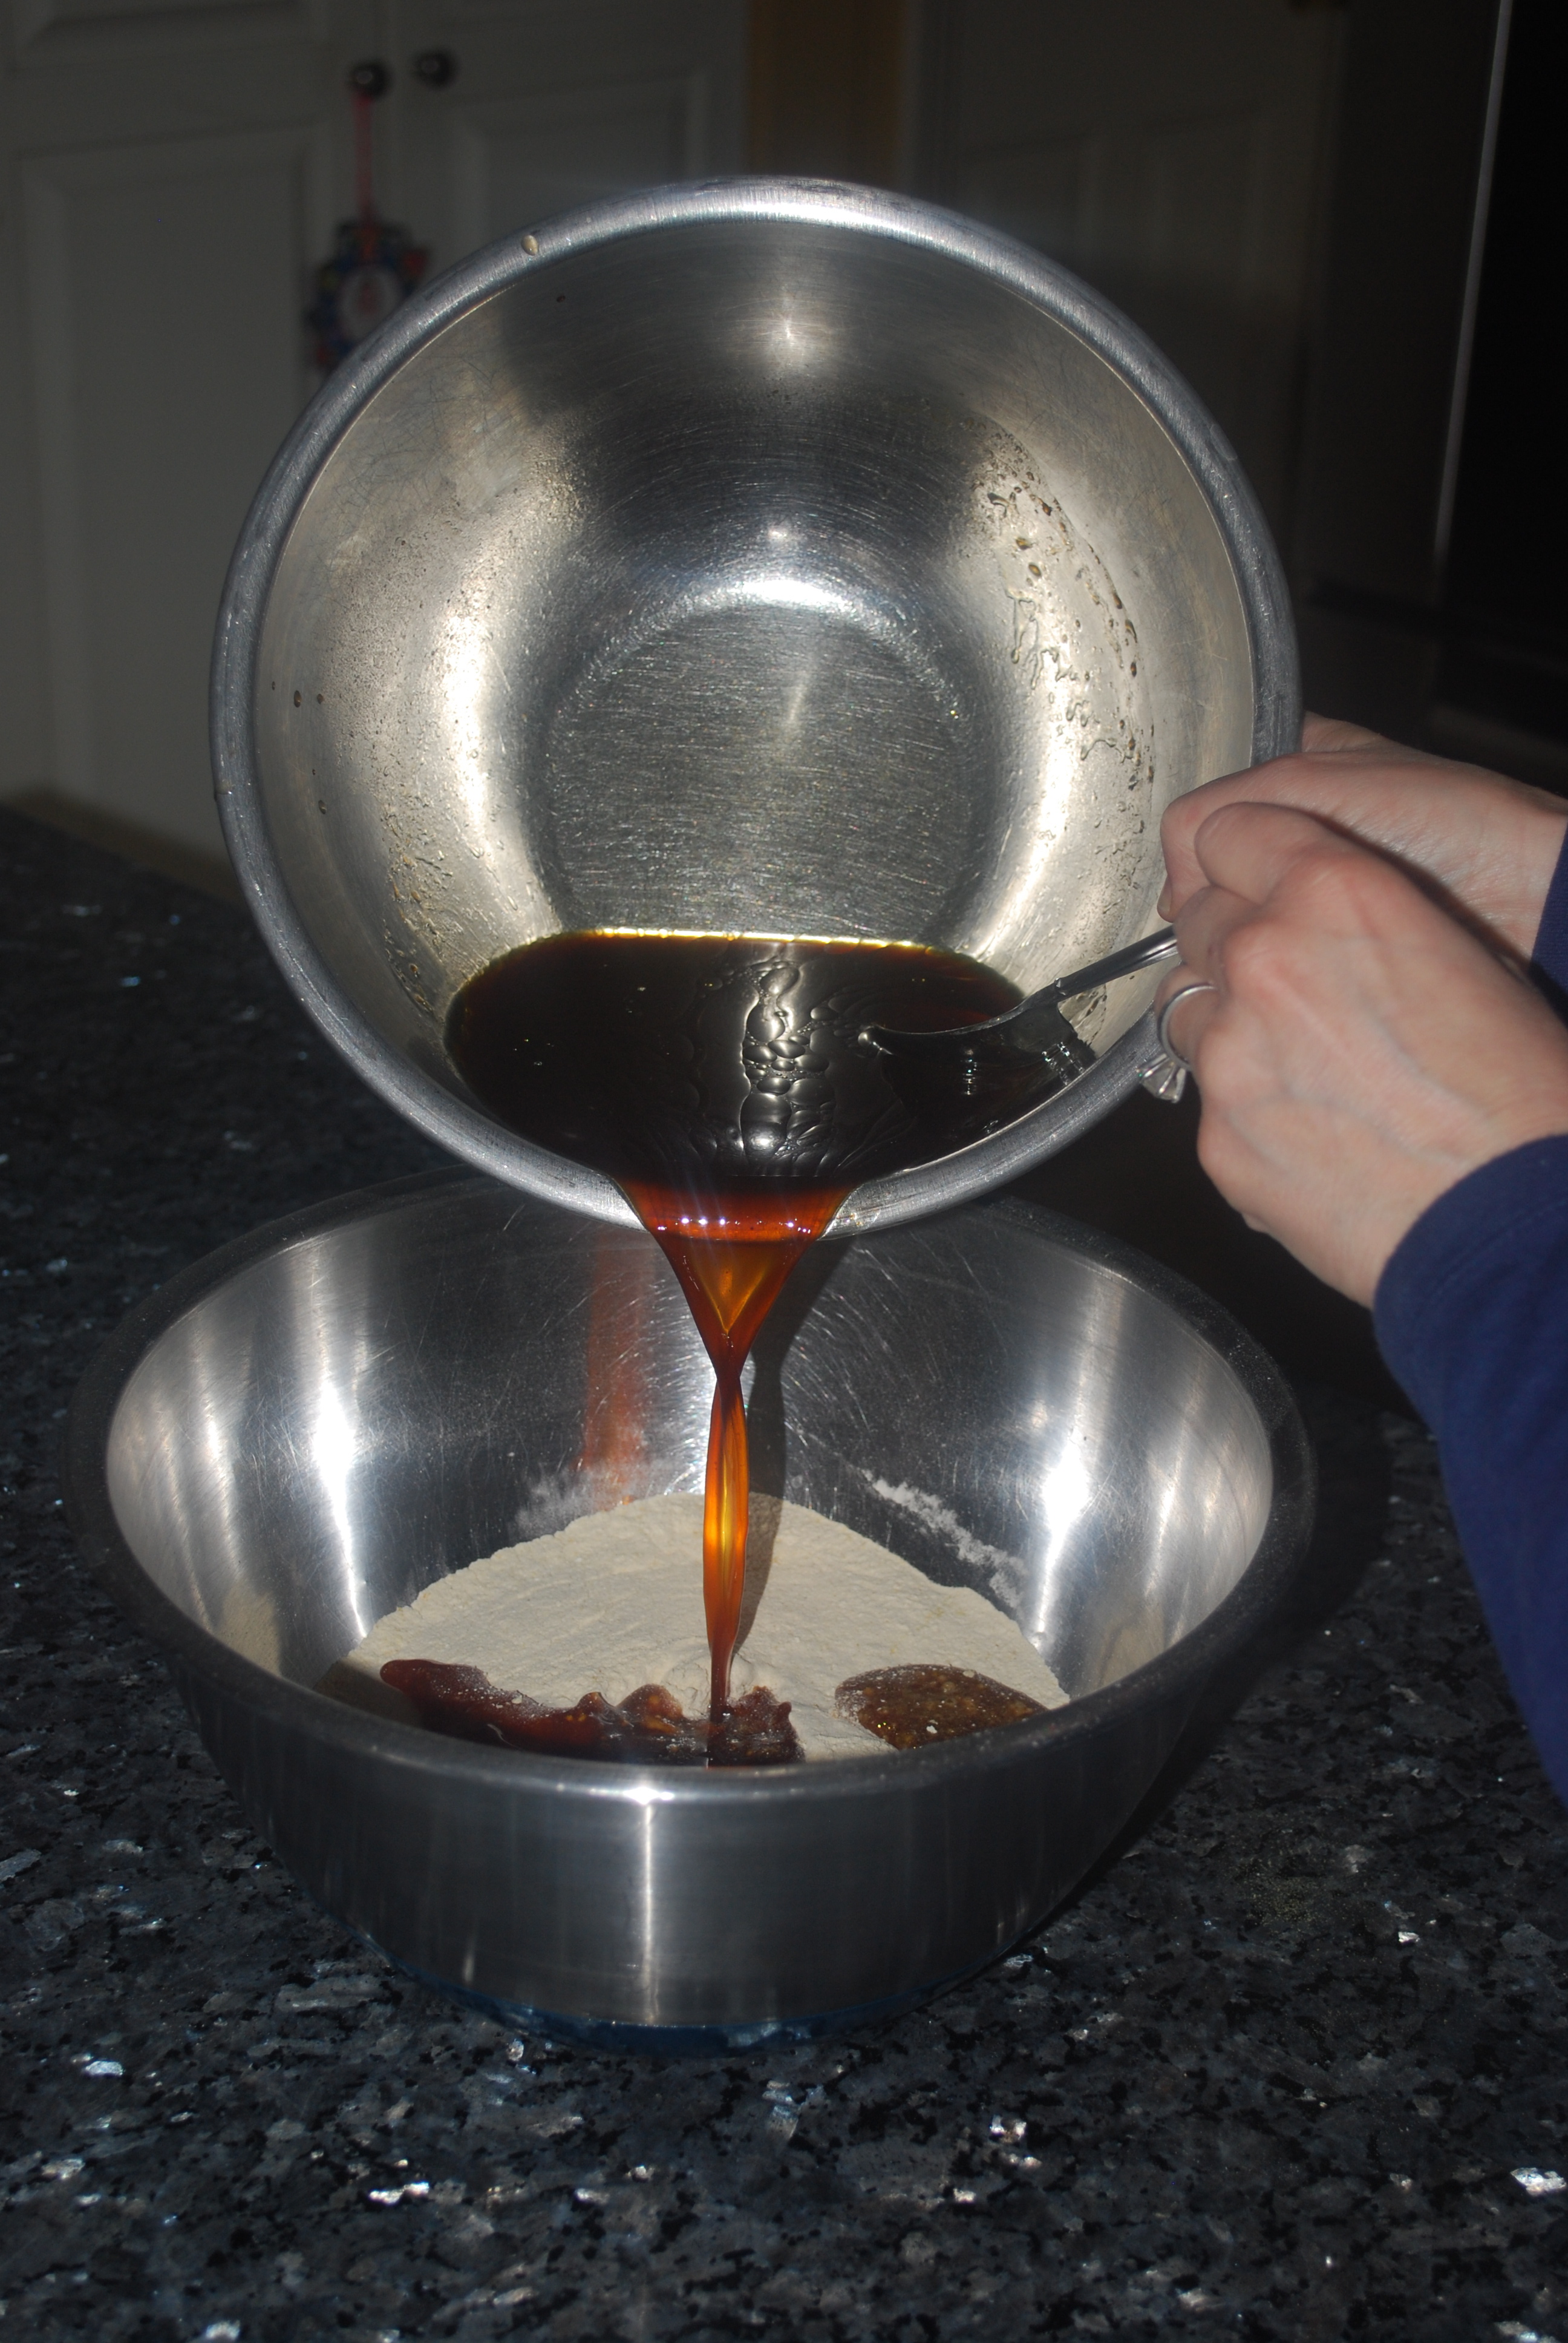
- 3 T lemon juice
- 2 t vanilla
- 2 t agar agar flakes
- 1/2 c vegan chocolate chips
Cream the “butter” and the brown sugar. Add the flour and the nuts and work together with your fingers until it forms little crumbs.

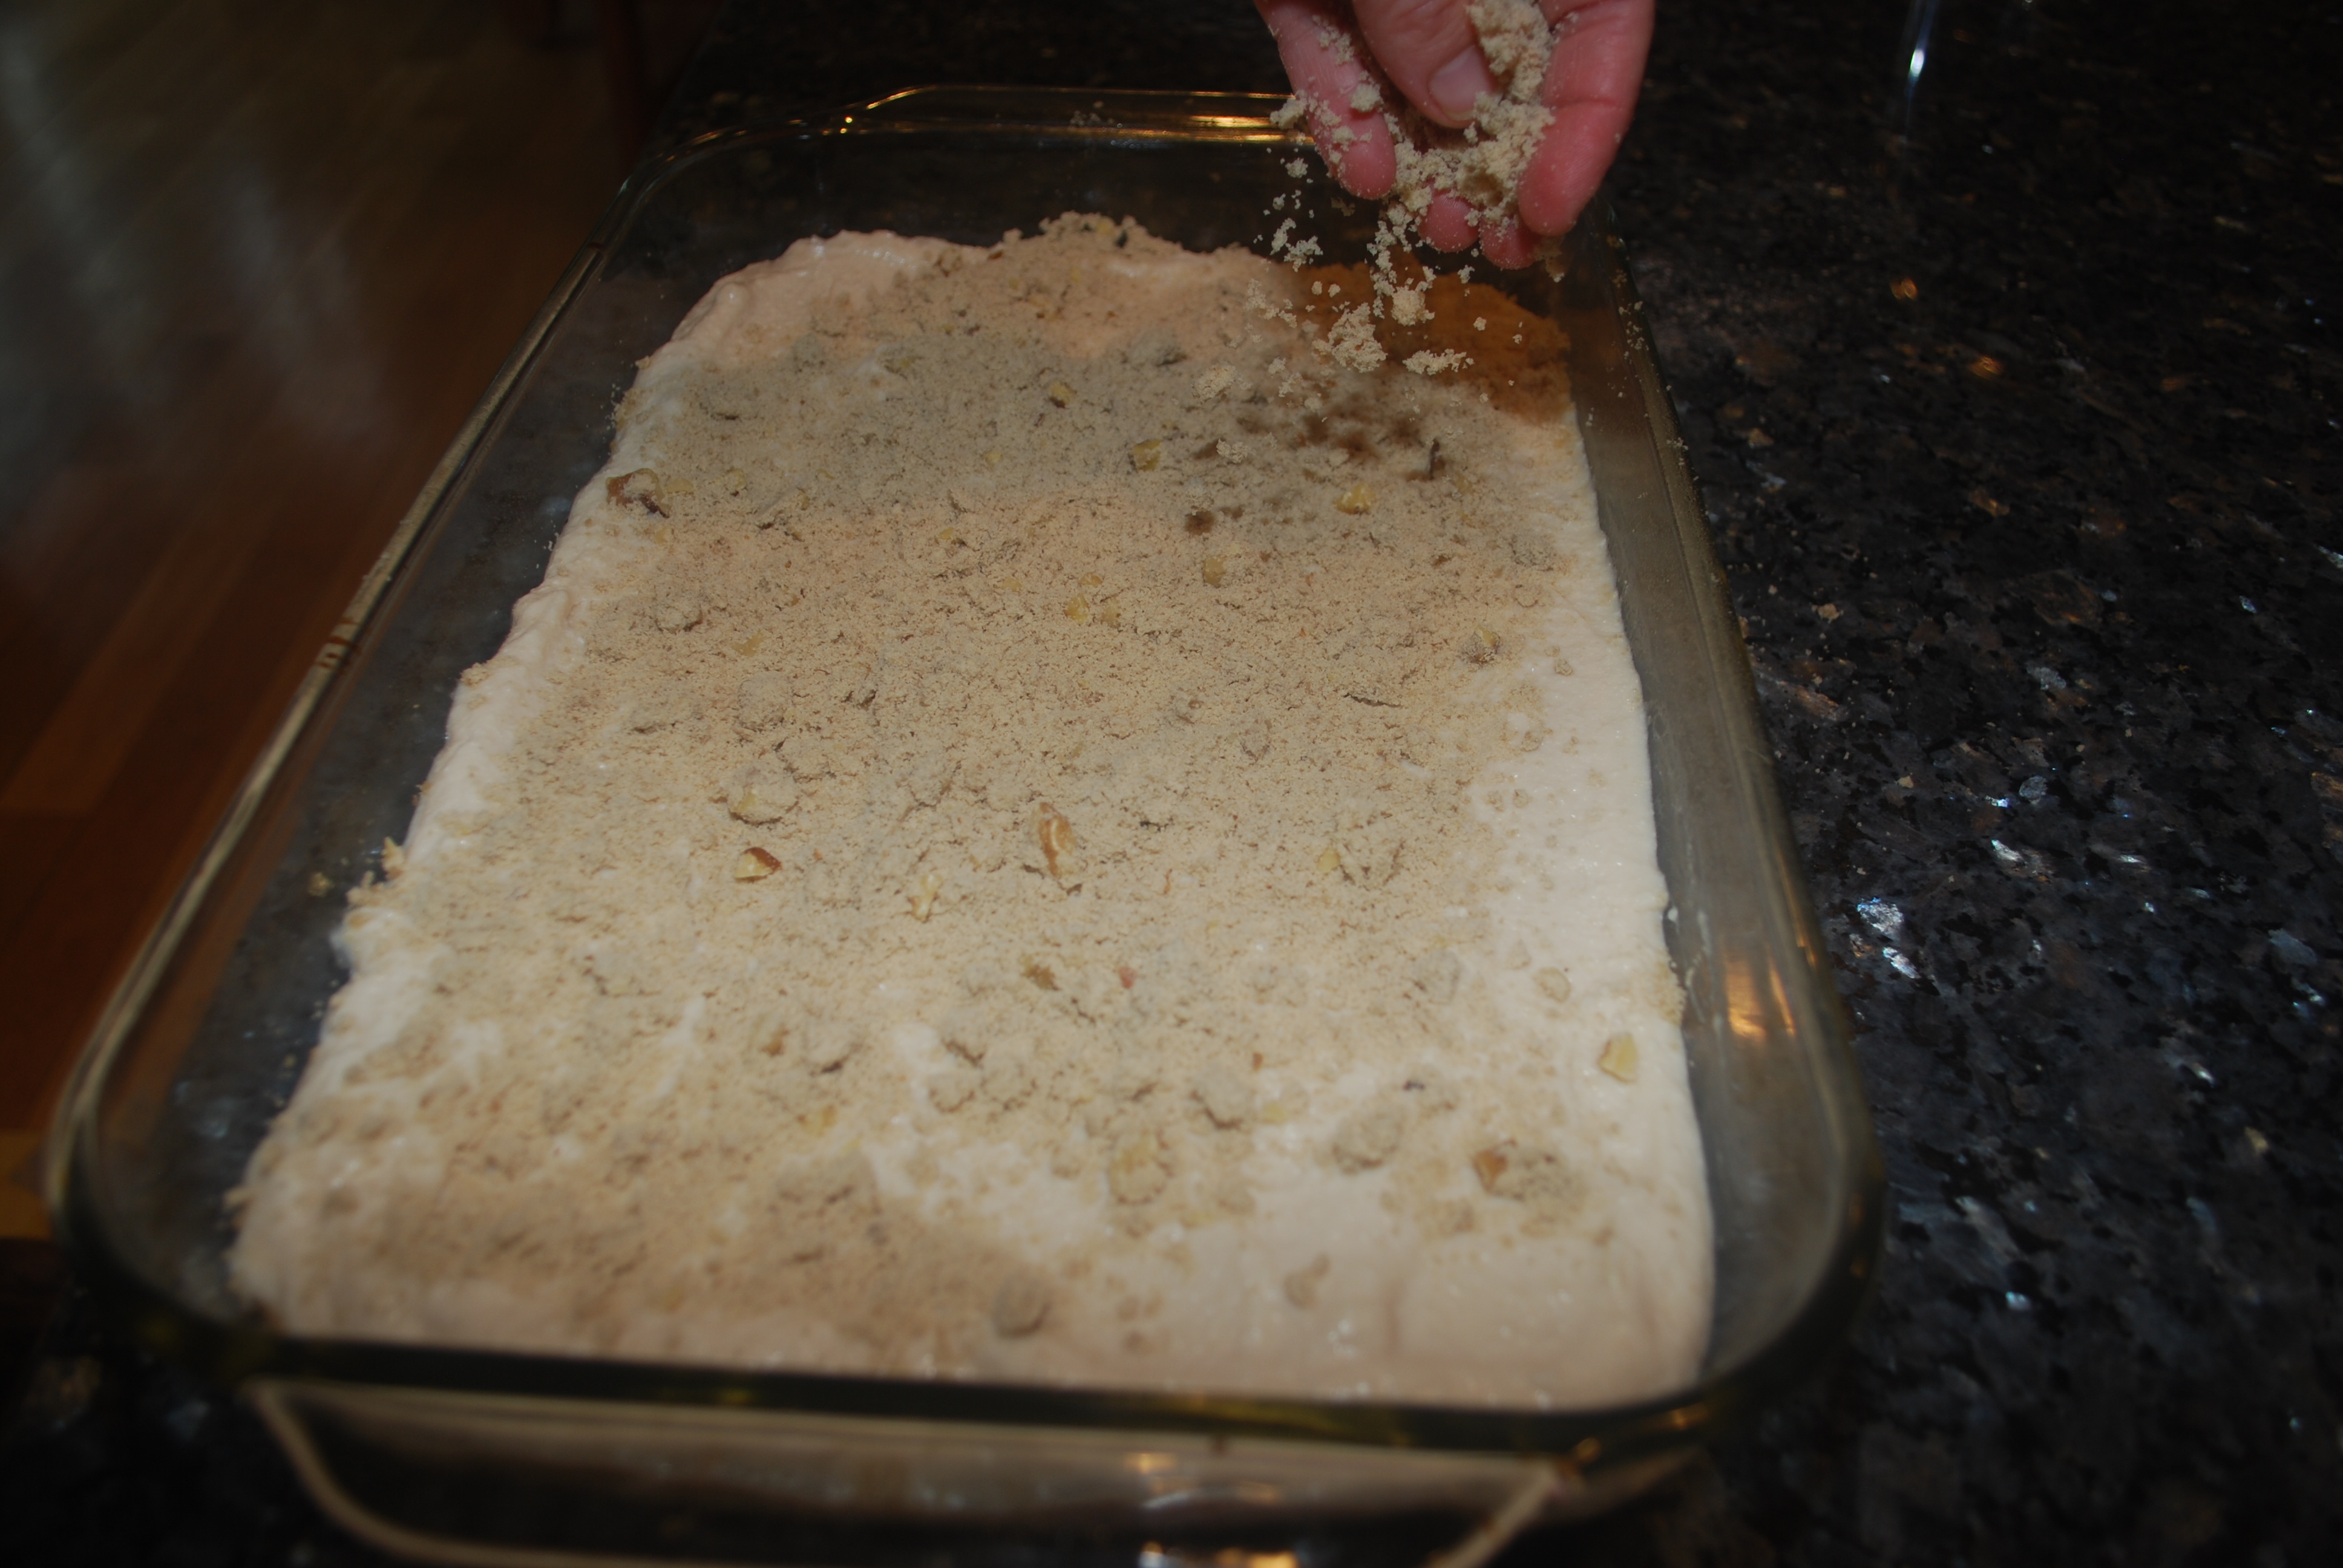
Reserve 1 cup for topping, and press the rest into a 9×13” pan.
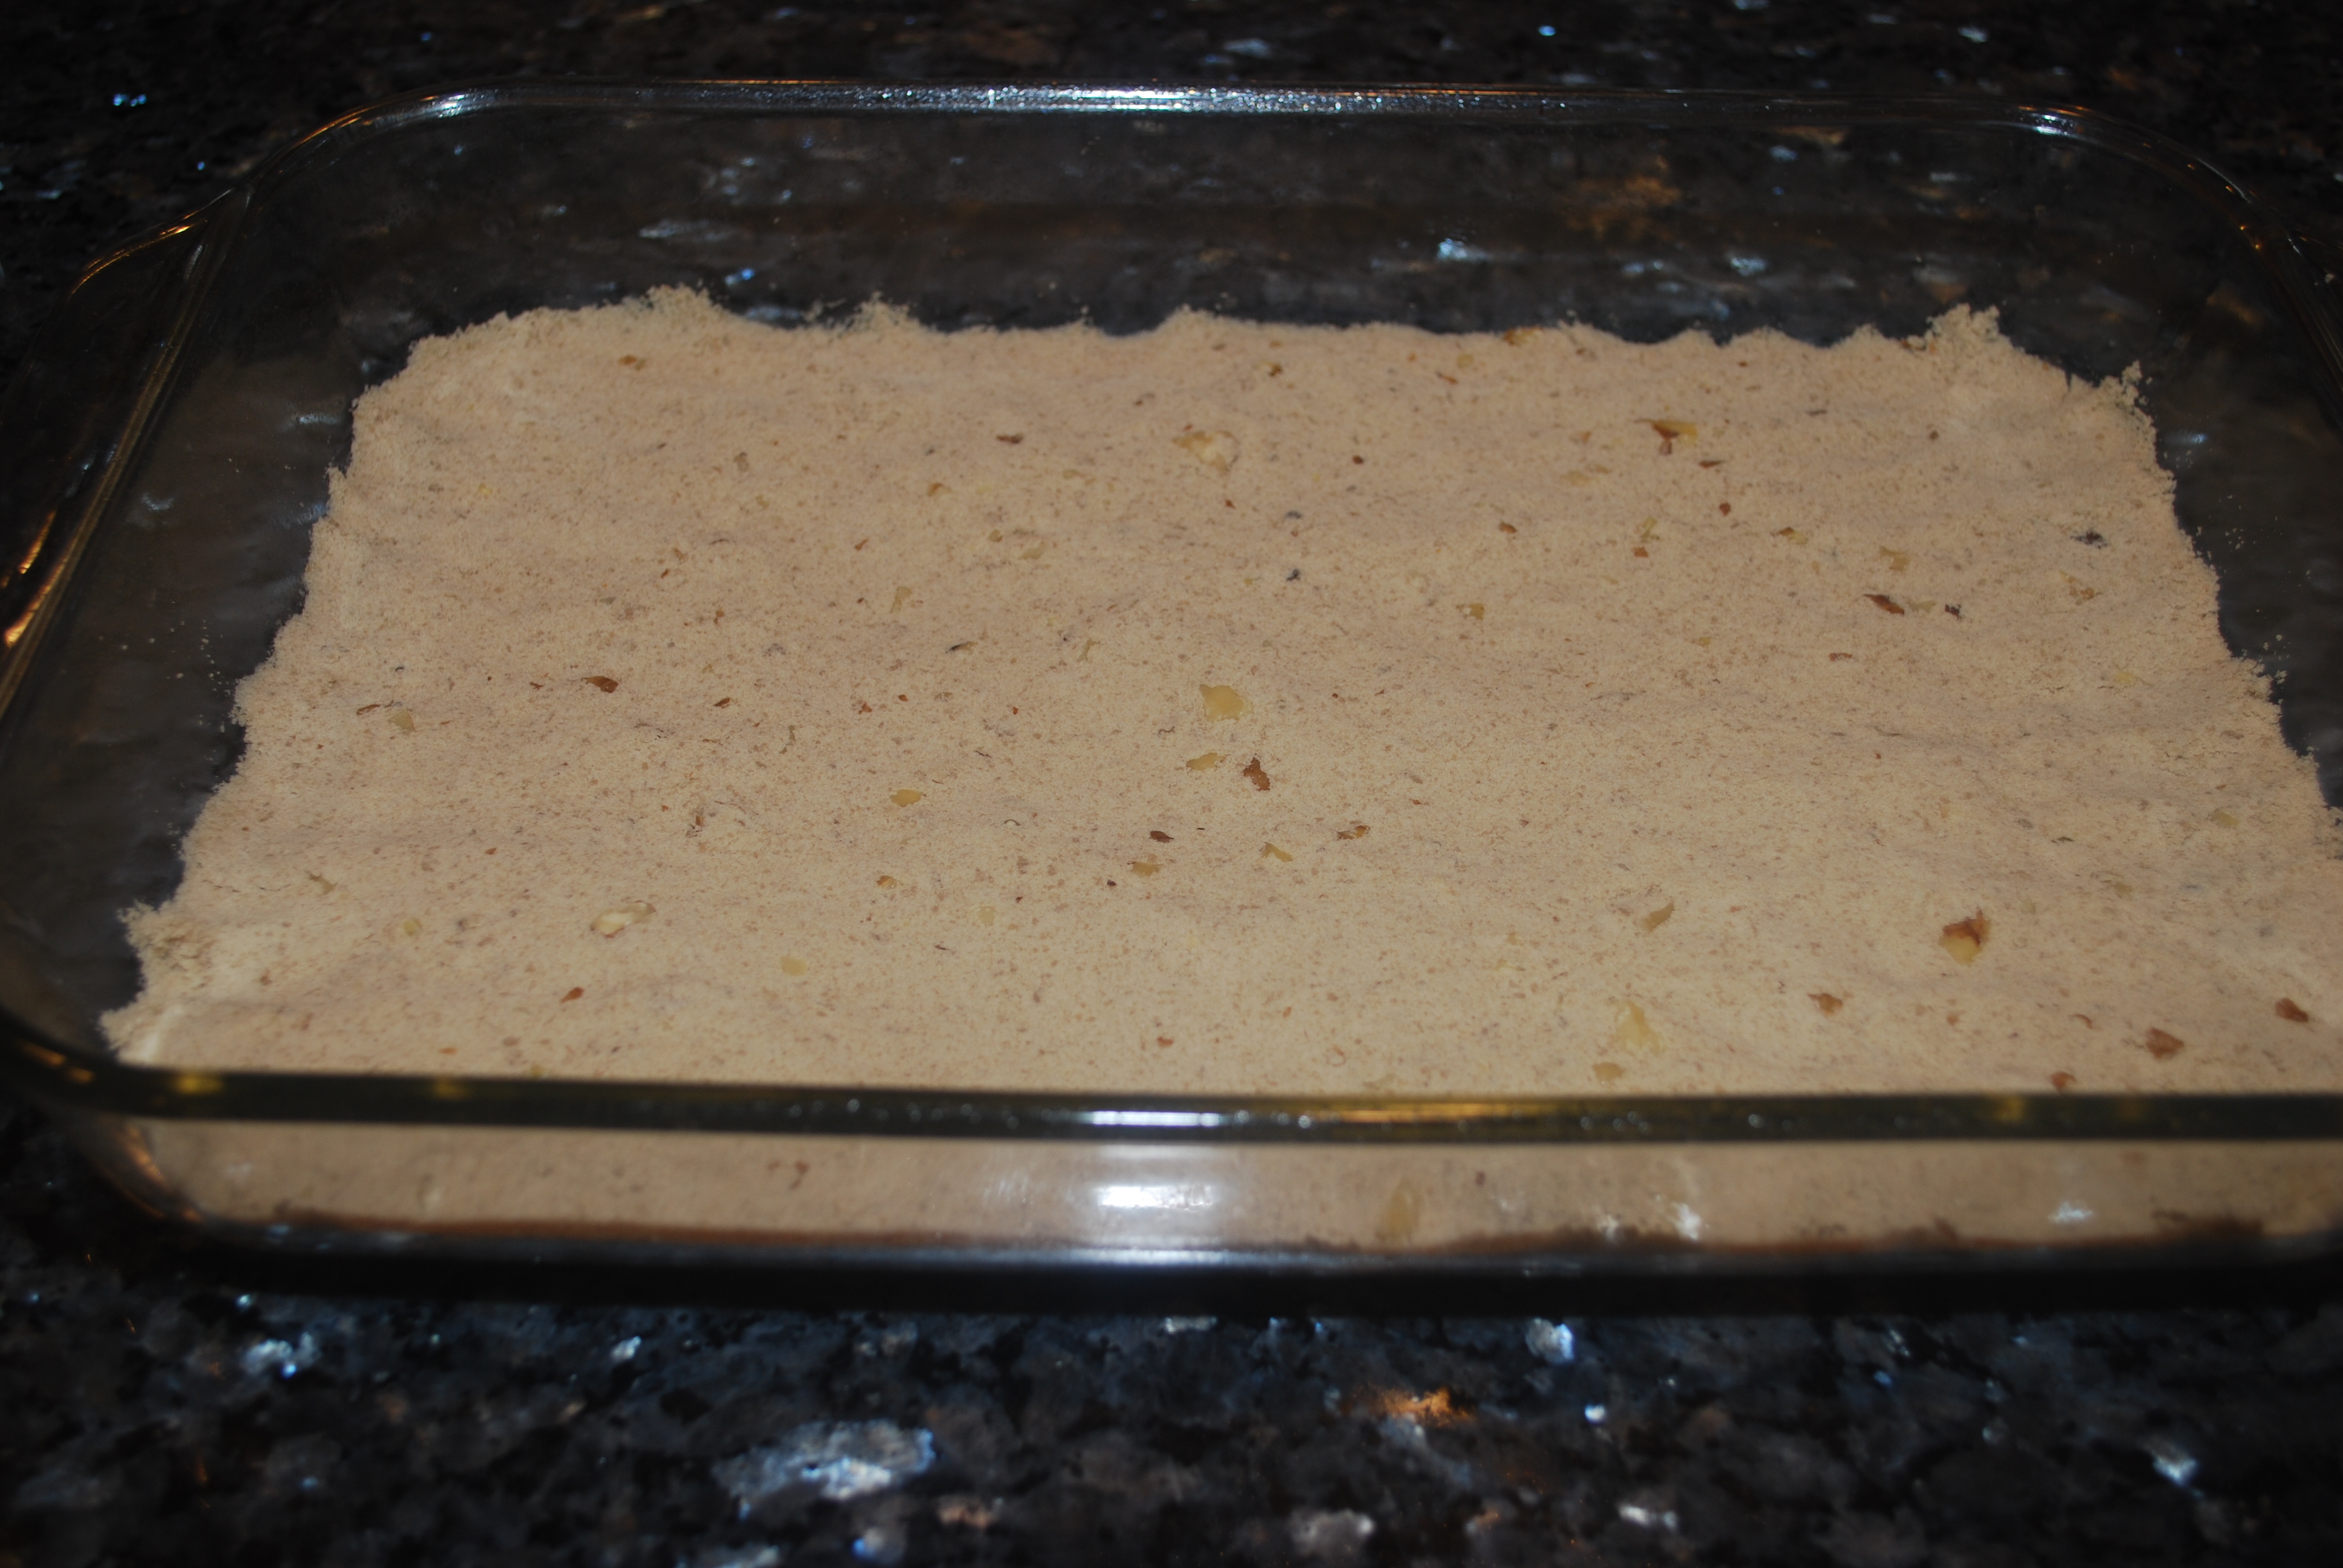
Bake at 350 for 15 minutes, or until golden.
Mix all remaining ingredients, except agar agar, in a large bowl with a hand mixer.
Add agar agar and mix one minute more. Pour into crust and sprinkle 1 cup reserved topping on top.
Bake for 30 minutes. Turn off oven and leave in with door open for 30 minutes more. Chill. Drizzle with melted chocolate if desired. Cut into 18 bars.